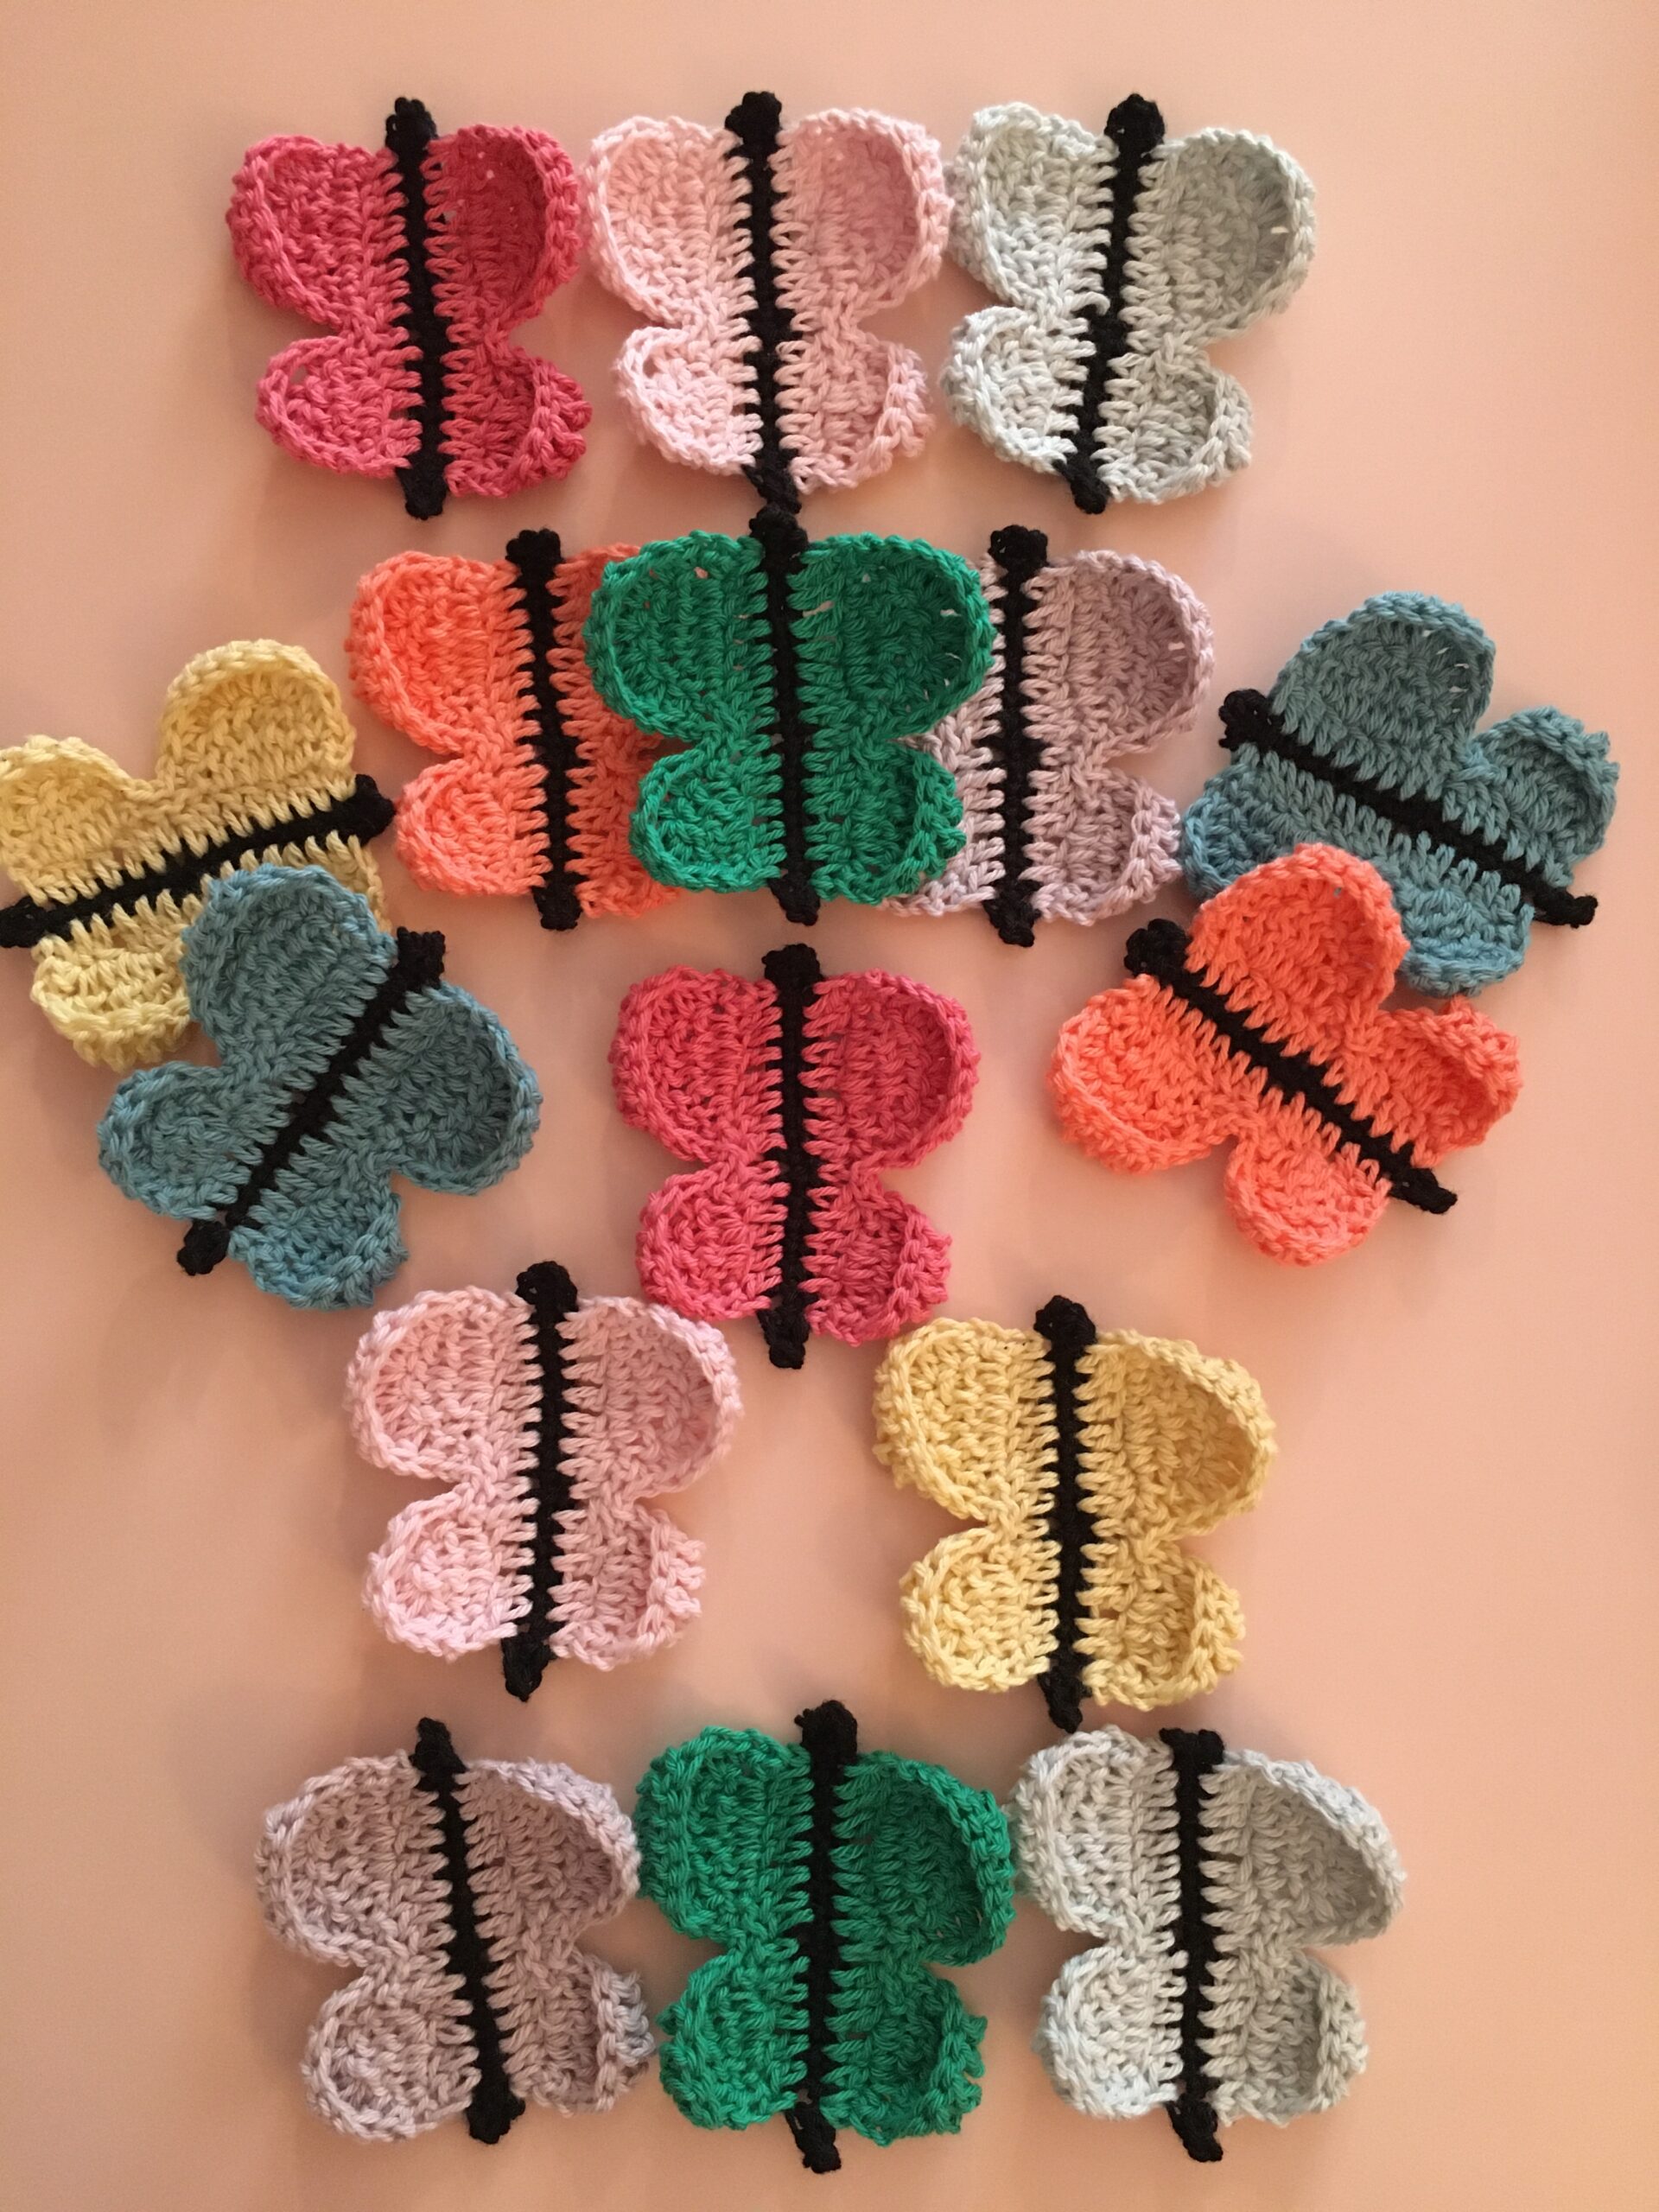
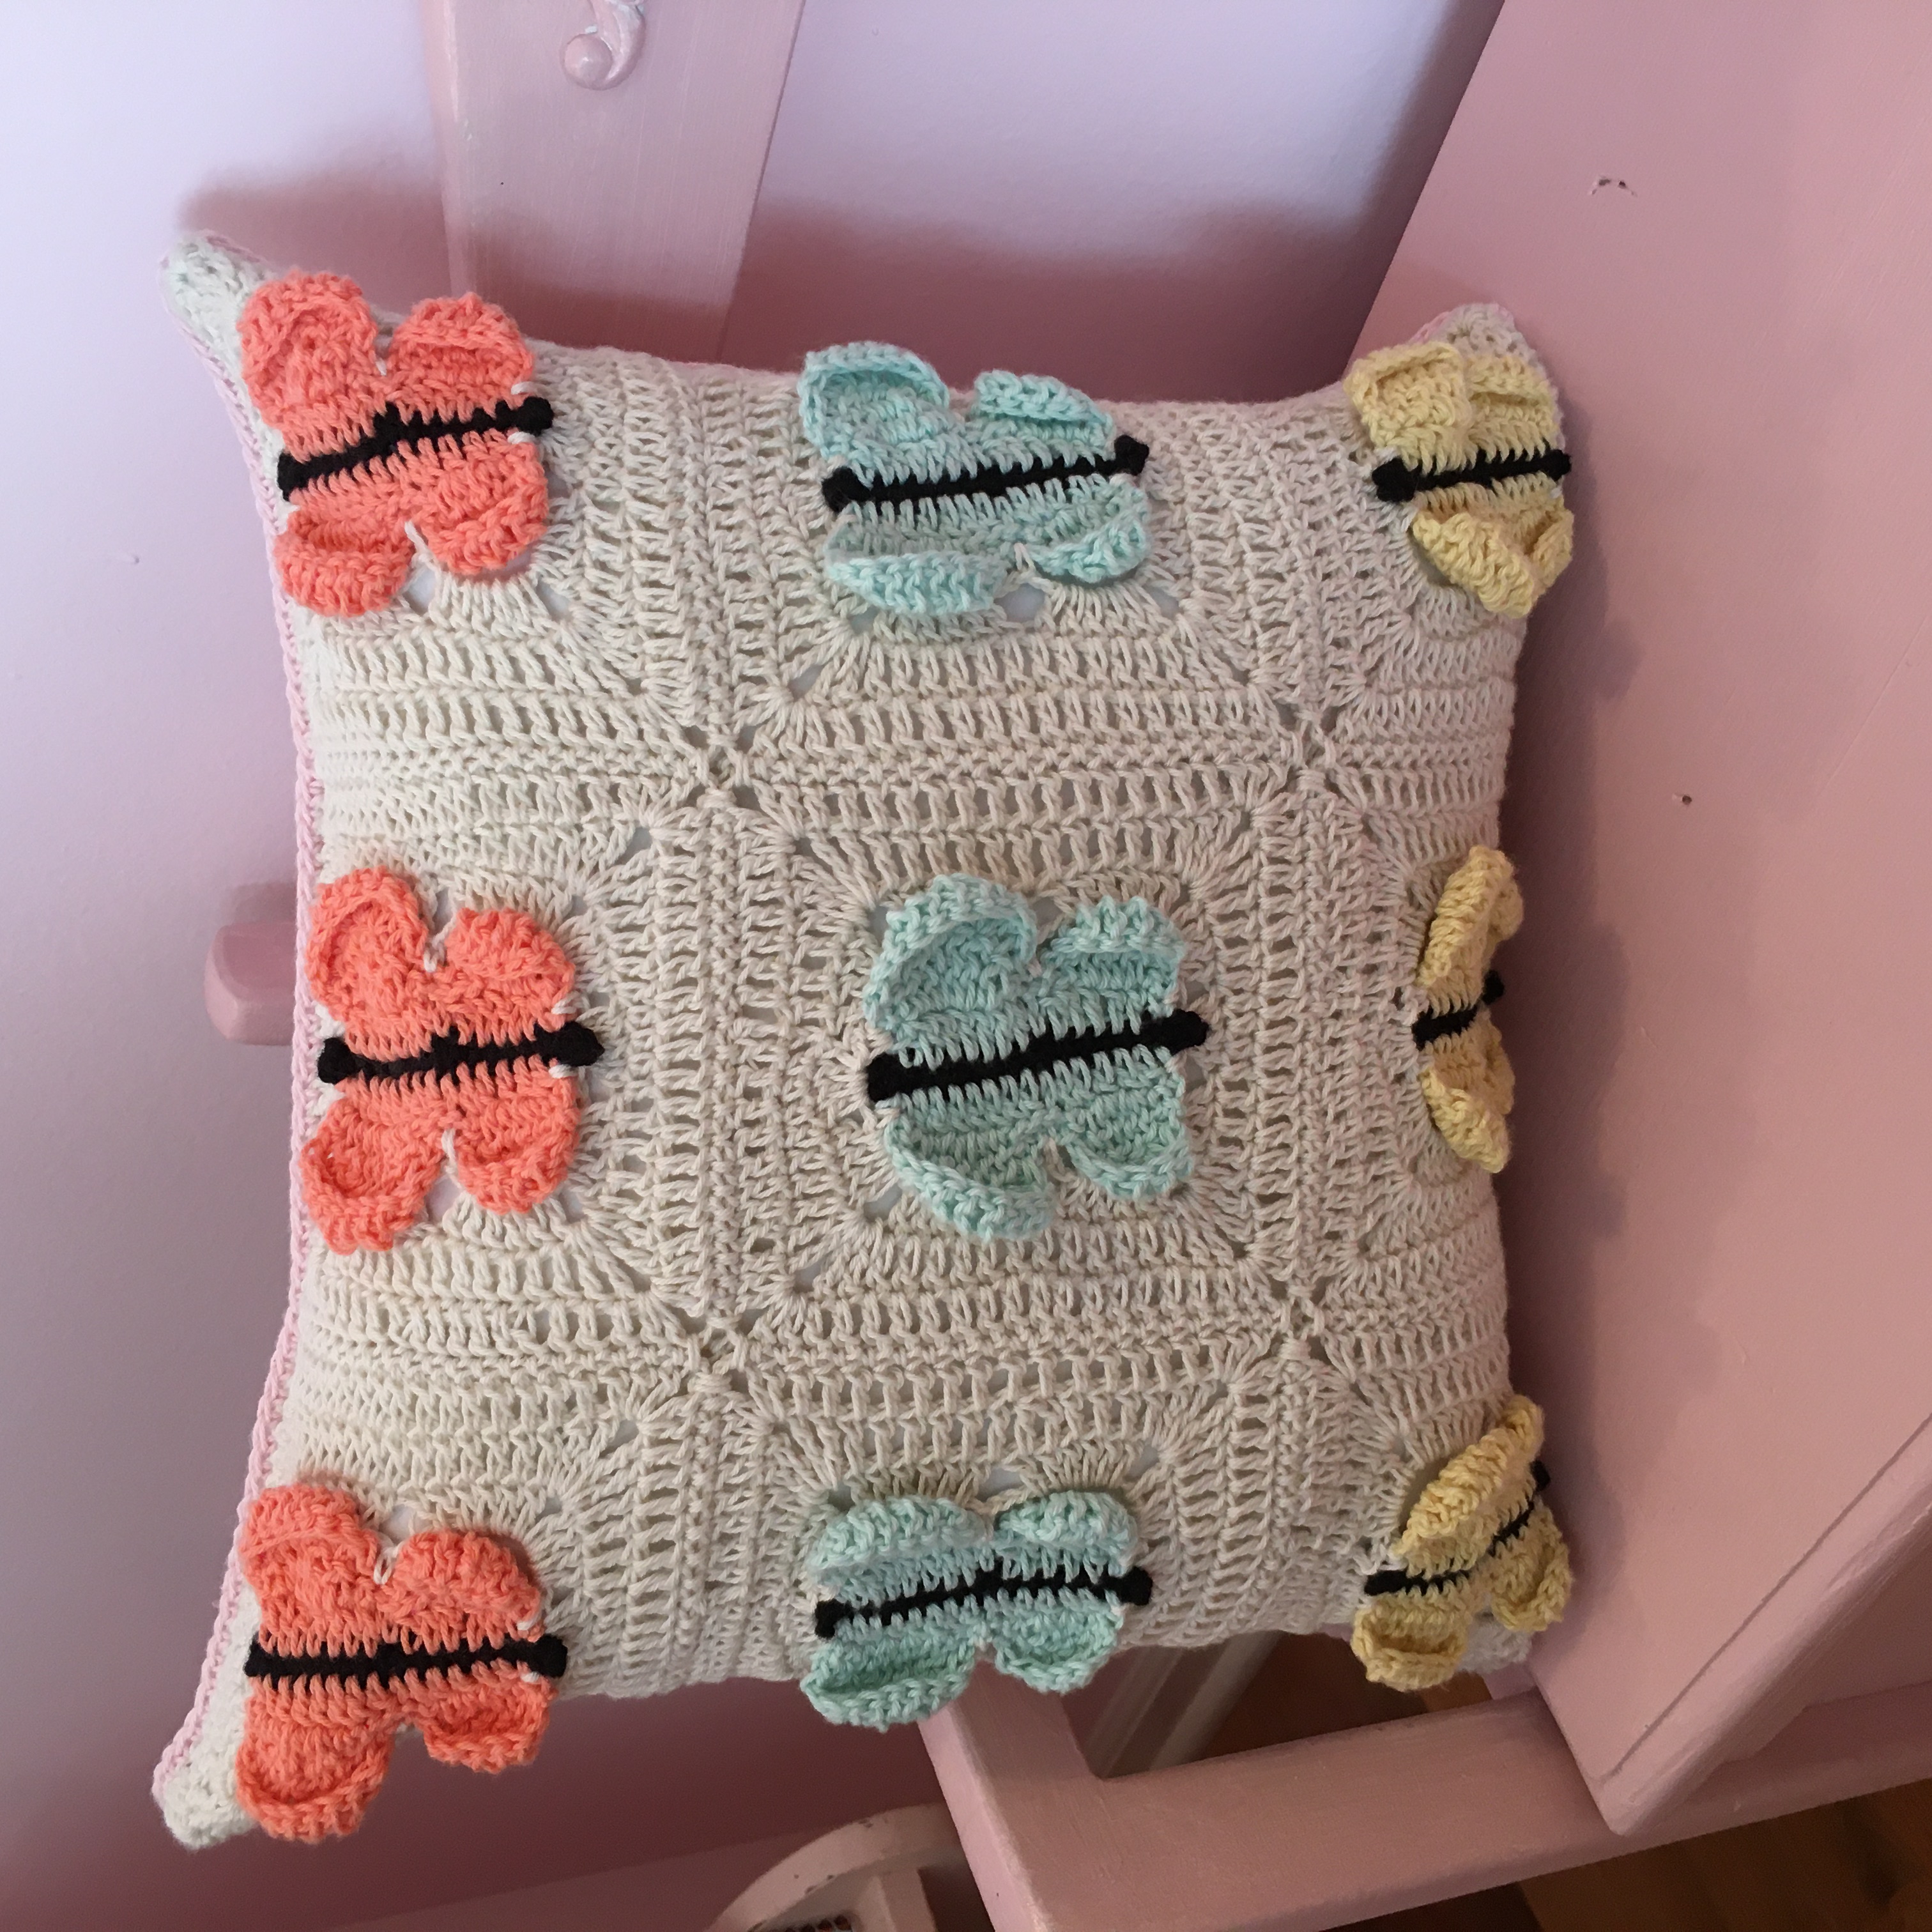
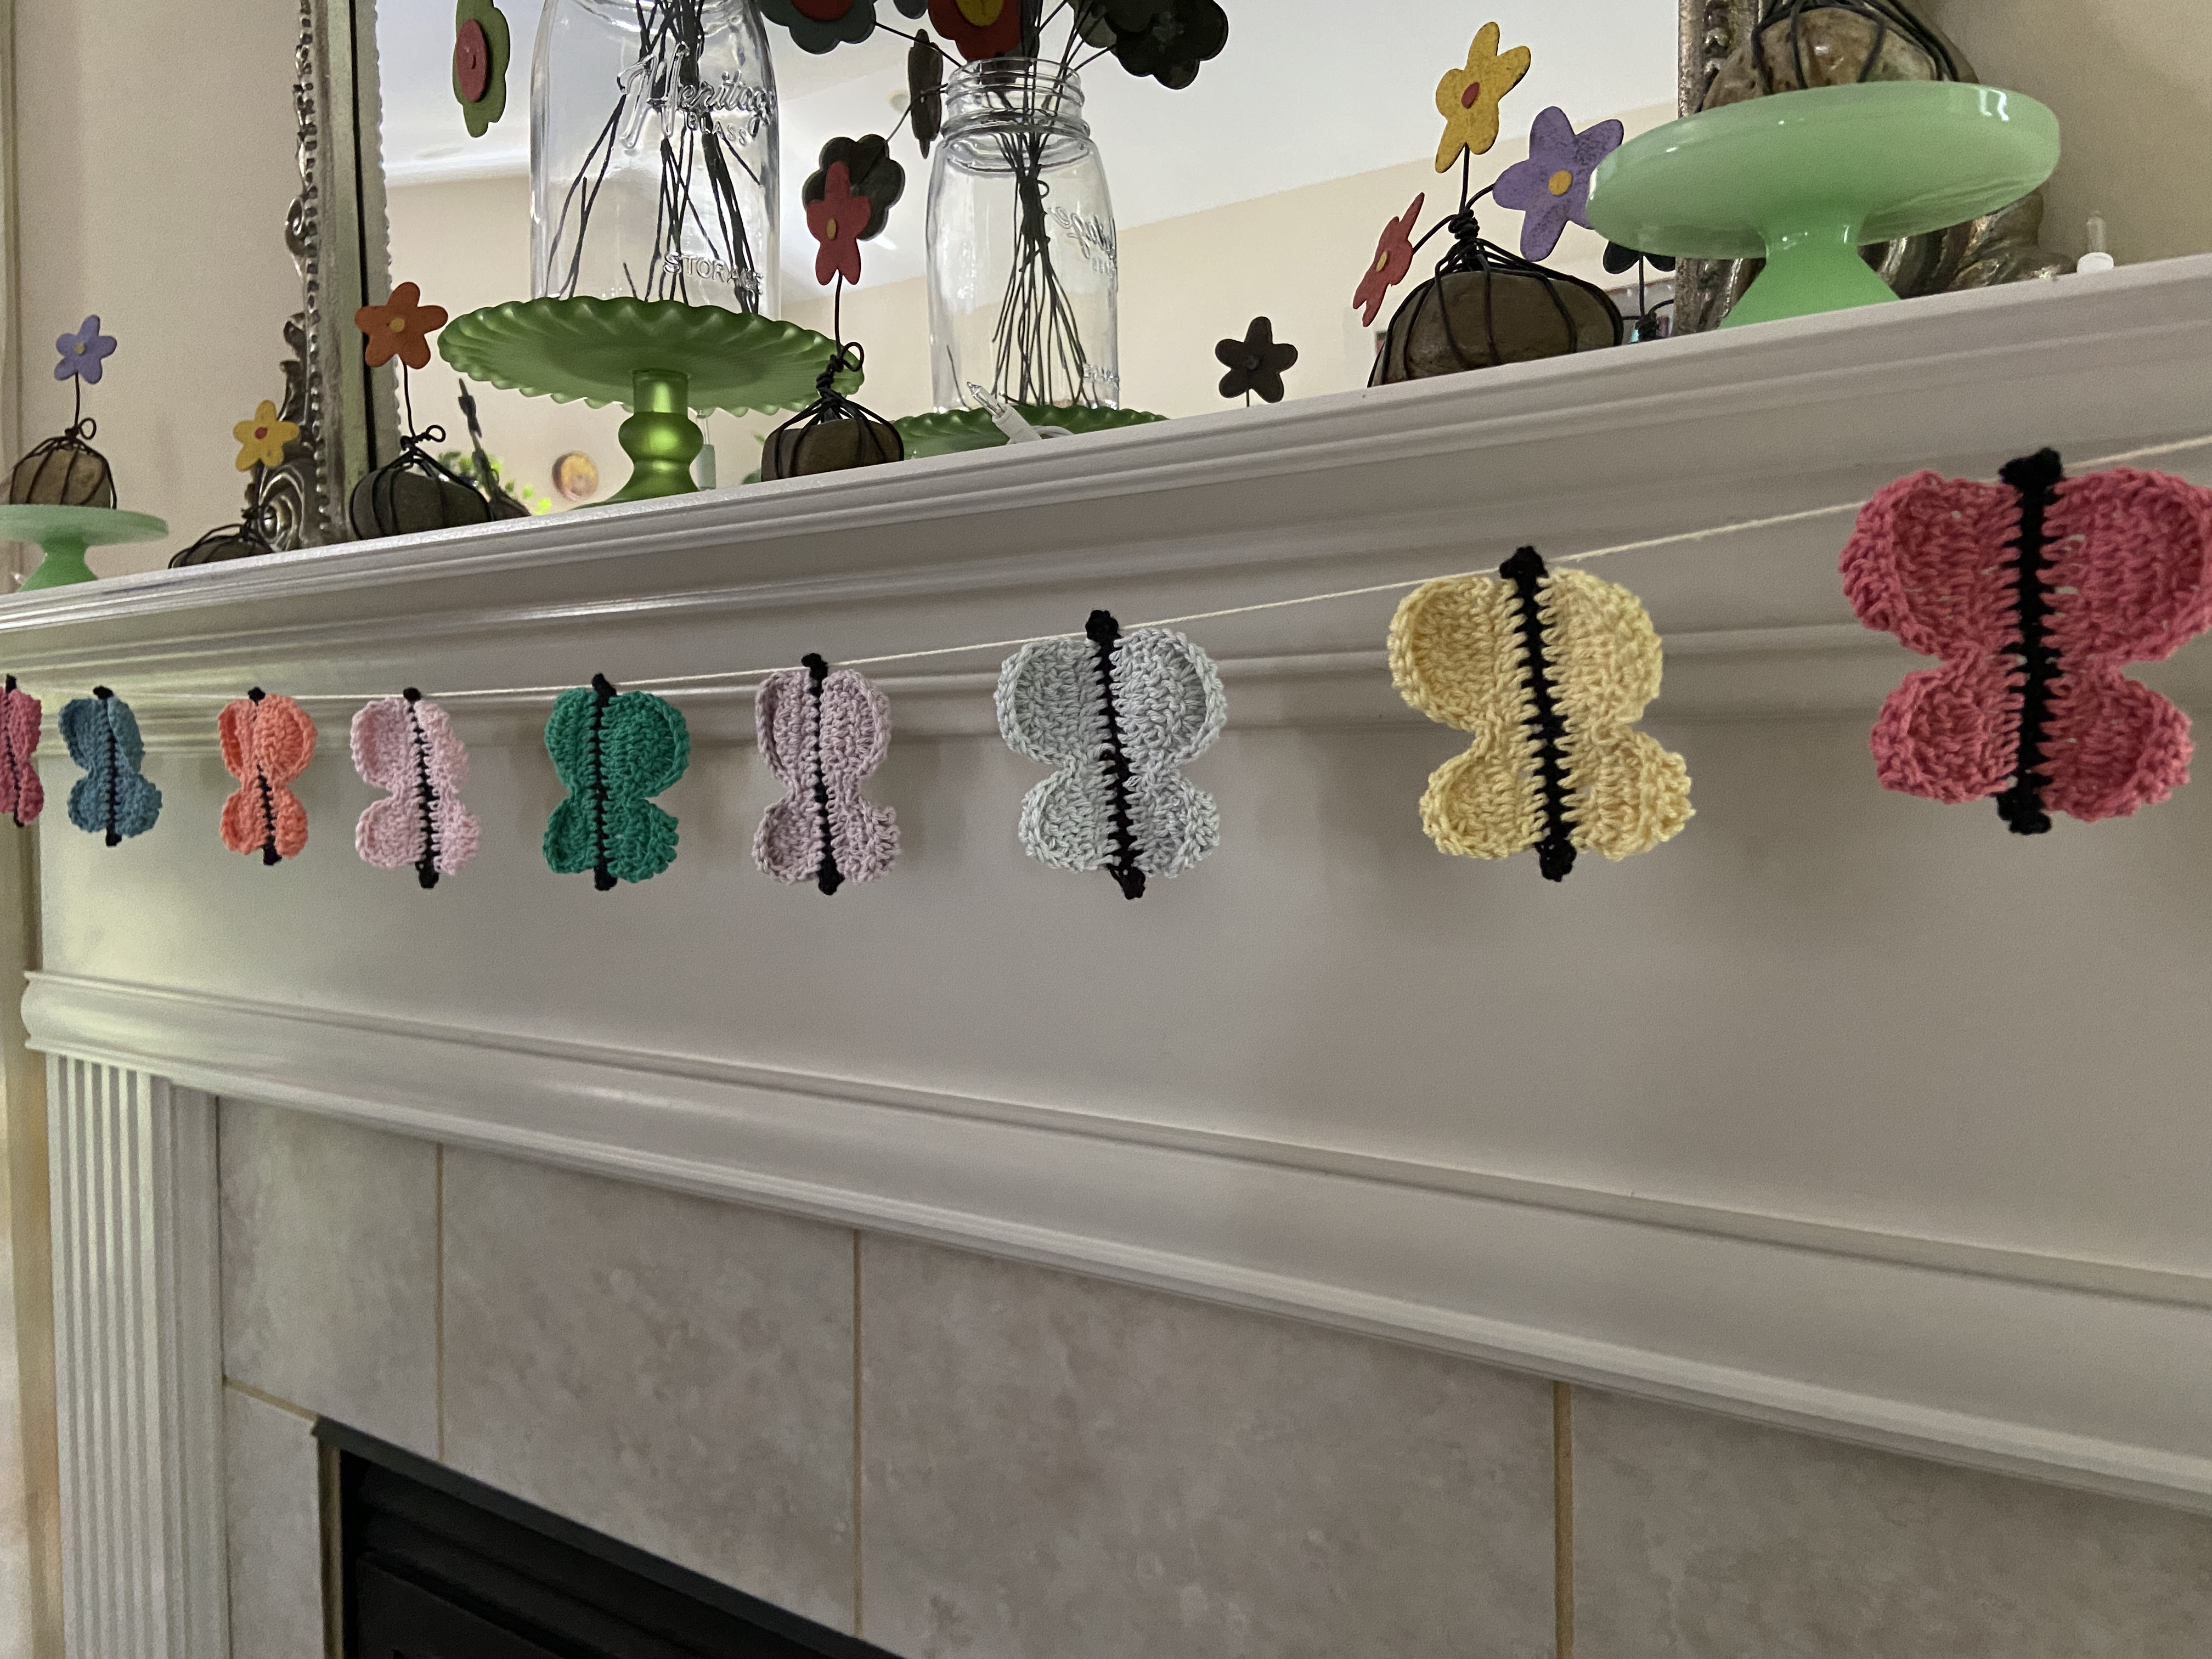
When I first started crocheting, a lot of the pillows that I made were inspired by books. Going back through some of my older crochet patterns is now making me want to crochet some more book inspired projects! One of the first ones that I made was this butterfly pillow that was inspired by Julia Alvarez’s book, In the Time of the Butterflies. Afterwards, I also made a garland with the butterflies. I thought I would first upload the pattern for the butterflies, so you can use them to make a garland or for other projects. I will upload the full pillow pattern soon! I hope you enjoy the pattern, and please let me know if you have any questions!
There is a video tutorial for the butterfly on my YouTube channel:
Getting Started
Materials
- 3.00 mm crochet hook
- Scissors and a tapestry needle- for weaving in ends
- Sport or dk weight yarn
Yarn I Used
MillaMia Naturally Soft Cotton (100% cotton, sport weight)
- 1 black
- 1 english rose (light pink)
- 1 candy pink (dark pink)
- 1 flamingo (peach)
- 1 lemon yellow (yellow)
- 1 bright green (green)
- 1 sweetpea (light blue)
- 1 duck egg teal (medium blue)
- 1 rustic rose (lavender)
Note: I purchased this MillaMia yarn from lovecrafts.com and I no longer see the candy pink shade as an option. They have another shade of pink called tickled pink which would also look pretty!
I also used the off-white shade to string the butterflies on, but you could use one of the other colors to assemble the garland.
Gauge
22 sts and 10 rows = 4 inches (10 cm)
The gauge provided is measured with double crochet sts worked in rows. However, since this is a garland, gauge is not very important. You can use any sport or dk weight yarn that you have for this project! The butterflies do not require very much yarn, so this is a great project to use small amounts of leftover yarn from your stash.
Abbreviations: In U.S. Terms (Translated to UK in parentheses)
st= stitch
sp = space
ch= chain (chain)
ss= slip stitch (slip stitch)
sc= single crochet (double crochet)
hdc= half double crochet (half treble crochet)
dc= double crochet (treble)
tr= treble (double treble)
[ ] indicate that the sts are worked into the same space
{ } indicate that the the sts are repeated later in the pattern
The Pattern
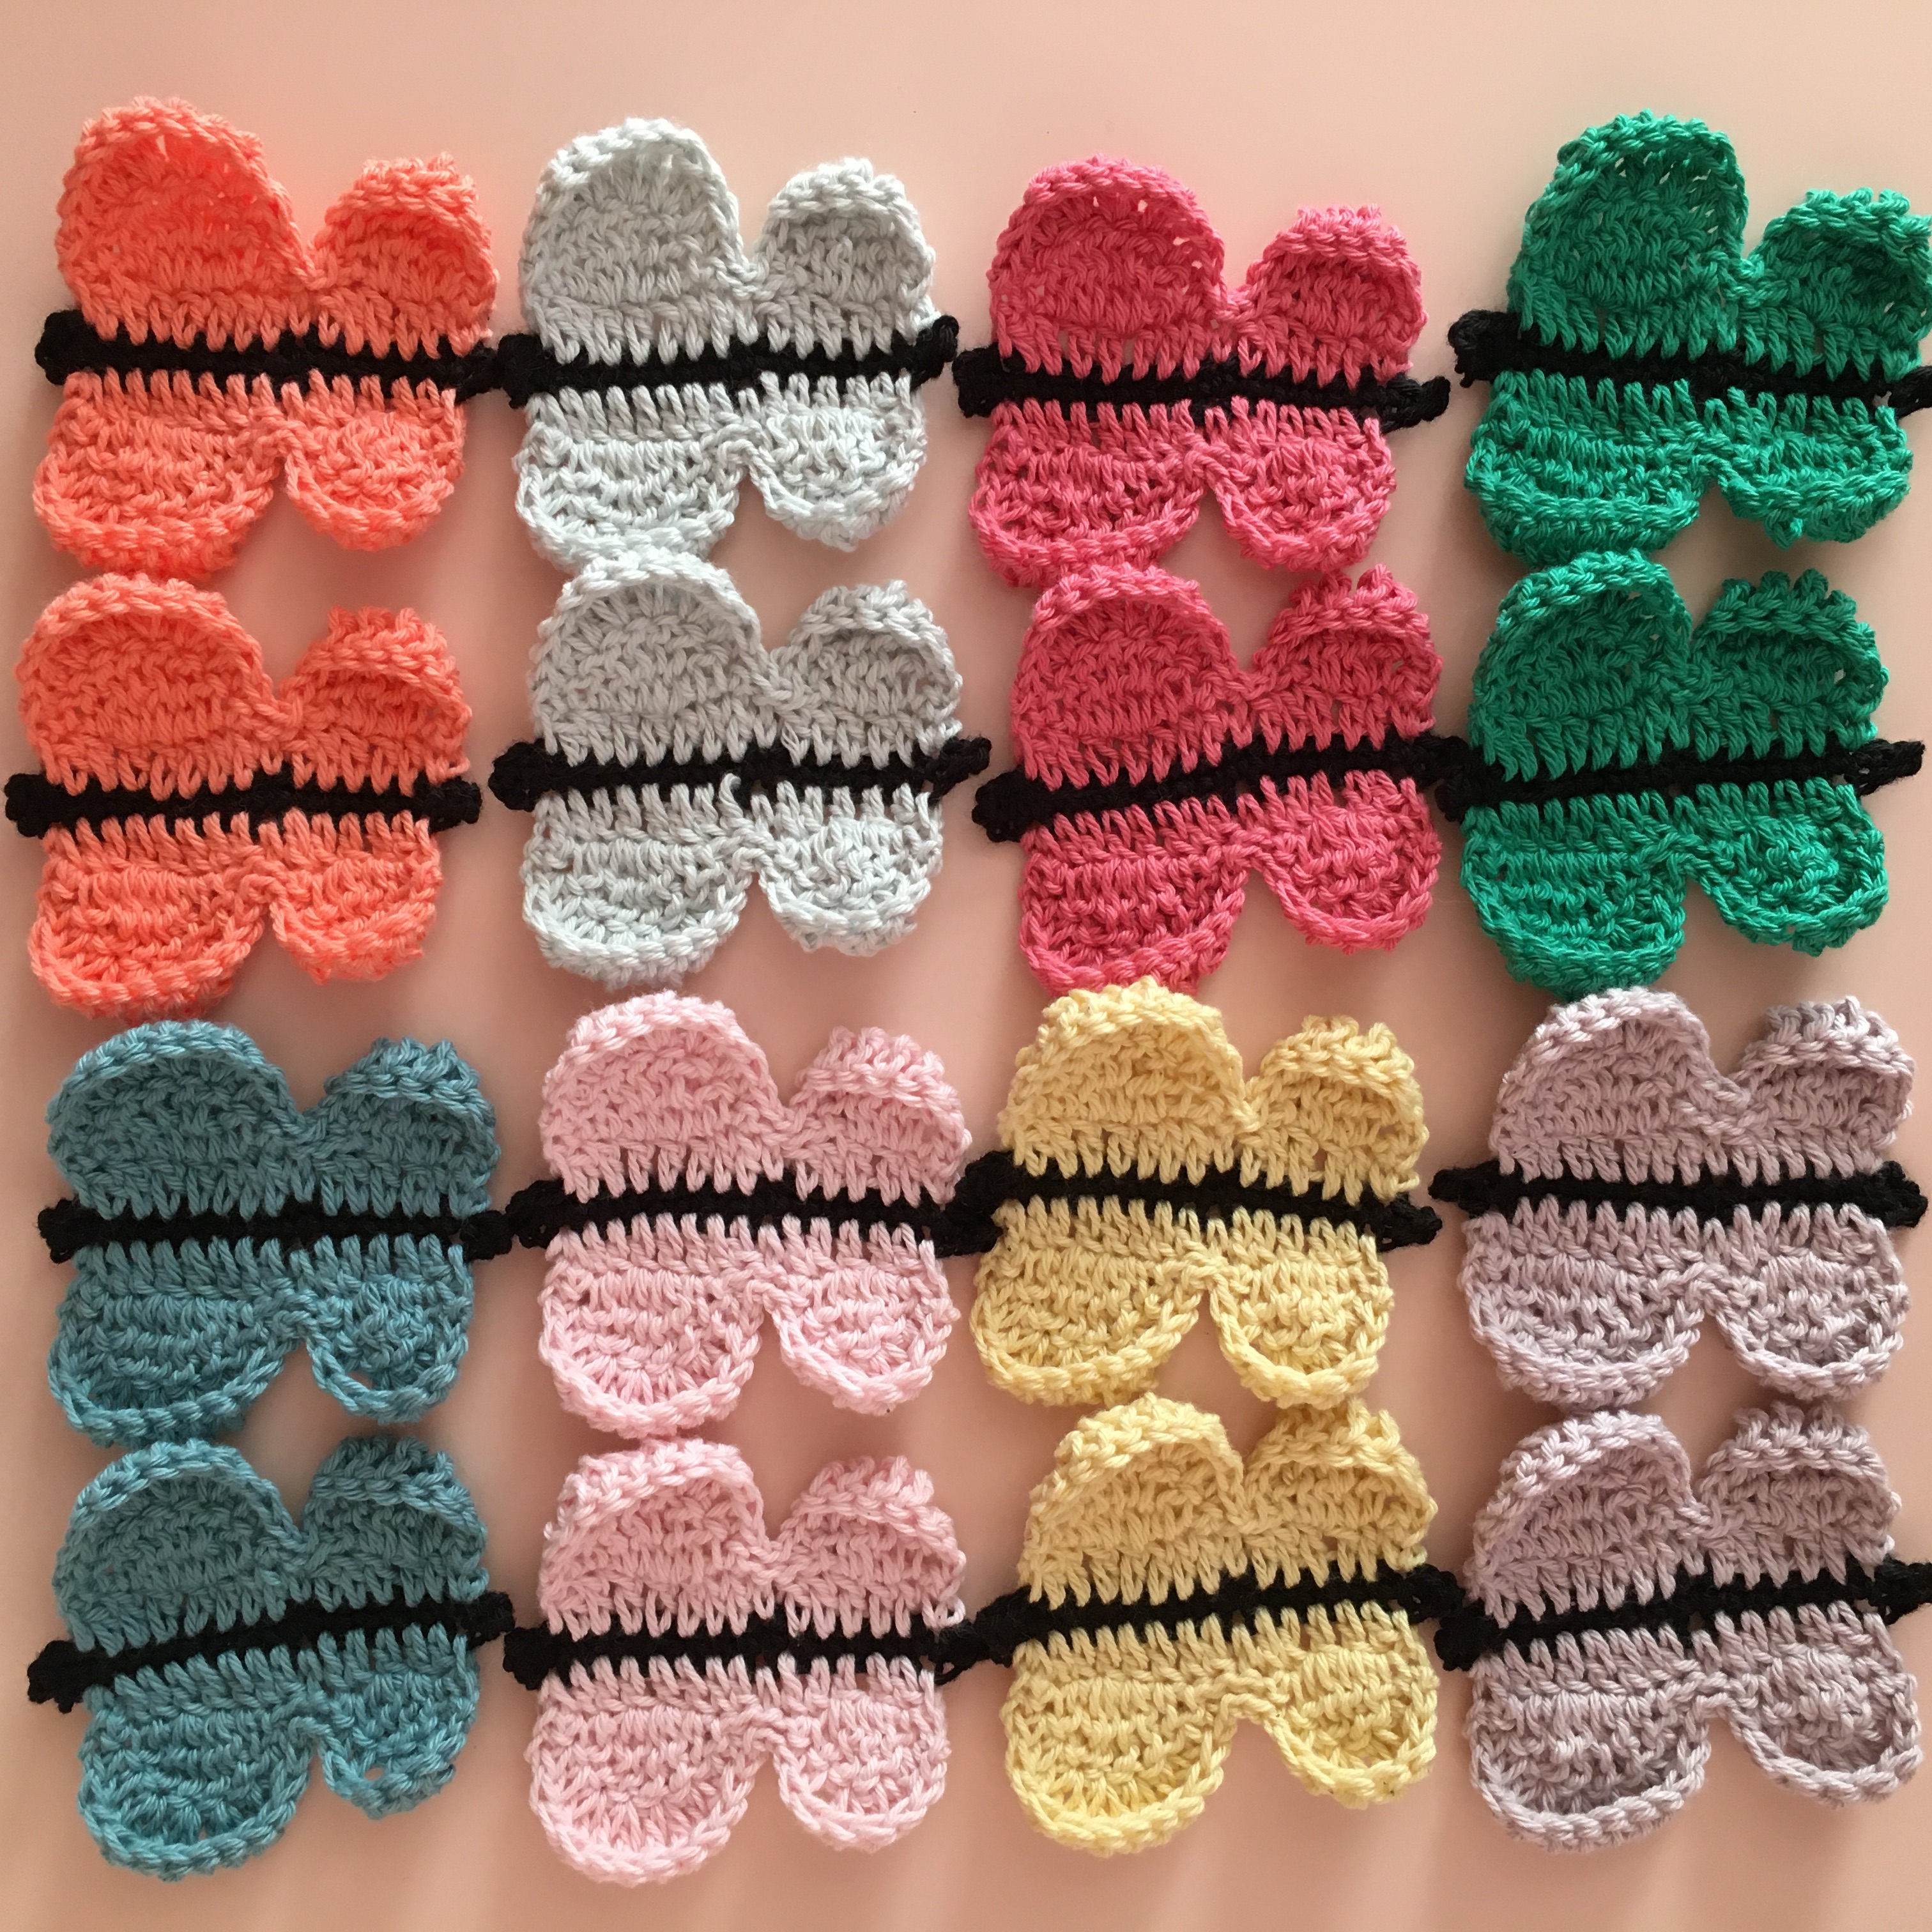
I made 16 butterflies (two of each color).
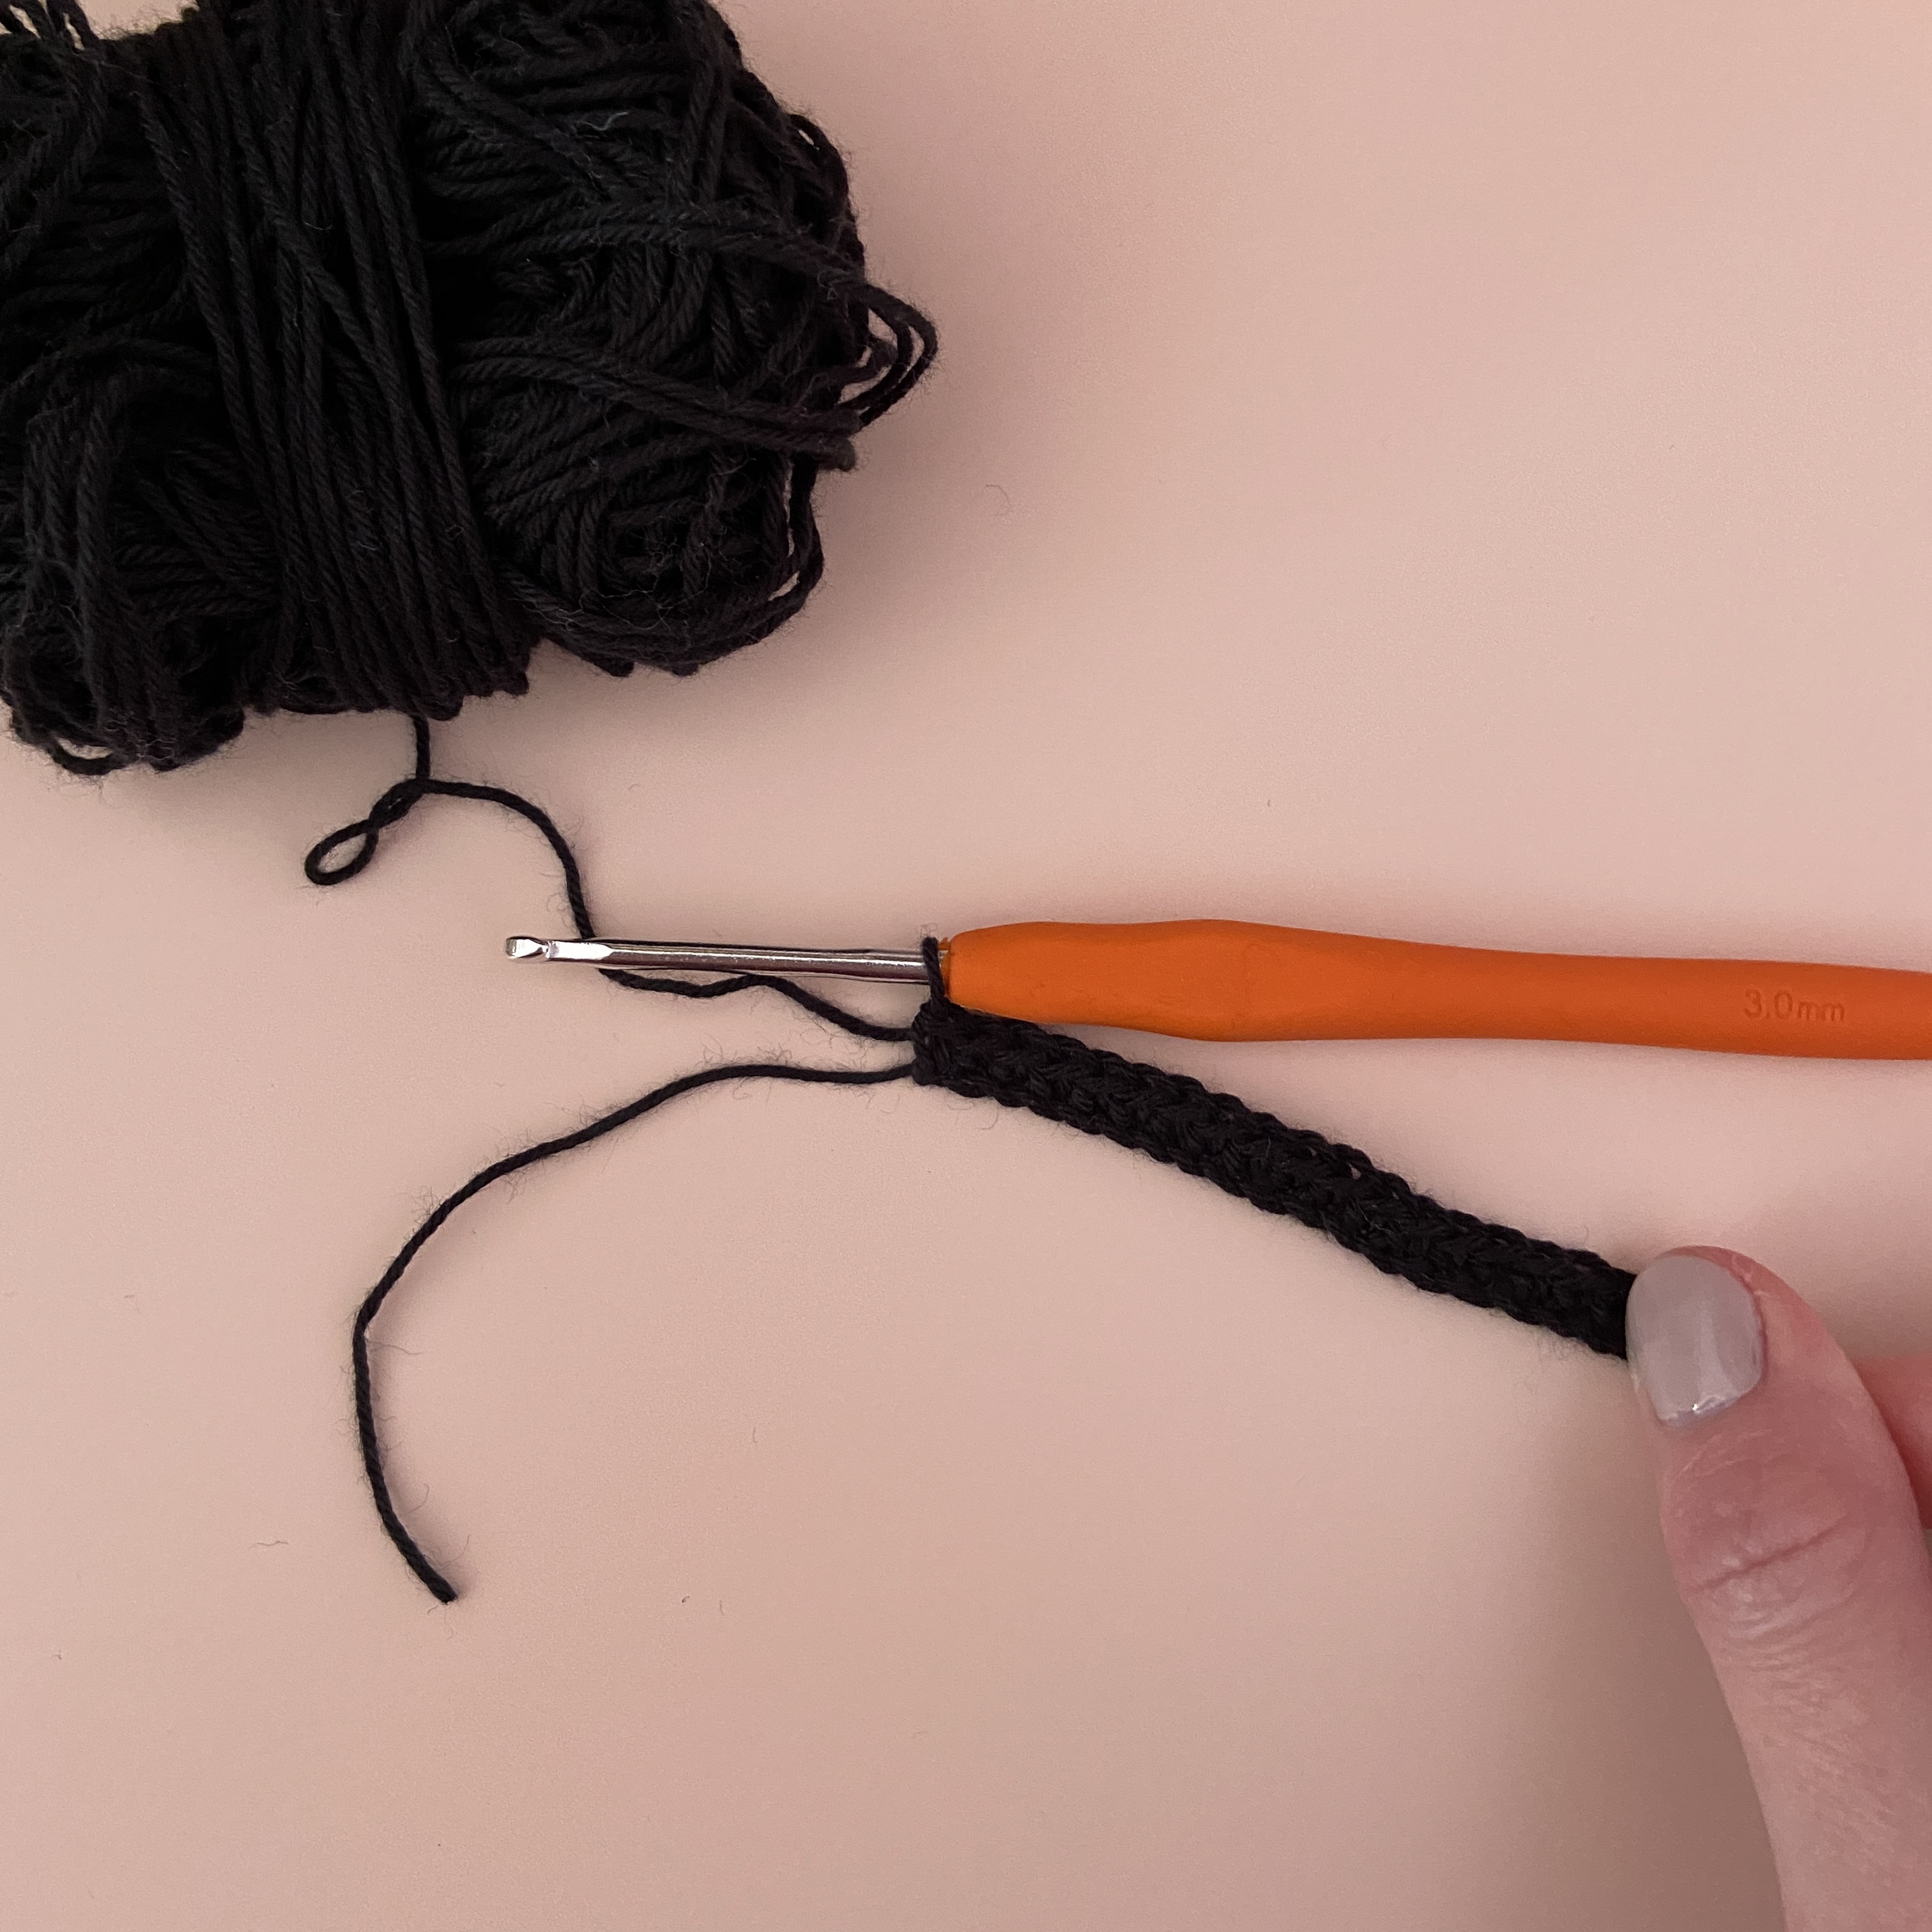
1. With the black, ch 20. Skip the first ch-sp (does not count as a st), and sc into the following 19 ch-sps. Fasten off. (19).
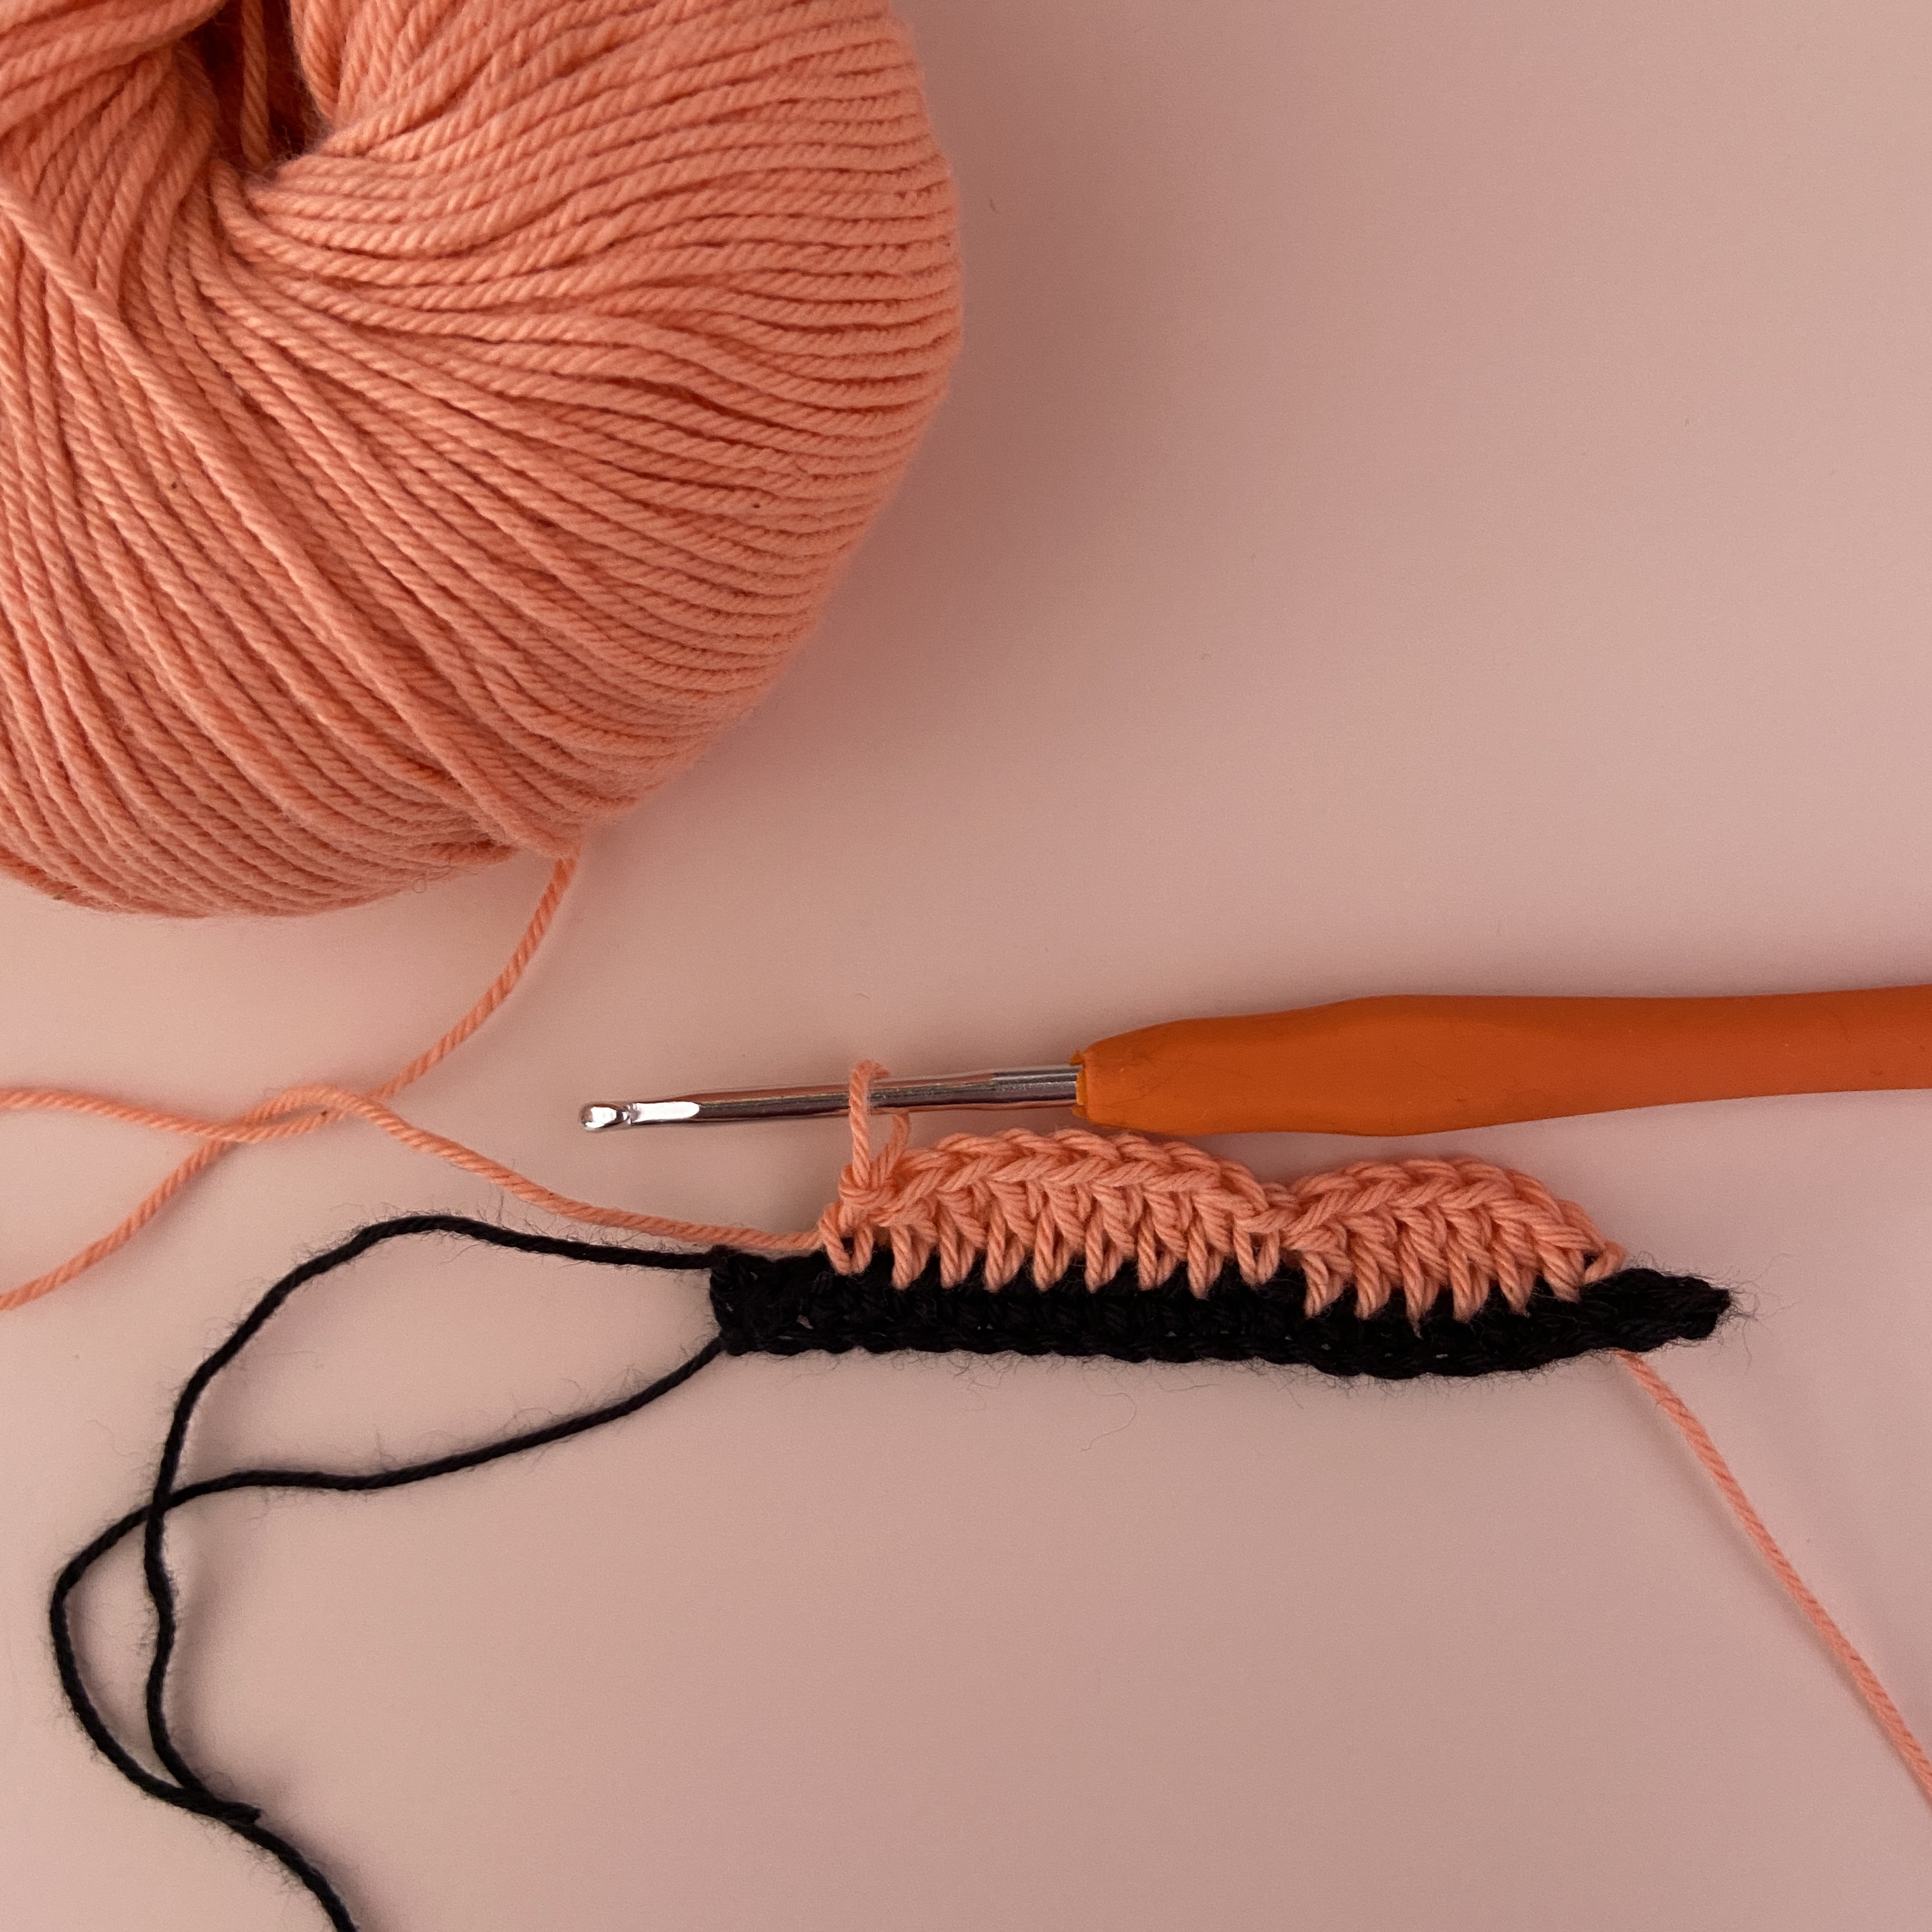
2. Join the color of the wings into the third sc, [ch 1 (does not count as a st), sc]. 5 dc, sc, 7 dc, sc. FLIP. (15).
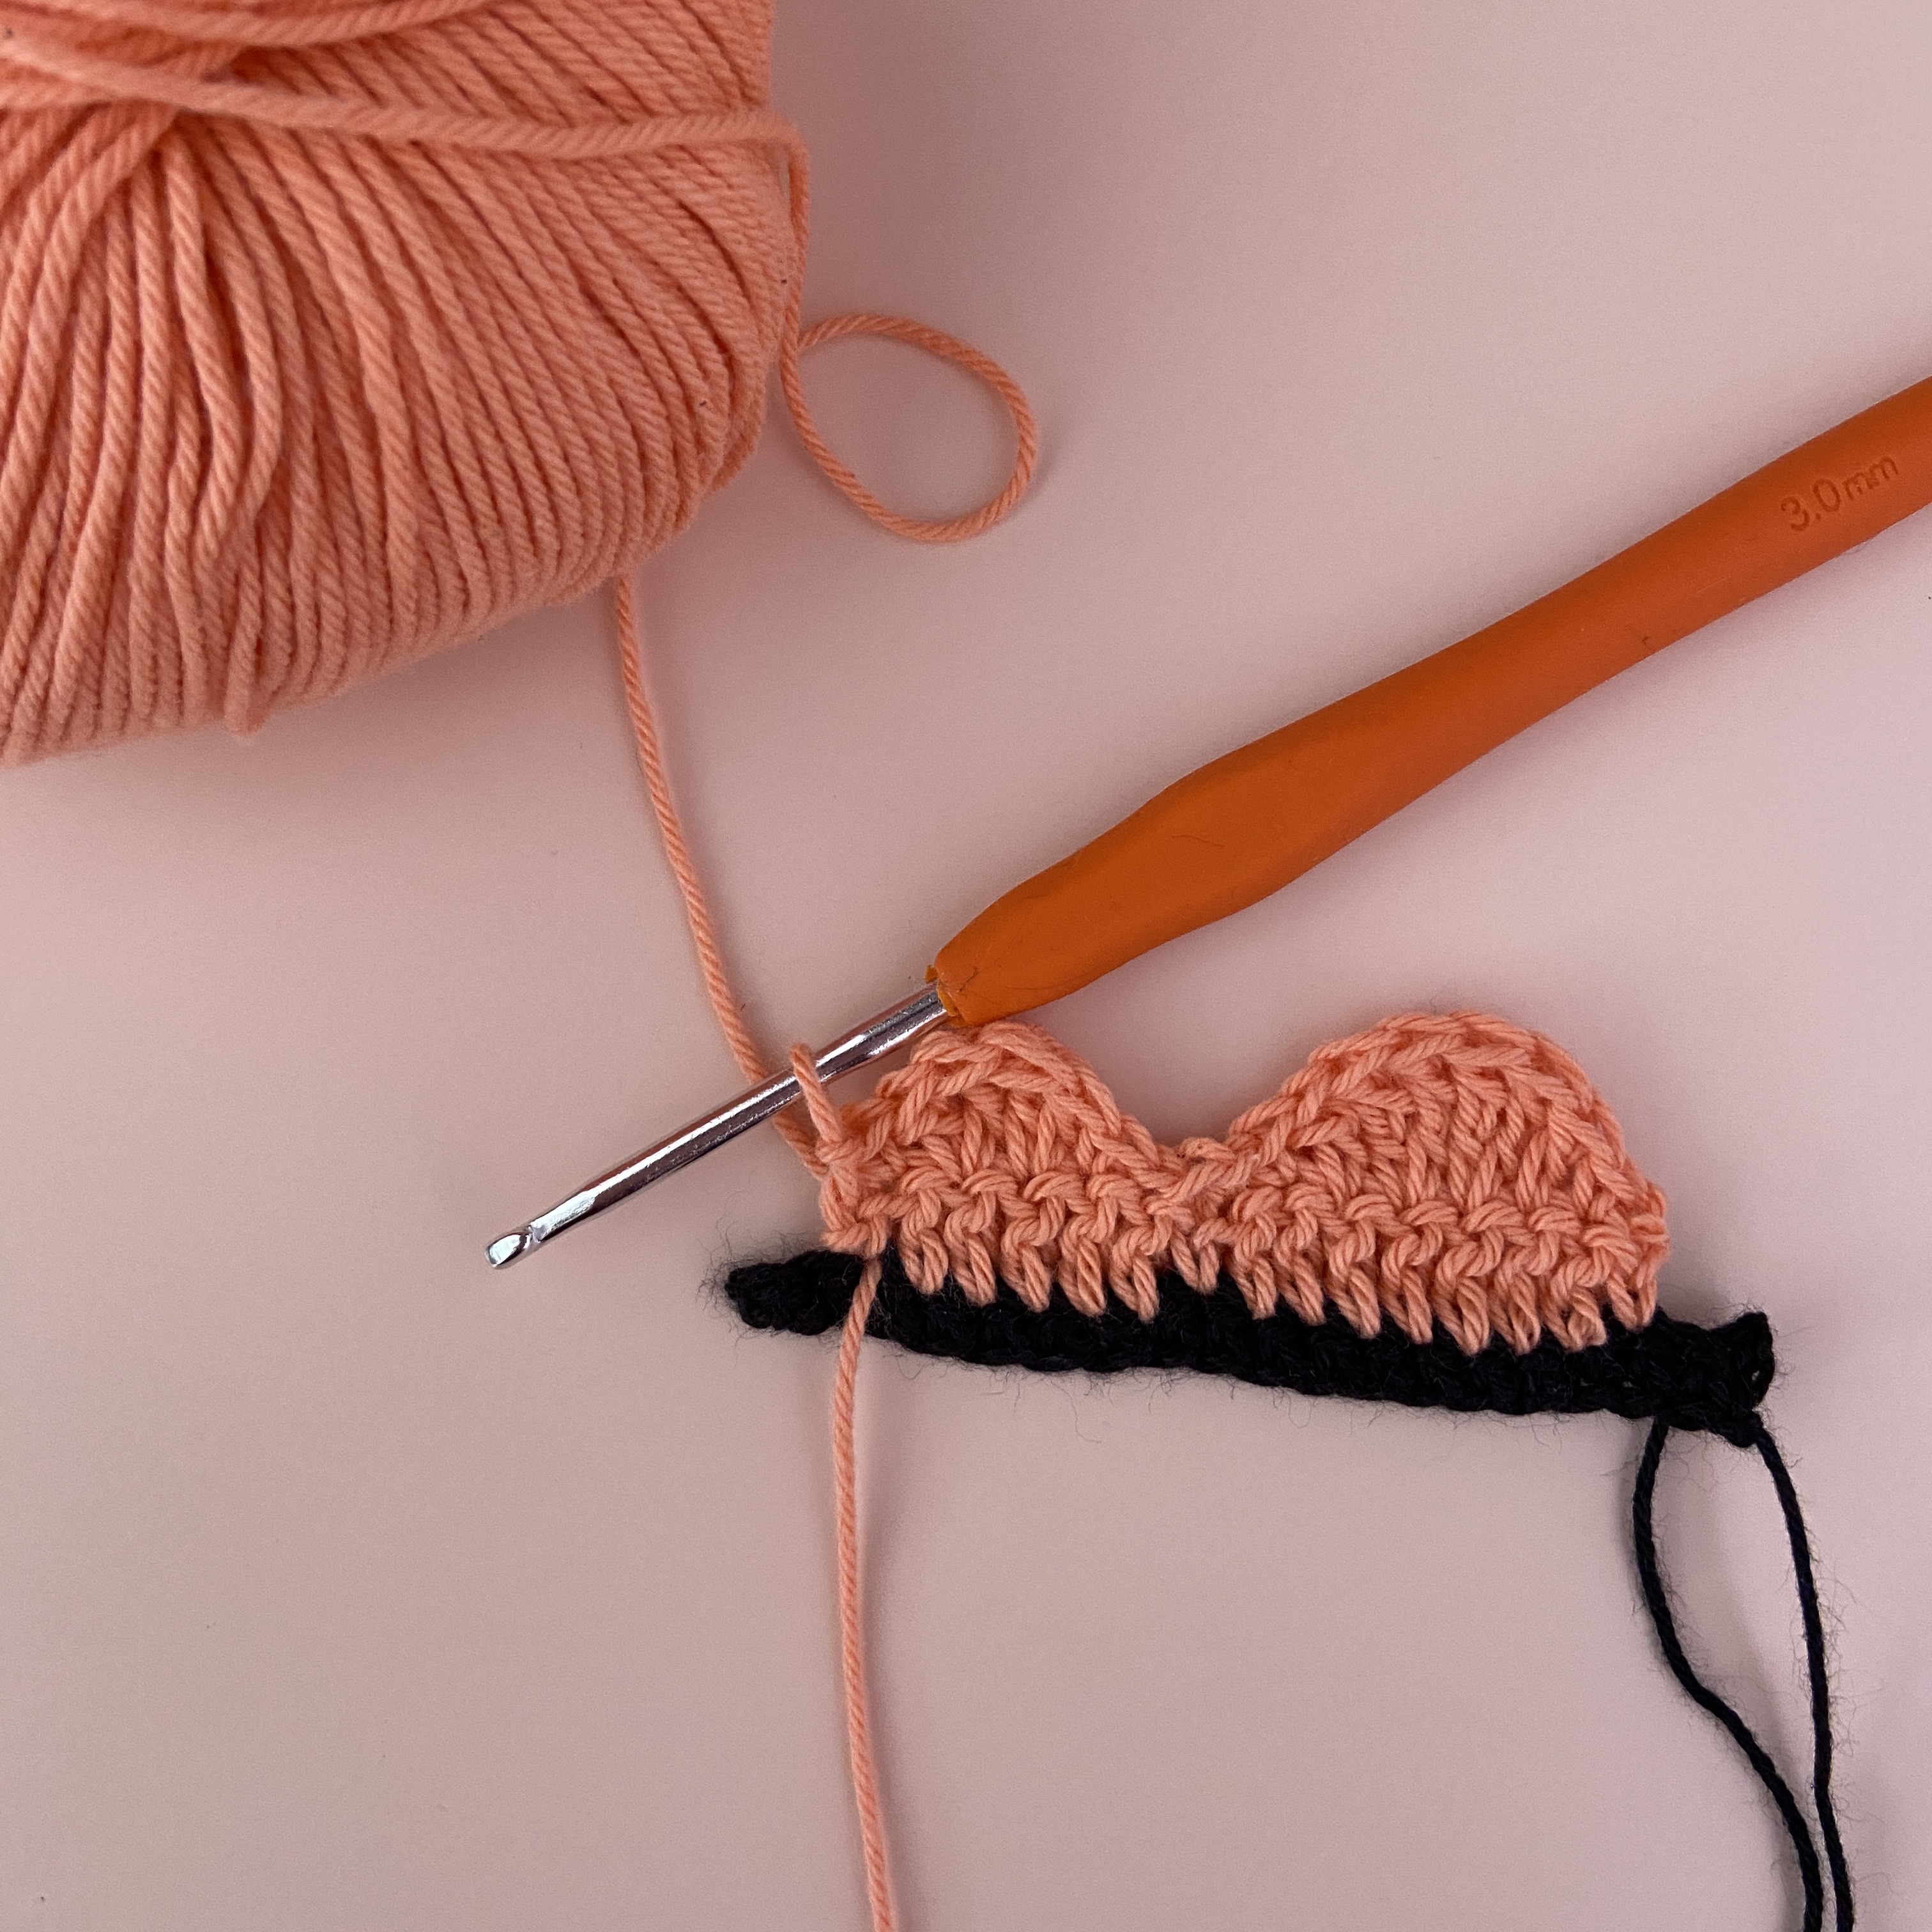
3. Ch 1 (counts as first ss). Sc, dc, [2 tr], [2 tr], dc, sc, 3 ss, sc, [dc, tr], [tr, dc], sc, ss. FLIP. (19).
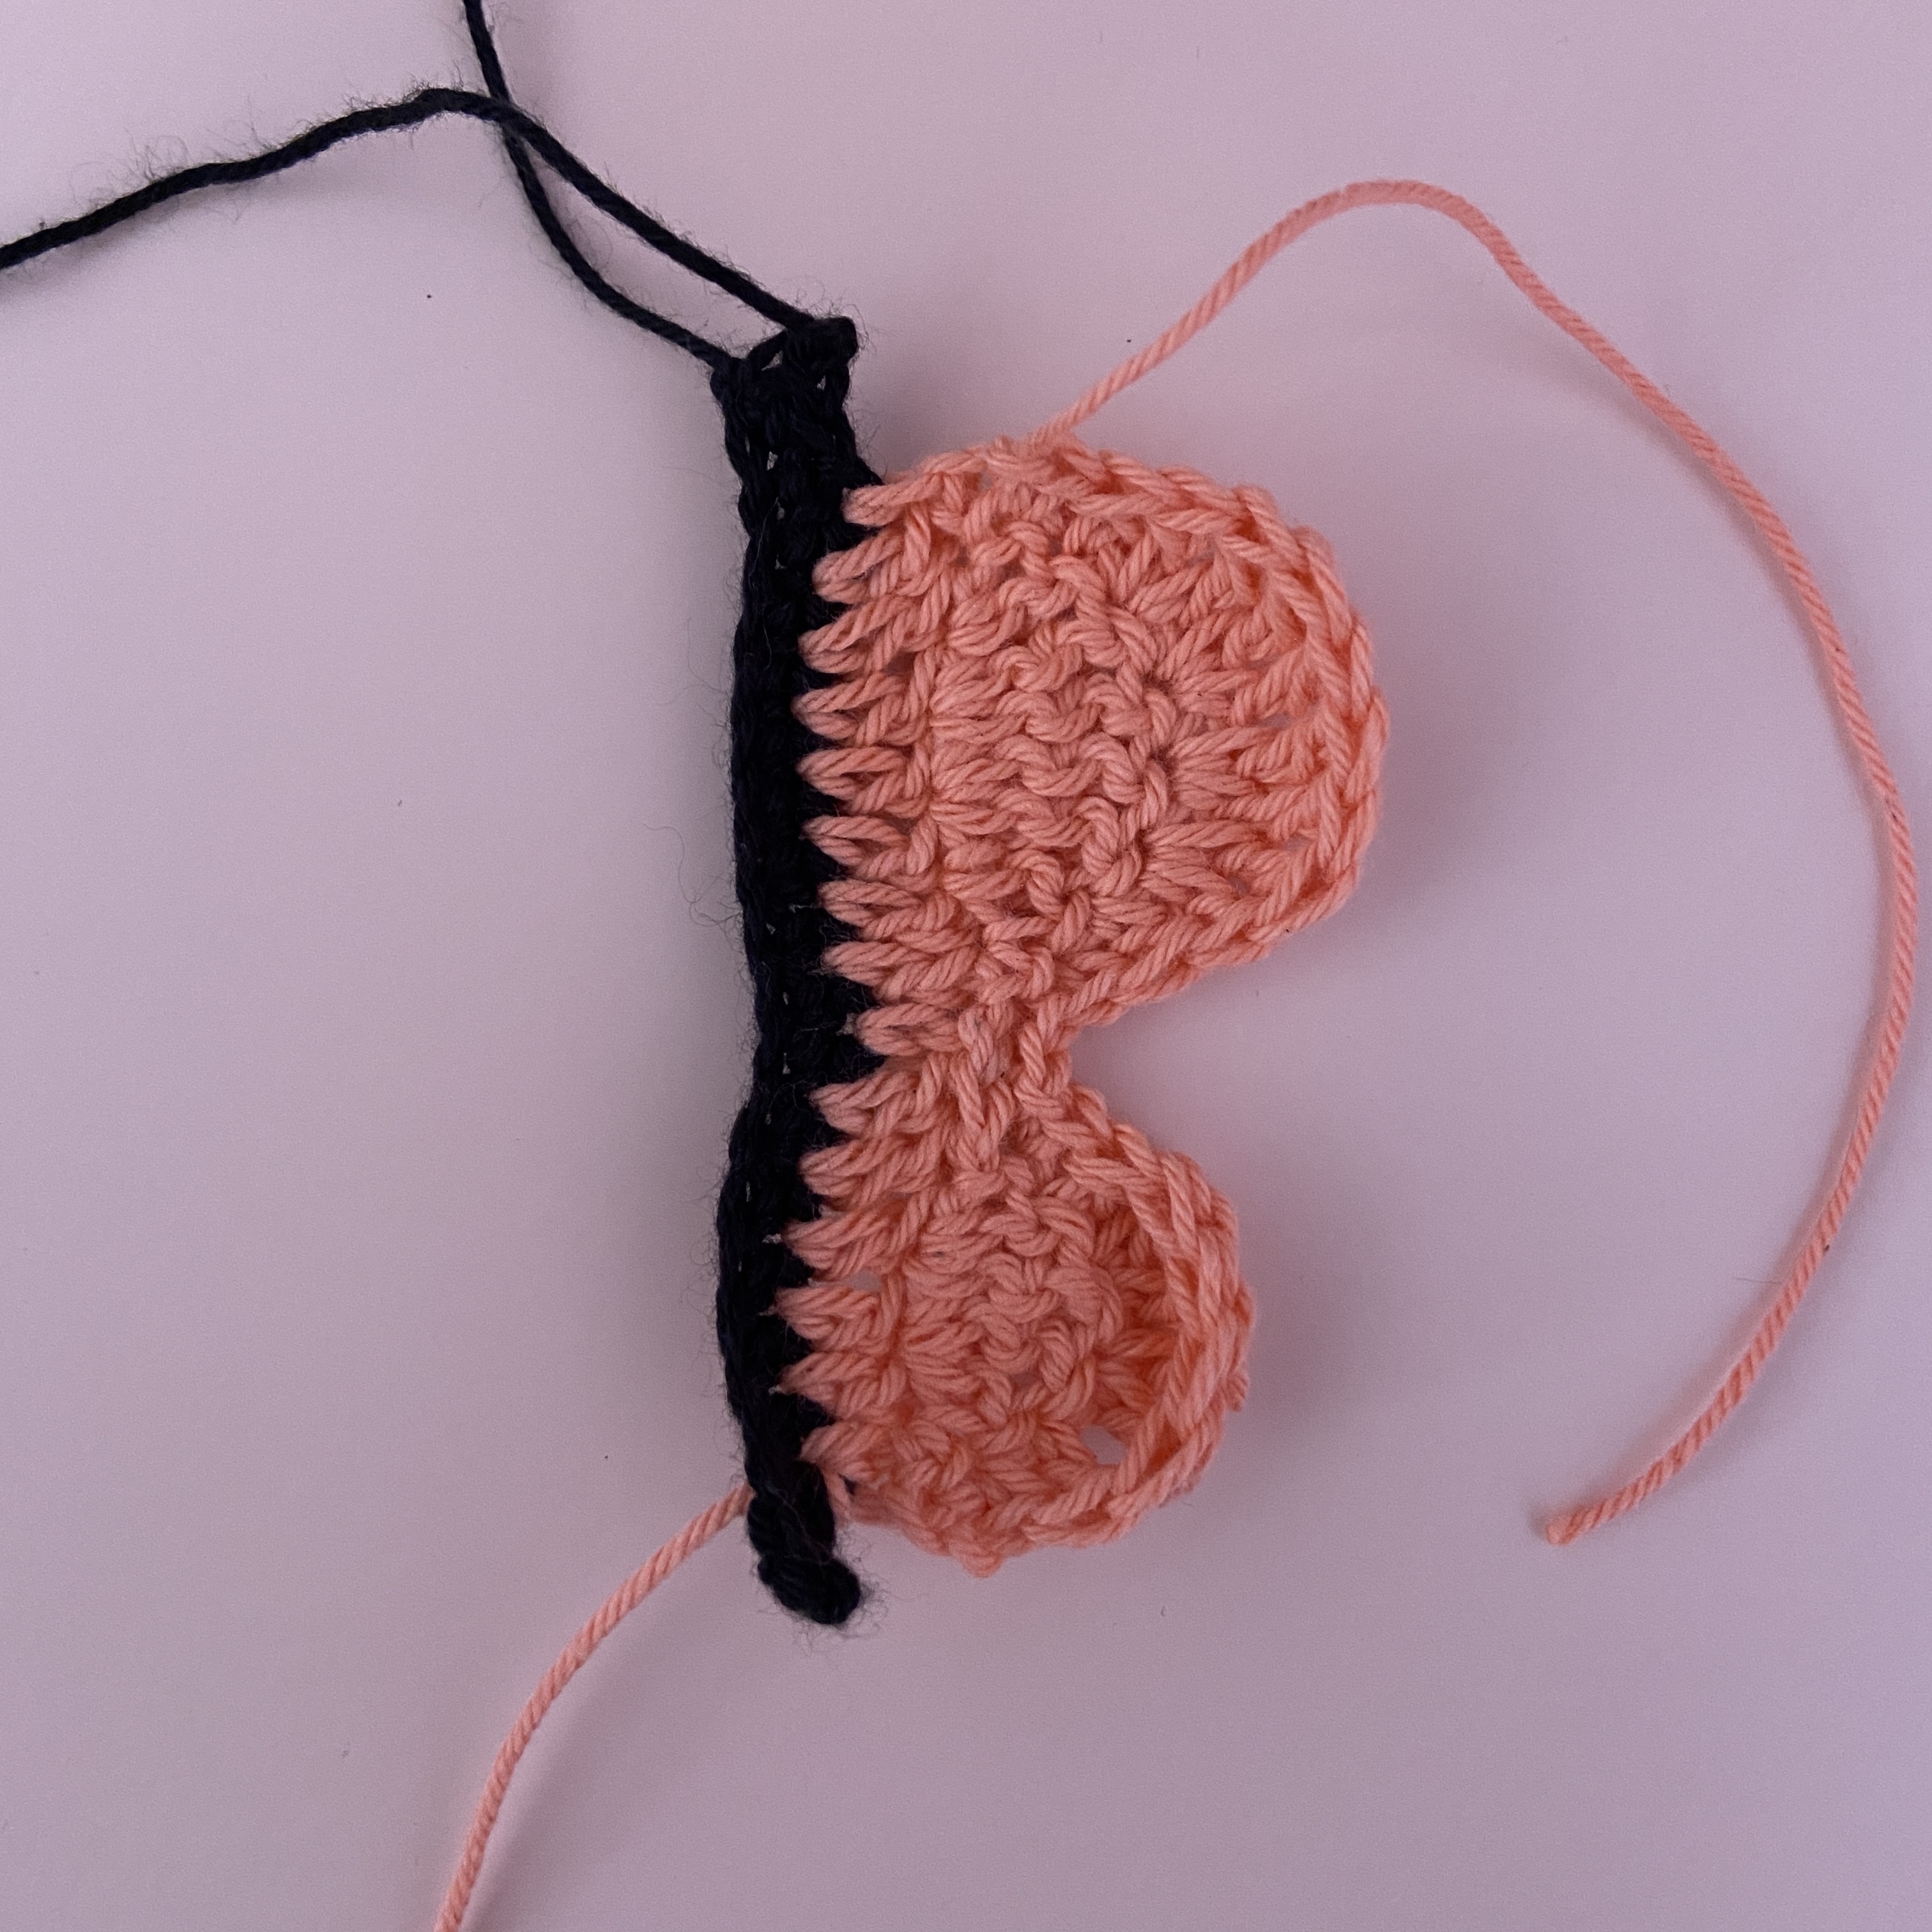
4. Ch 1 (counts as the first ss). Sc, dc, [2 tr], [2 tr], dc, sc, 3 ss, sc, dc, [dc, tr], [2 tr], [2 tr], [tr, dc], dc, sc, ss. Fasten off. (25).
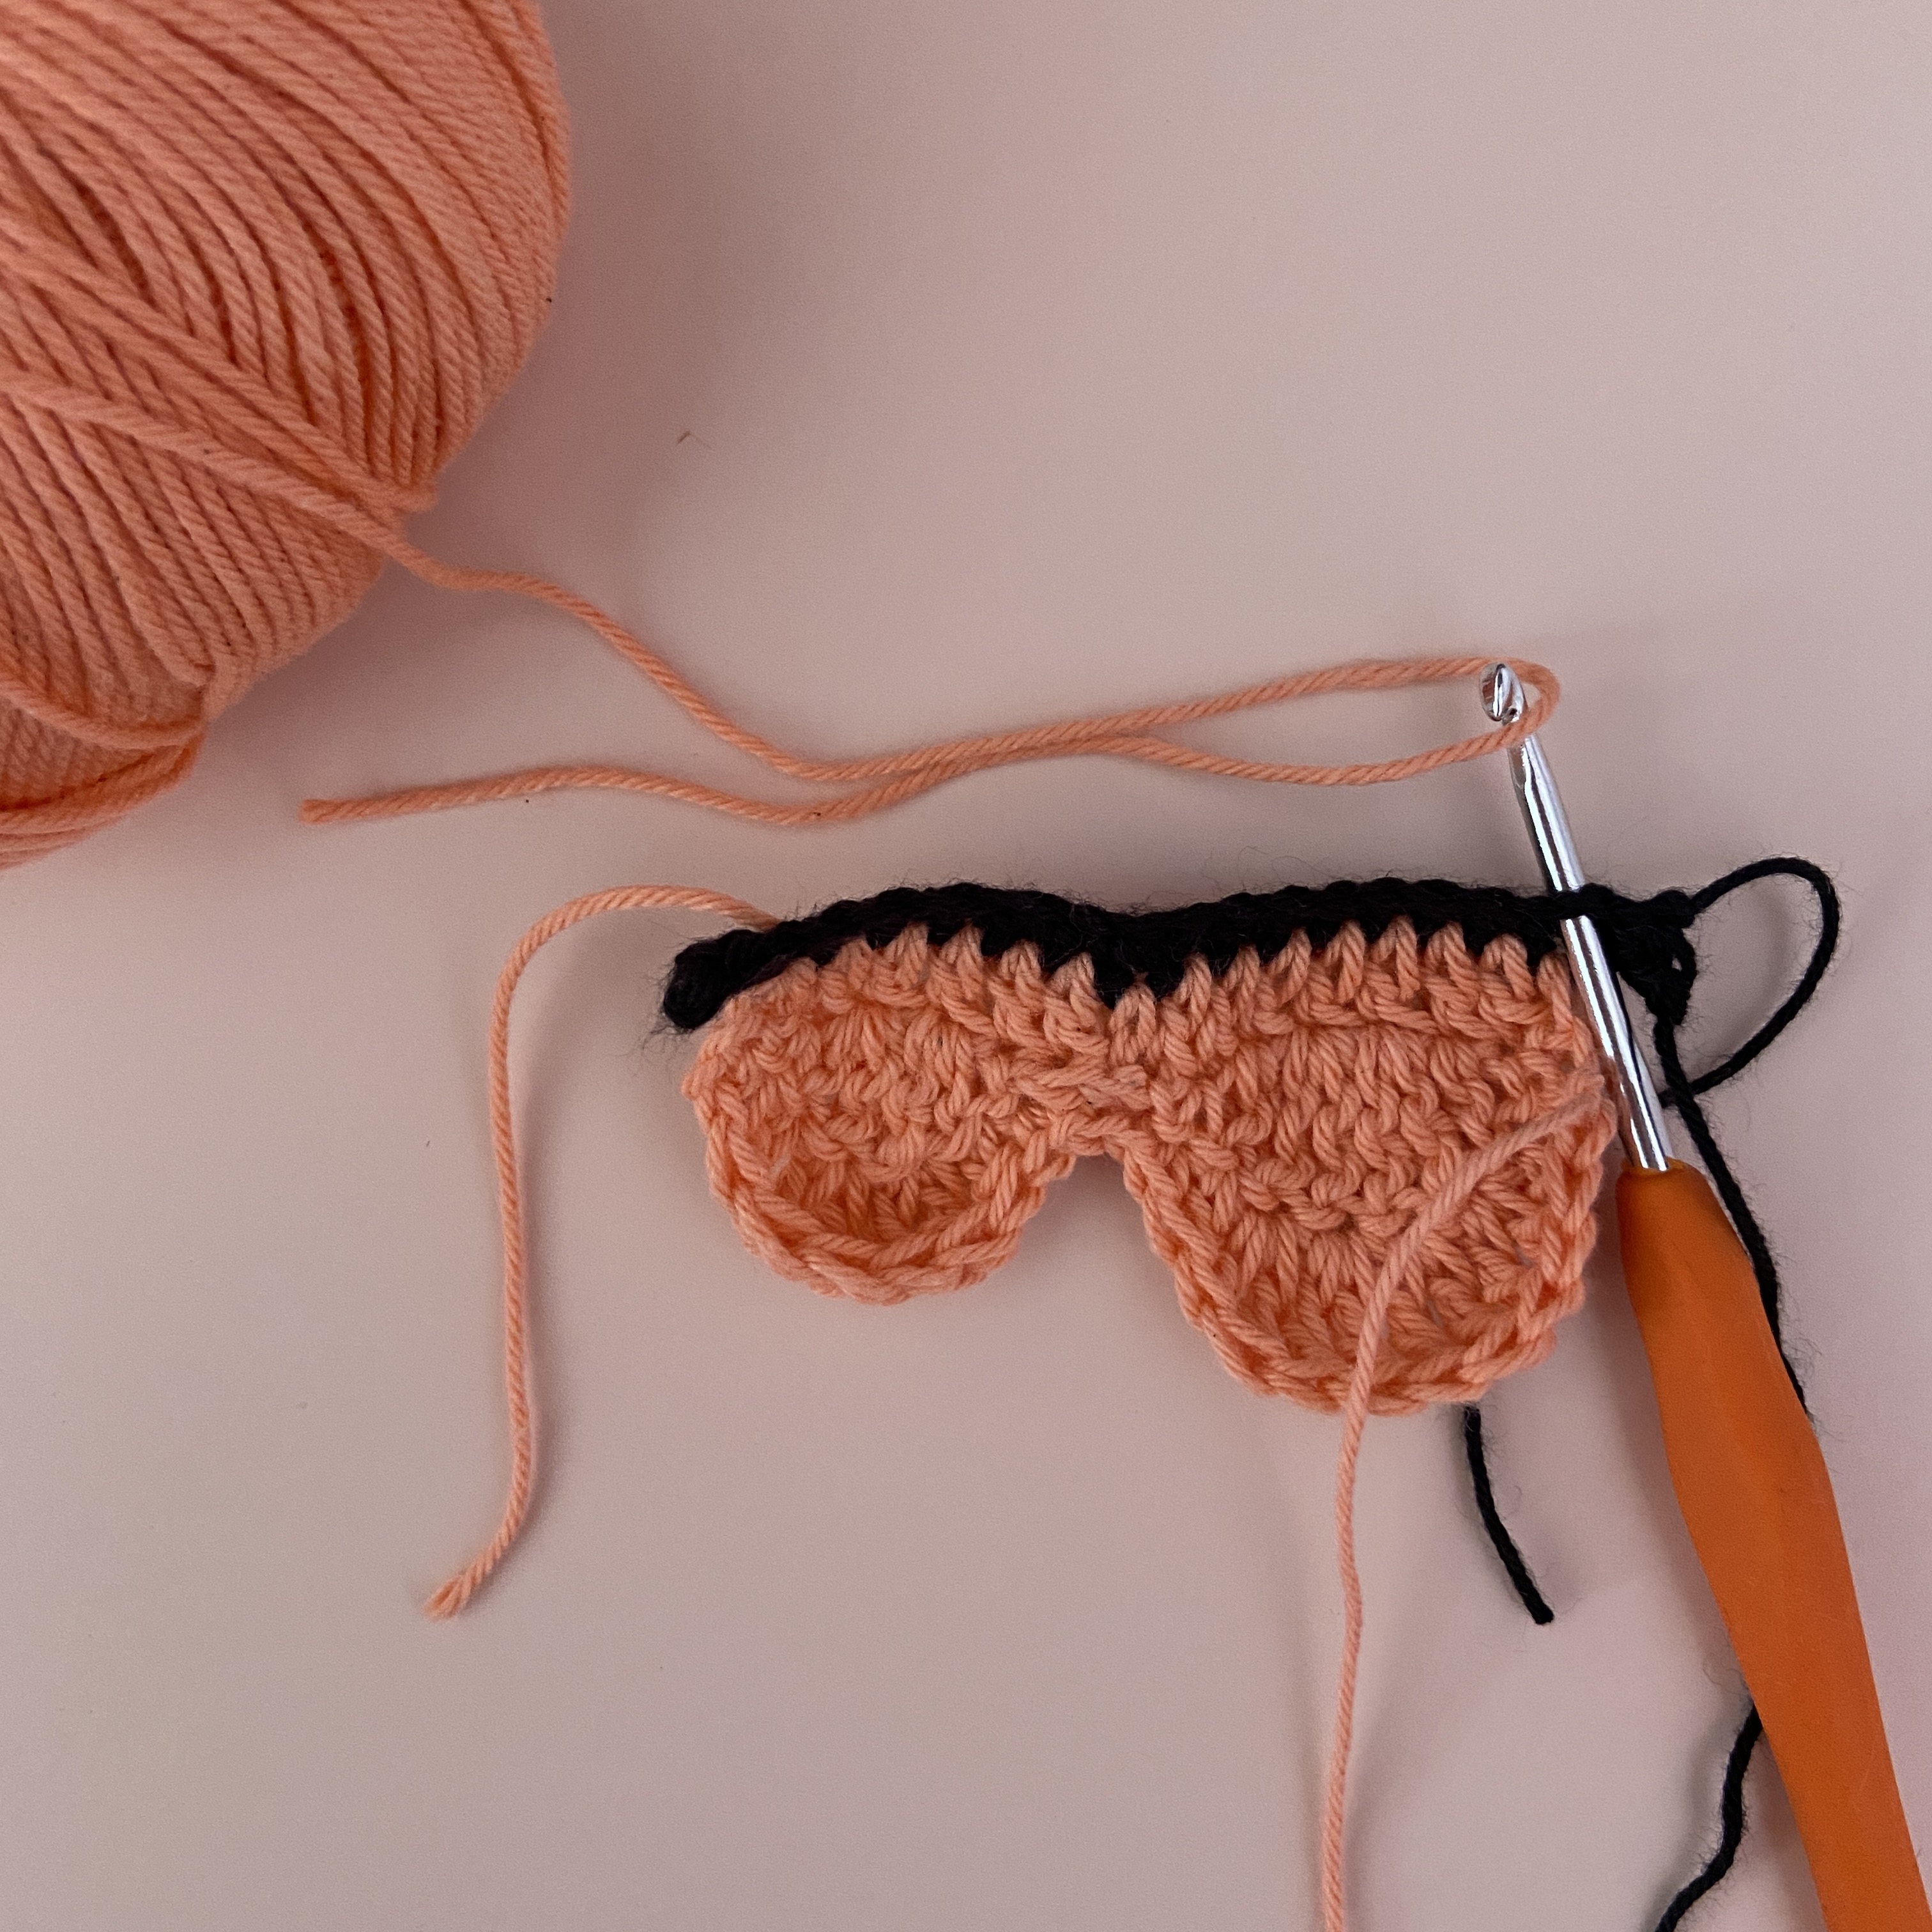
5. Join the color of the wings into the other side of the black row into the 3rd sc. Make sure it is the 3rd sc measured from the side with the larger wing.
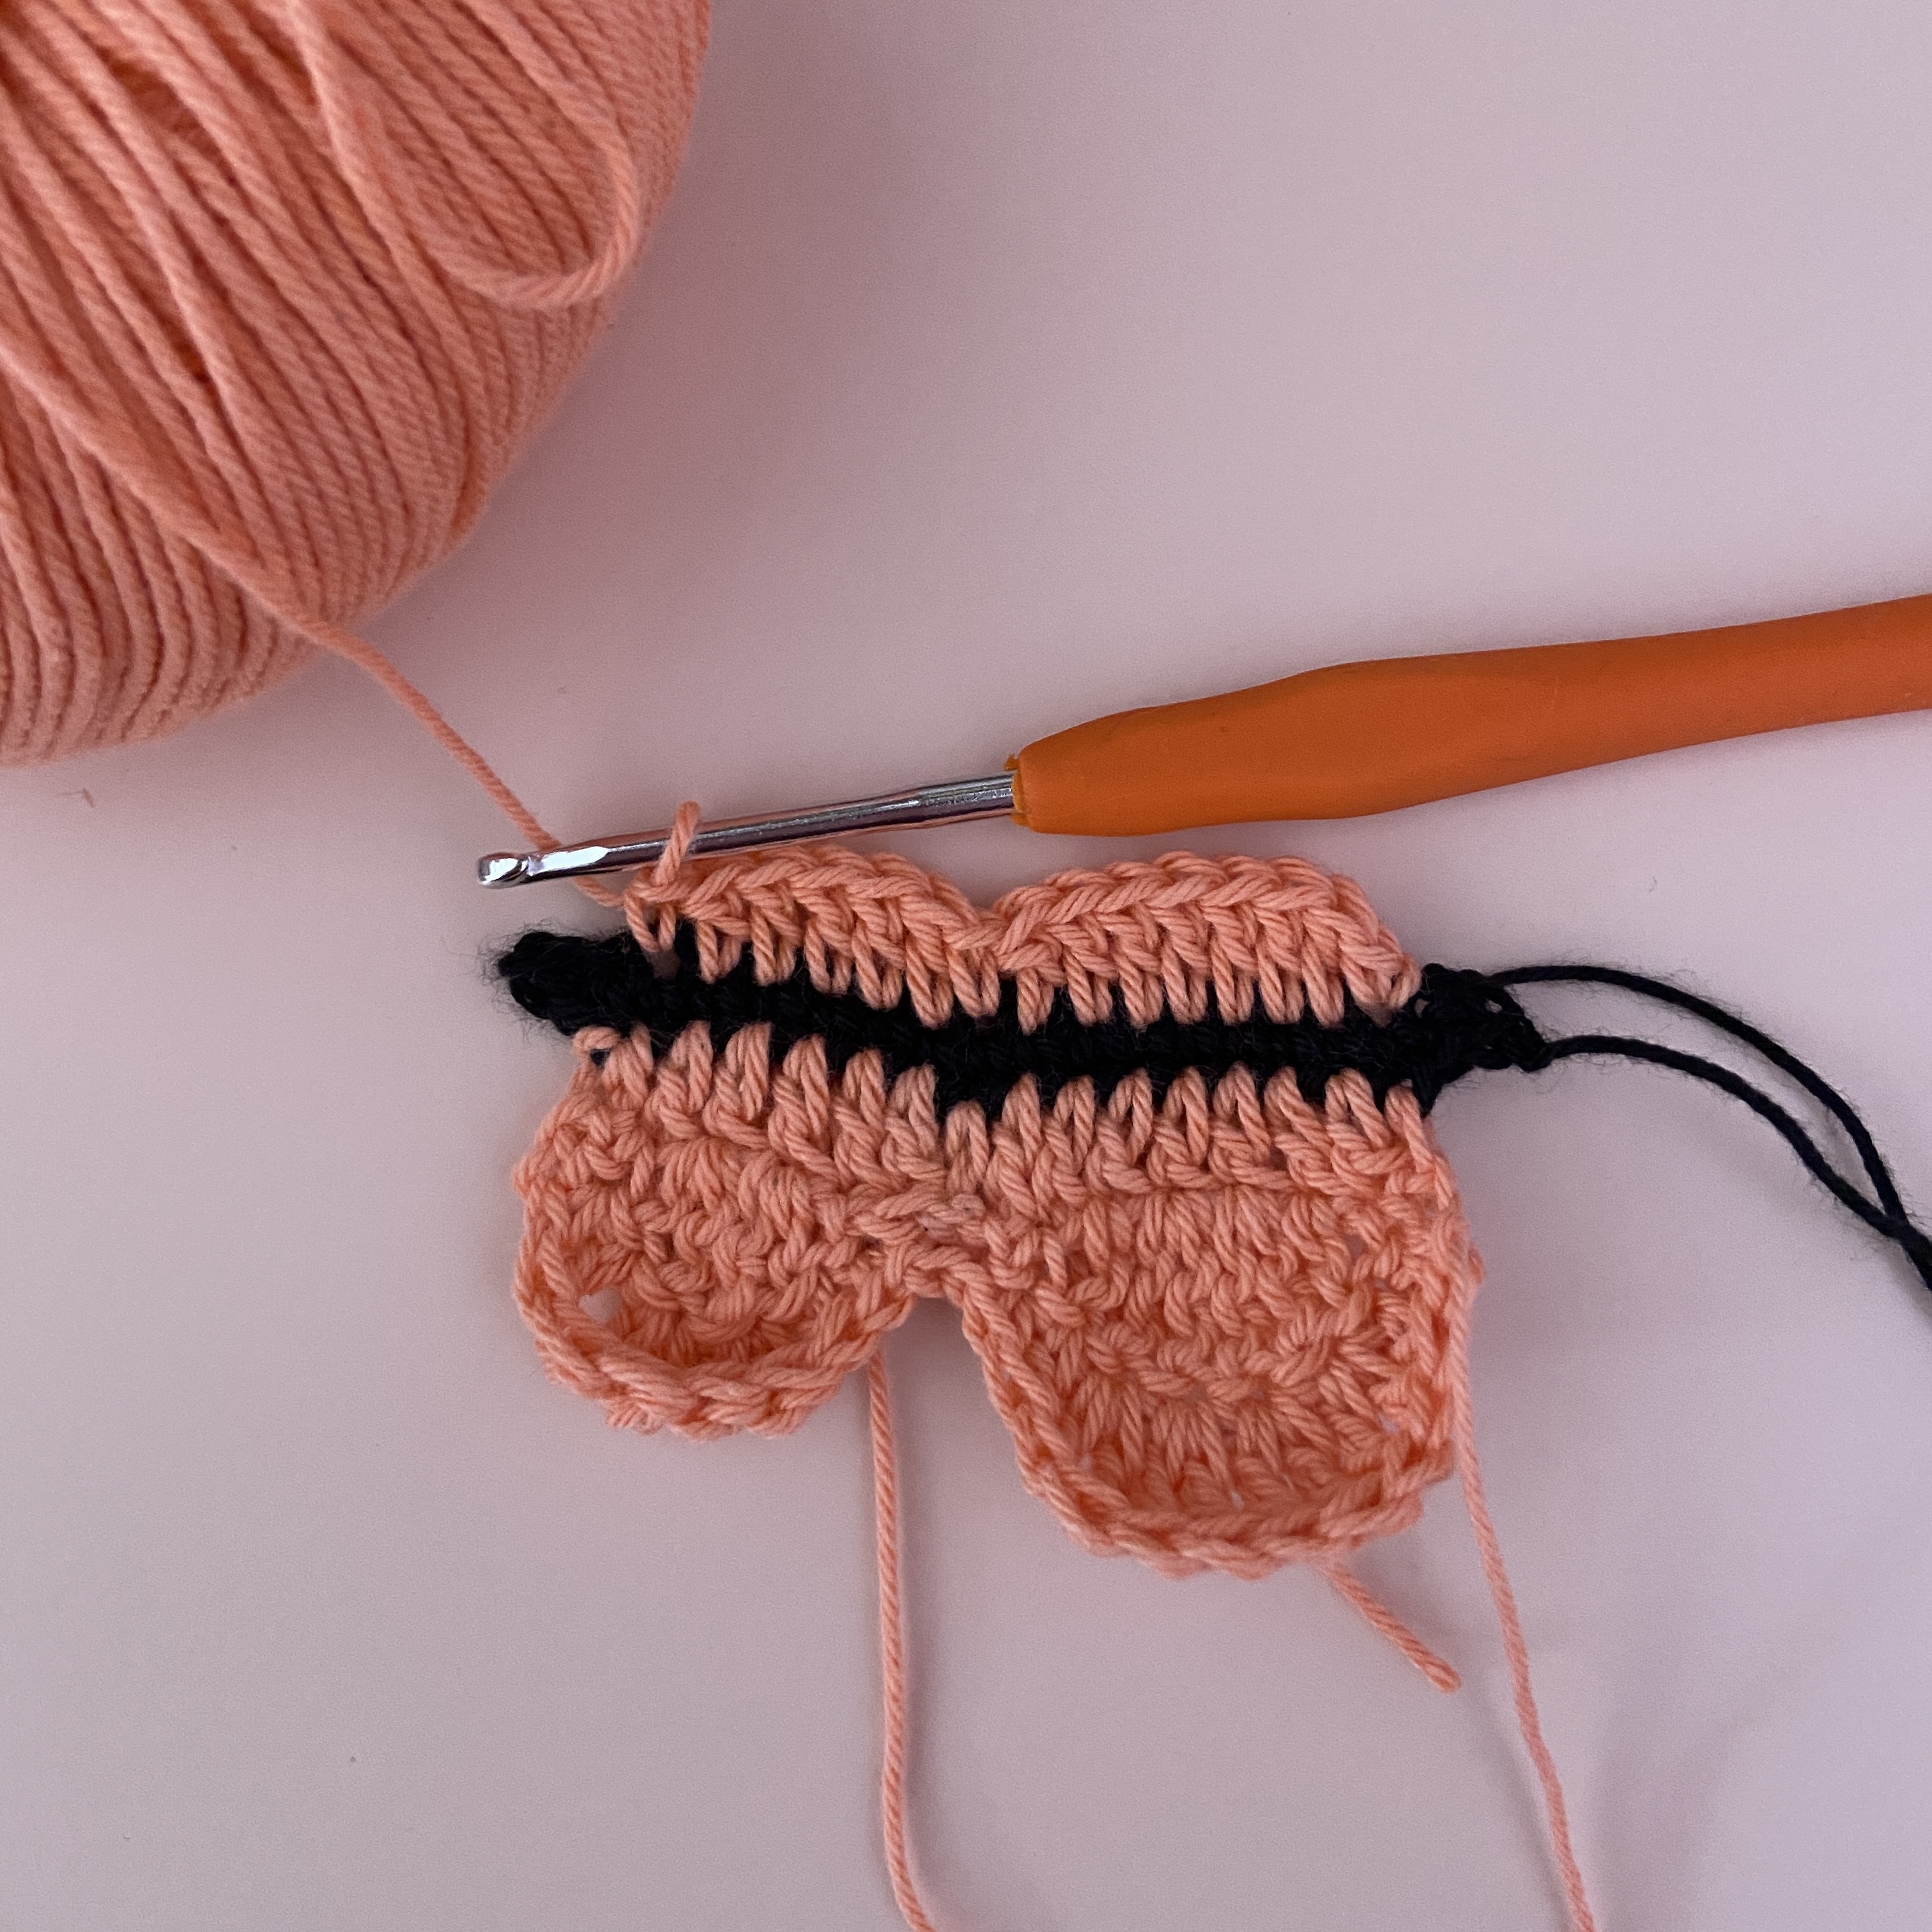
5 continued… [Ch 1 (does not count as a st), sc]. 7 dc, sc, 5 dc, sc. FLIP. (15).
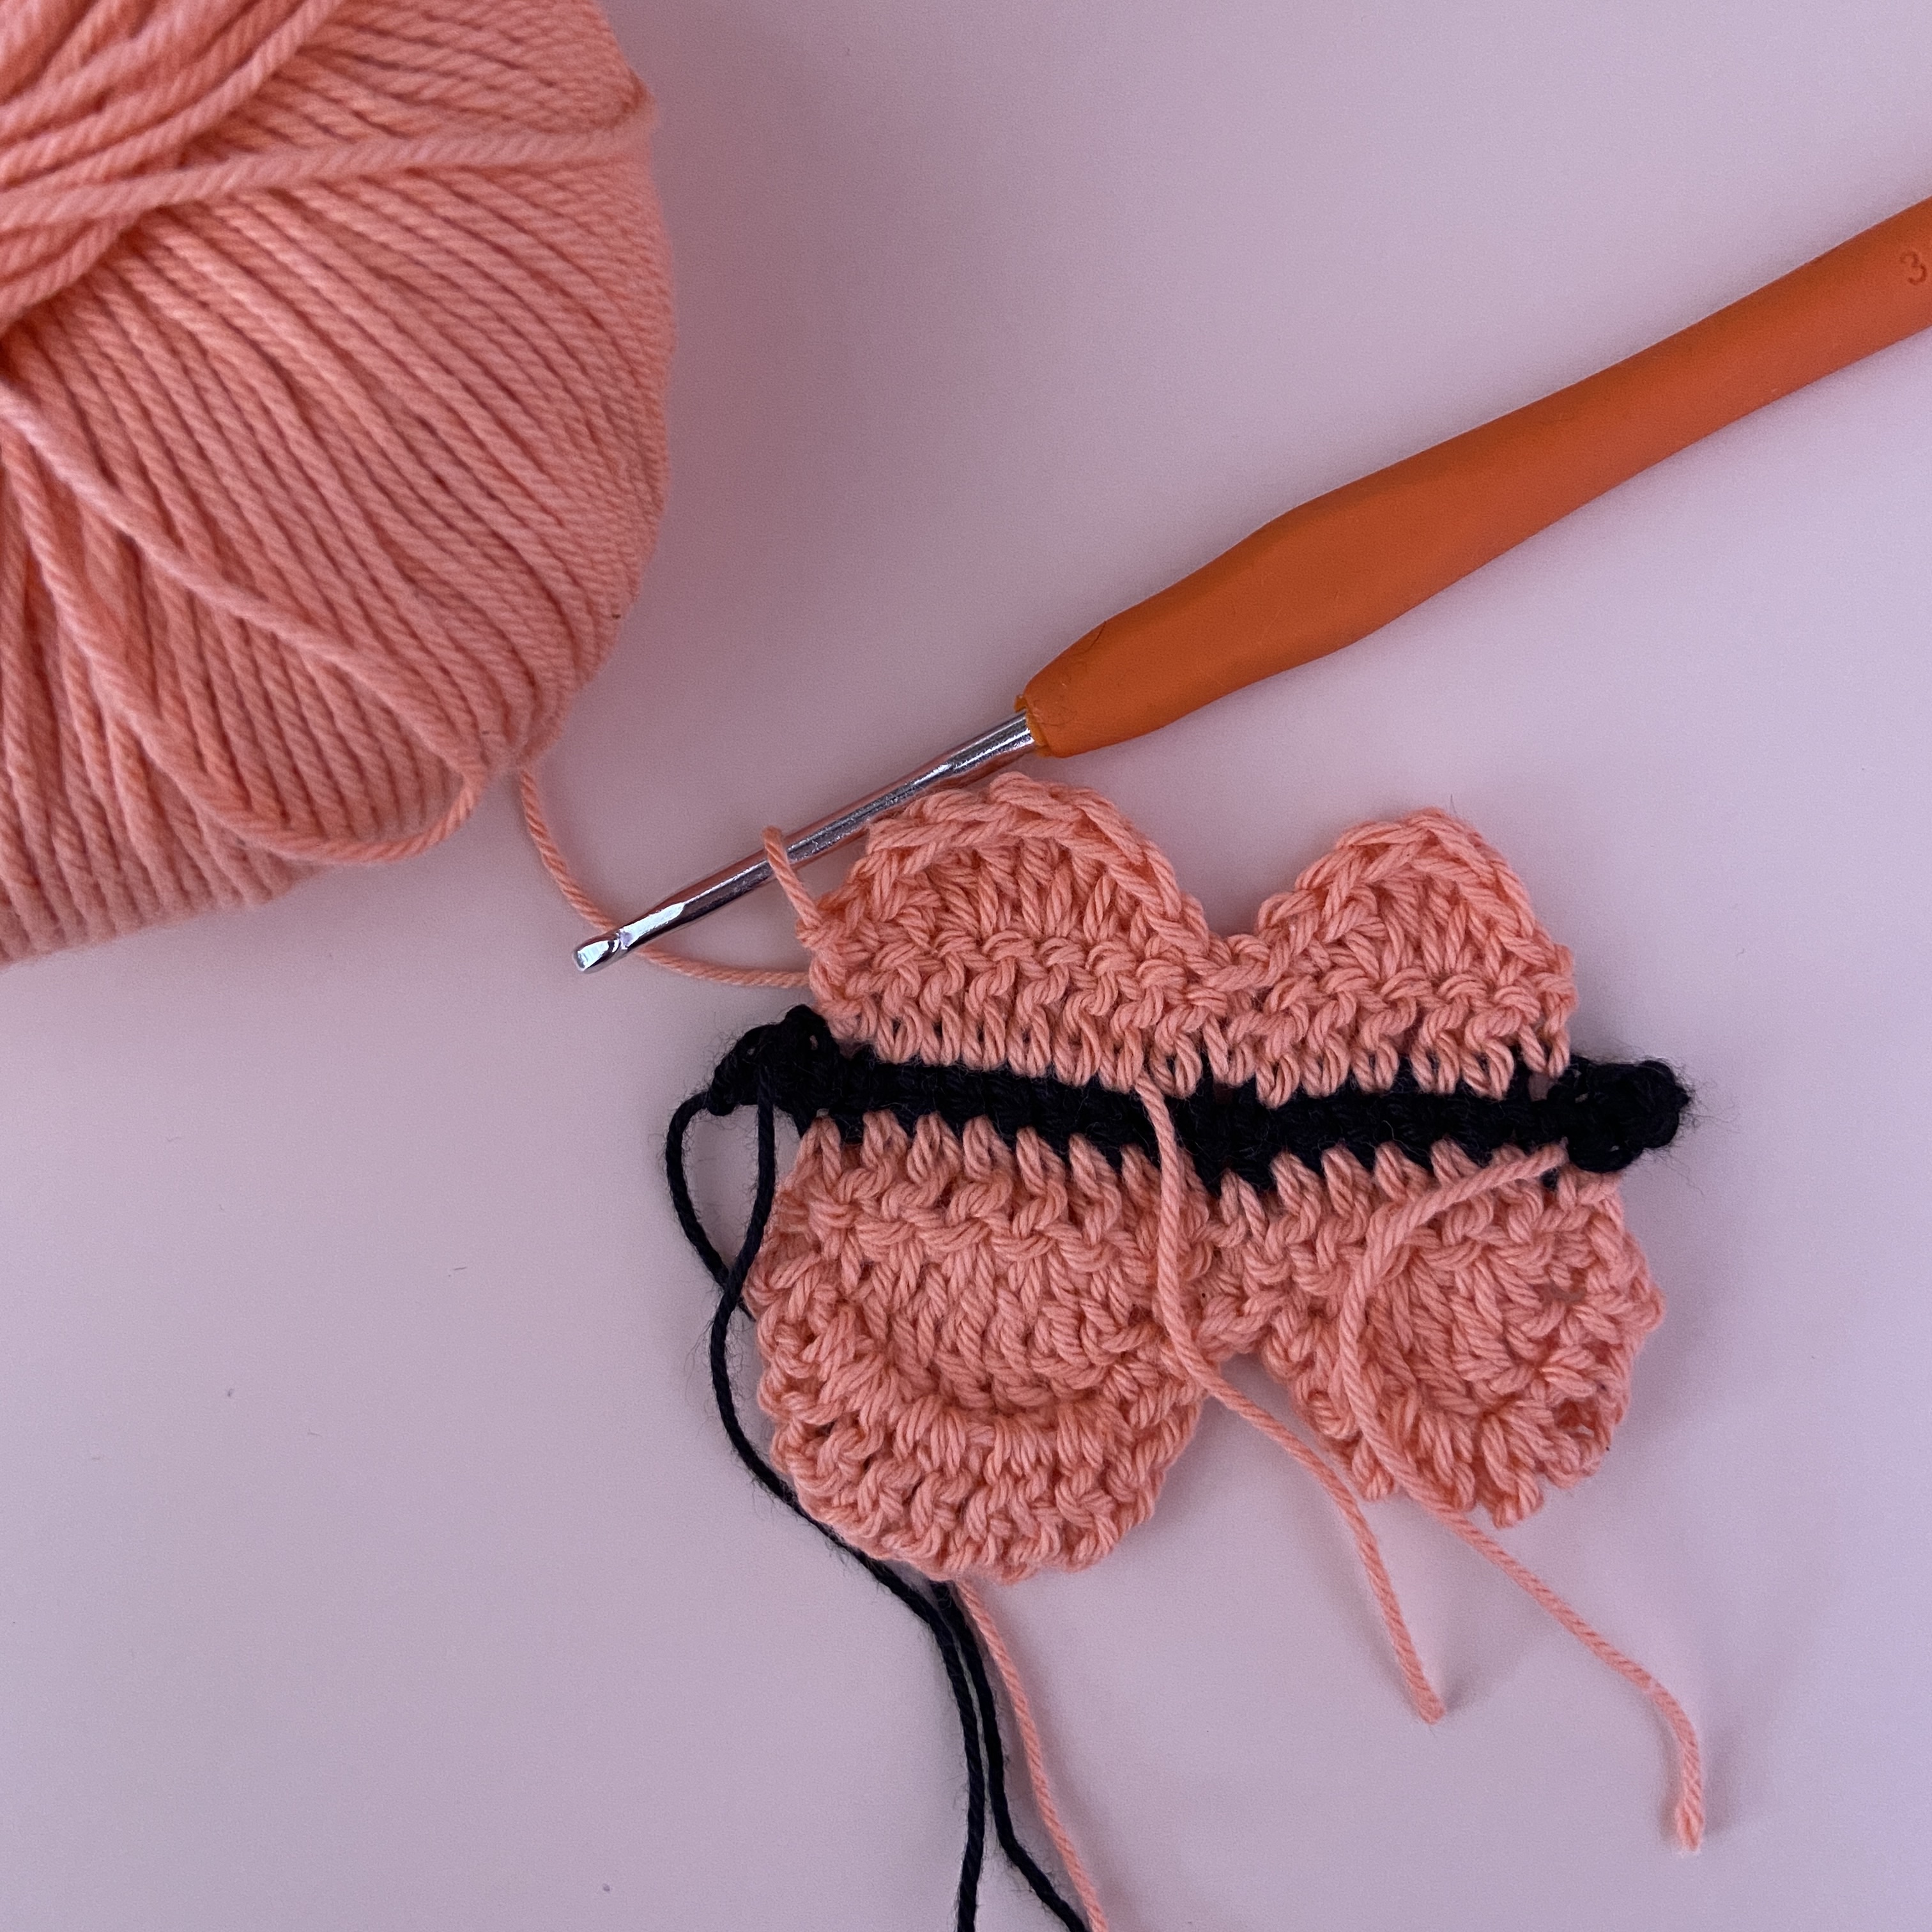
6. Ch 1 (counts as the first ss). Sc, [dc, tr], [tr, dc], sc, 3 ss, sc, dc, [2 tr], [2 tr], dc, sc, ss. FLIP. (19).
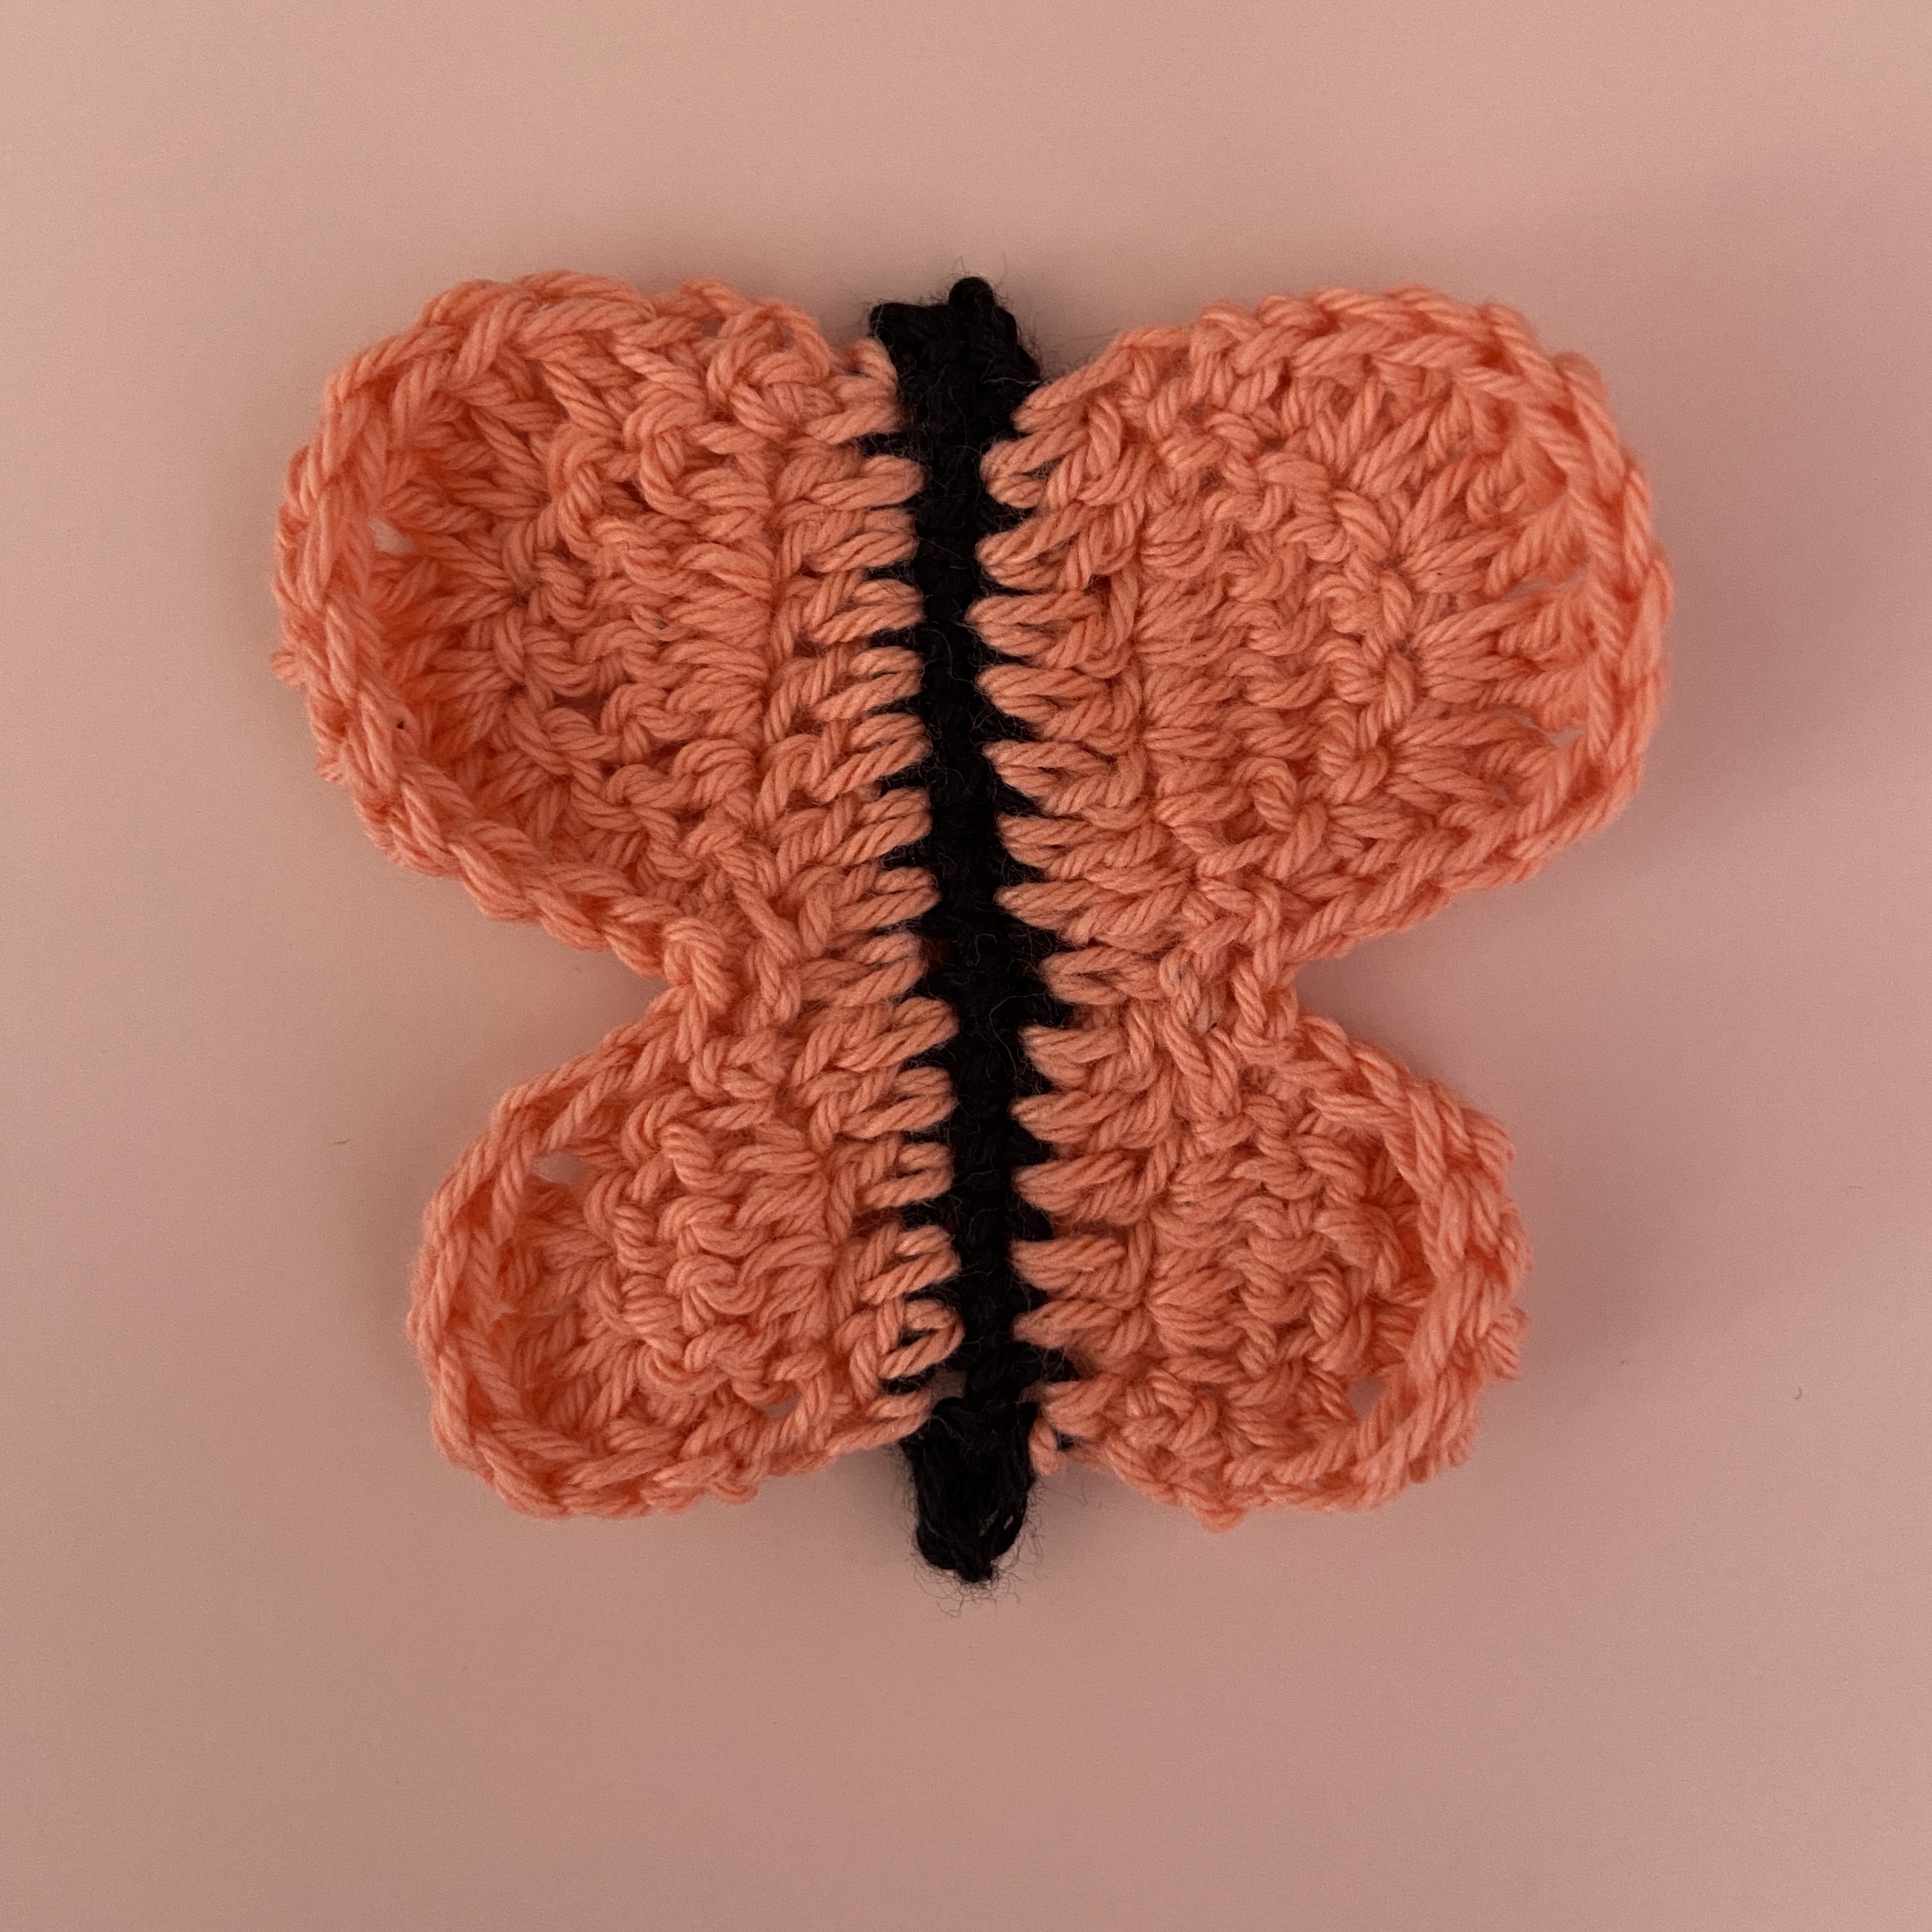
7. Ch 1 (counts as the first ss). Sc, dc, [dc, tr], [2 tr], [2 tr], [tr, dc], dc, sc, 3 ss, sc, dc, [2 tr], [2 tr], dc, sc, ss. Fasten off. (25).
Assembling the Garland
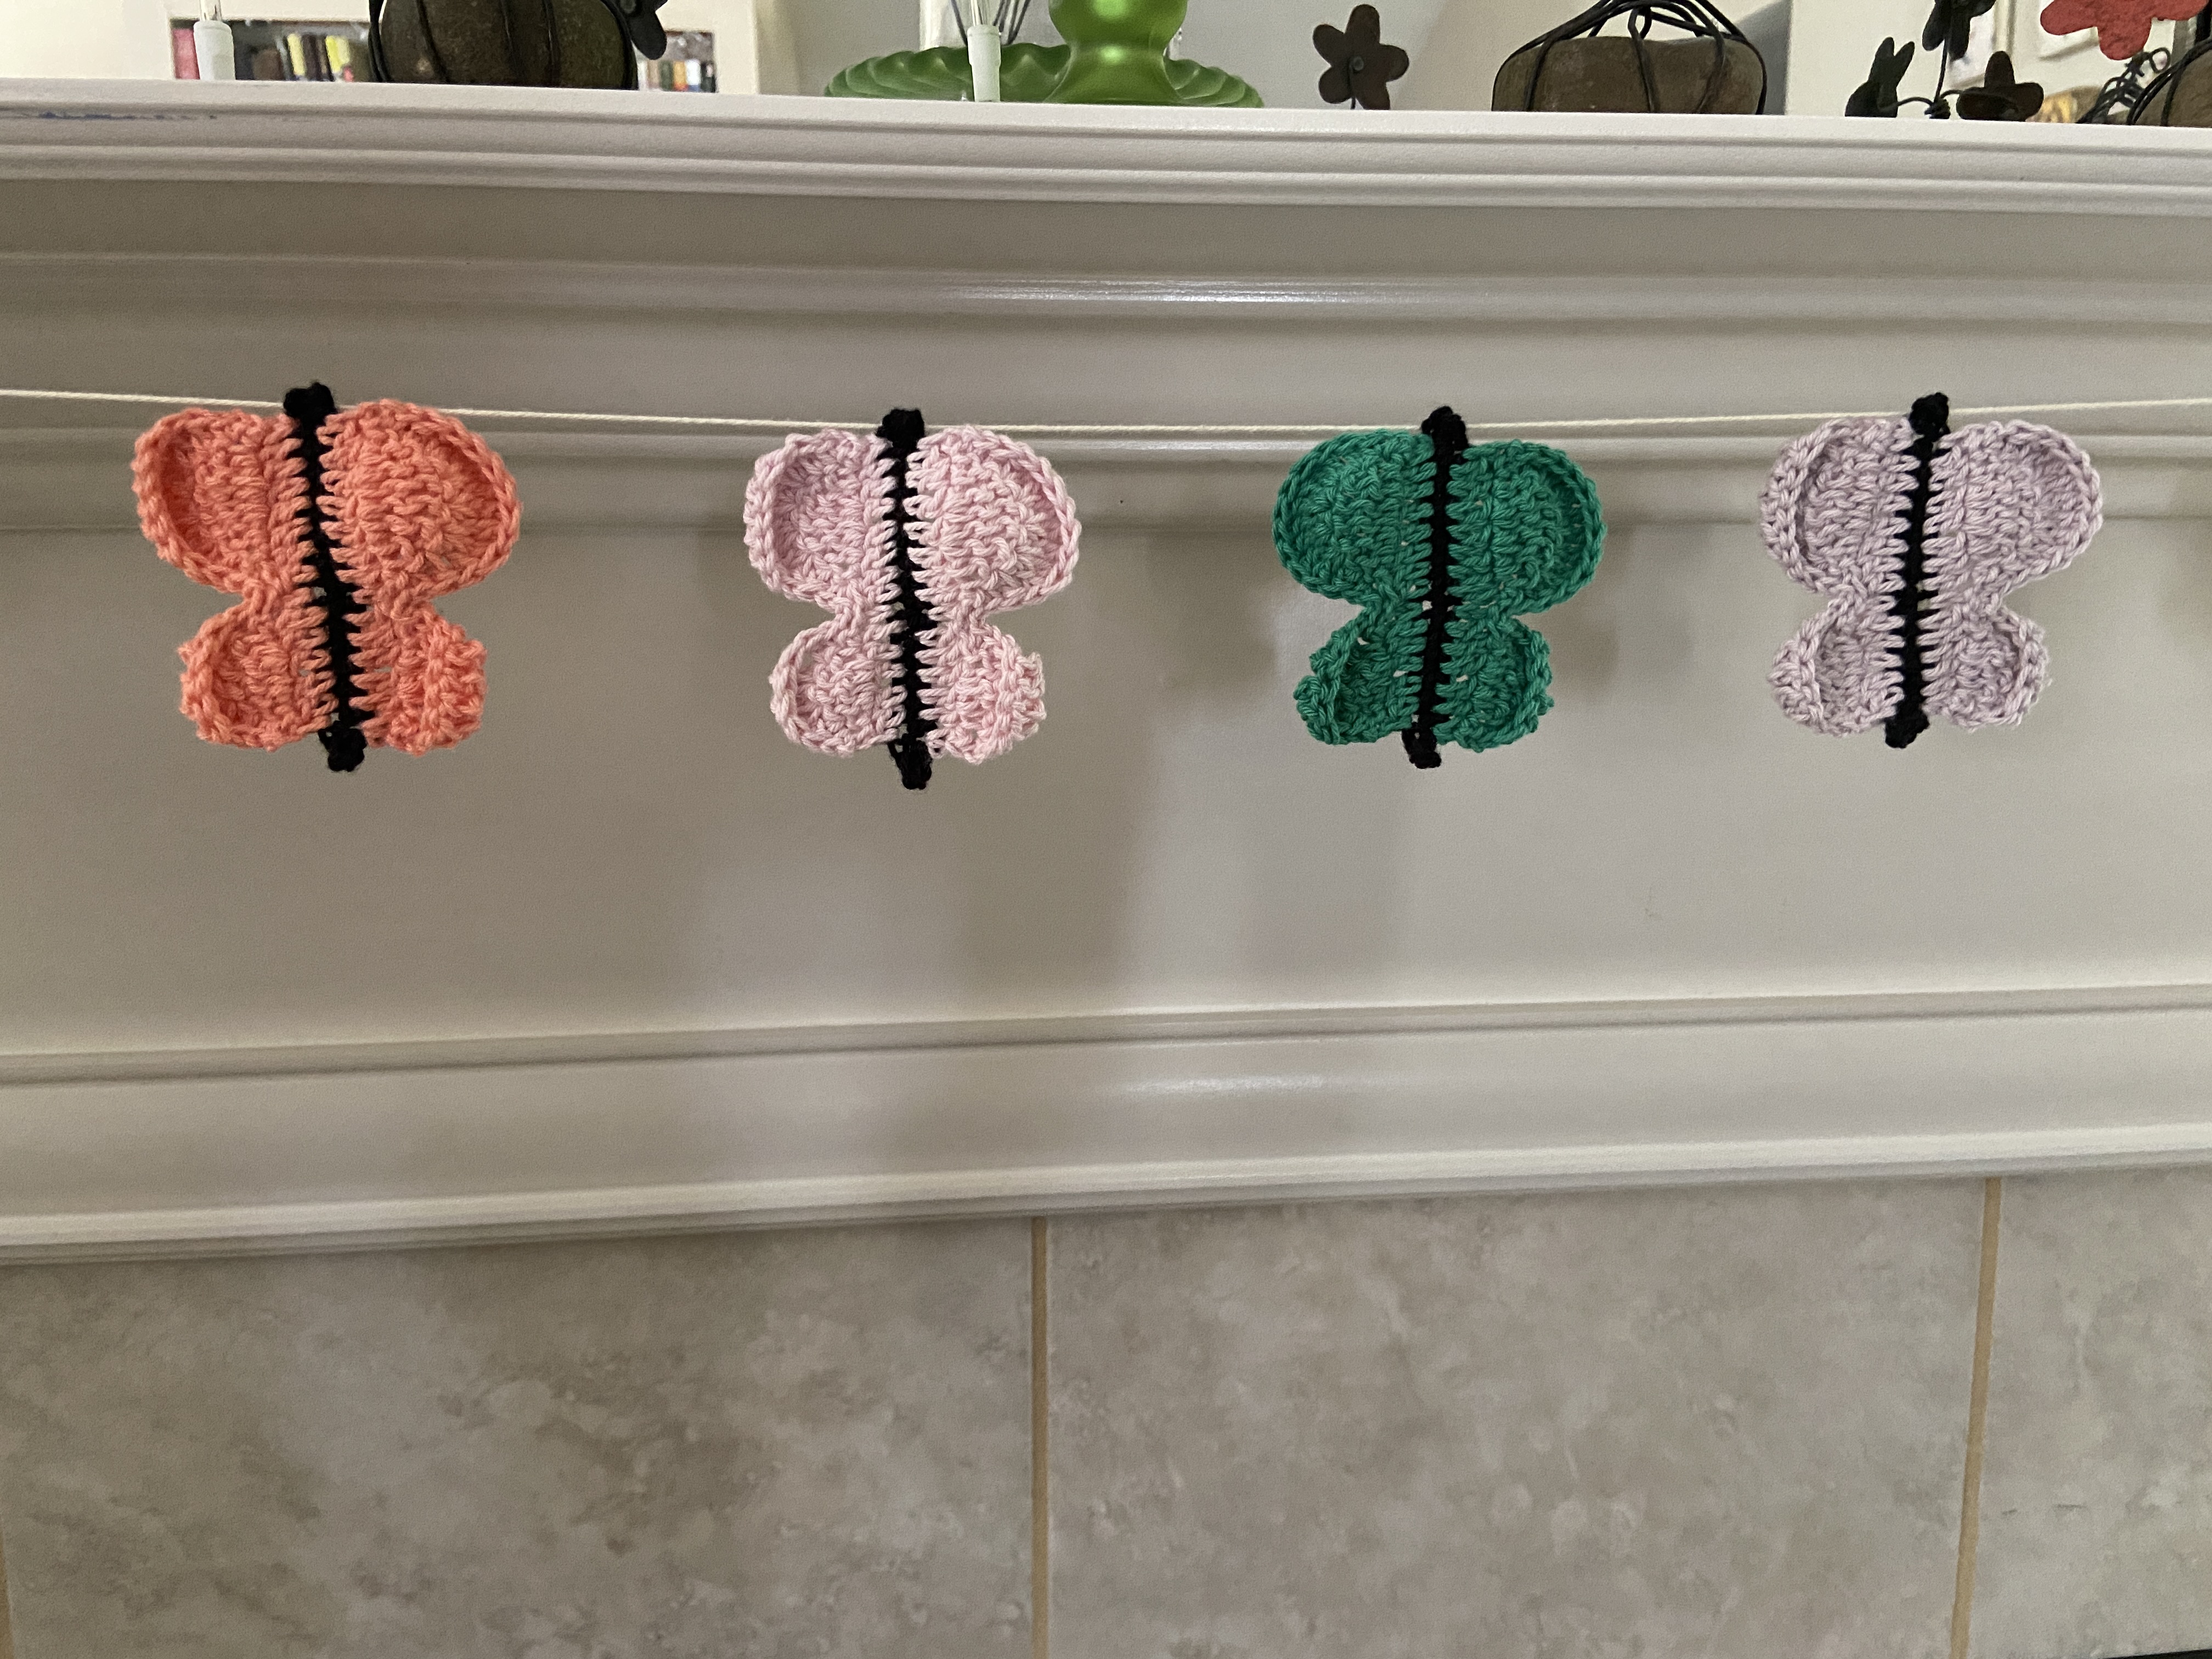
Cut a long piece of the off-white yarn (or any of the colors in the garland). The length will depend on the place that you intend to display it. You can always make it shorter later. Attach a tapestry needle to one end. Pull the needle through the top of each butterfly to attach them to the garland. This allows the butterflies to move on the garland, so you can adjust them as needed.
I hope you enjoyed this pattern! If you make it, and post it on Instagram, make sure you tag me, so I can see it! You can also email me a picture at maggietrunkhill@daisygirlcrochet.com 🙂
*If you would like to make the garland and sell the garland, please give me (Maggie Trunkhill) credit as the pattern designer. Do not reproduce this pattern in any form without my permission.
