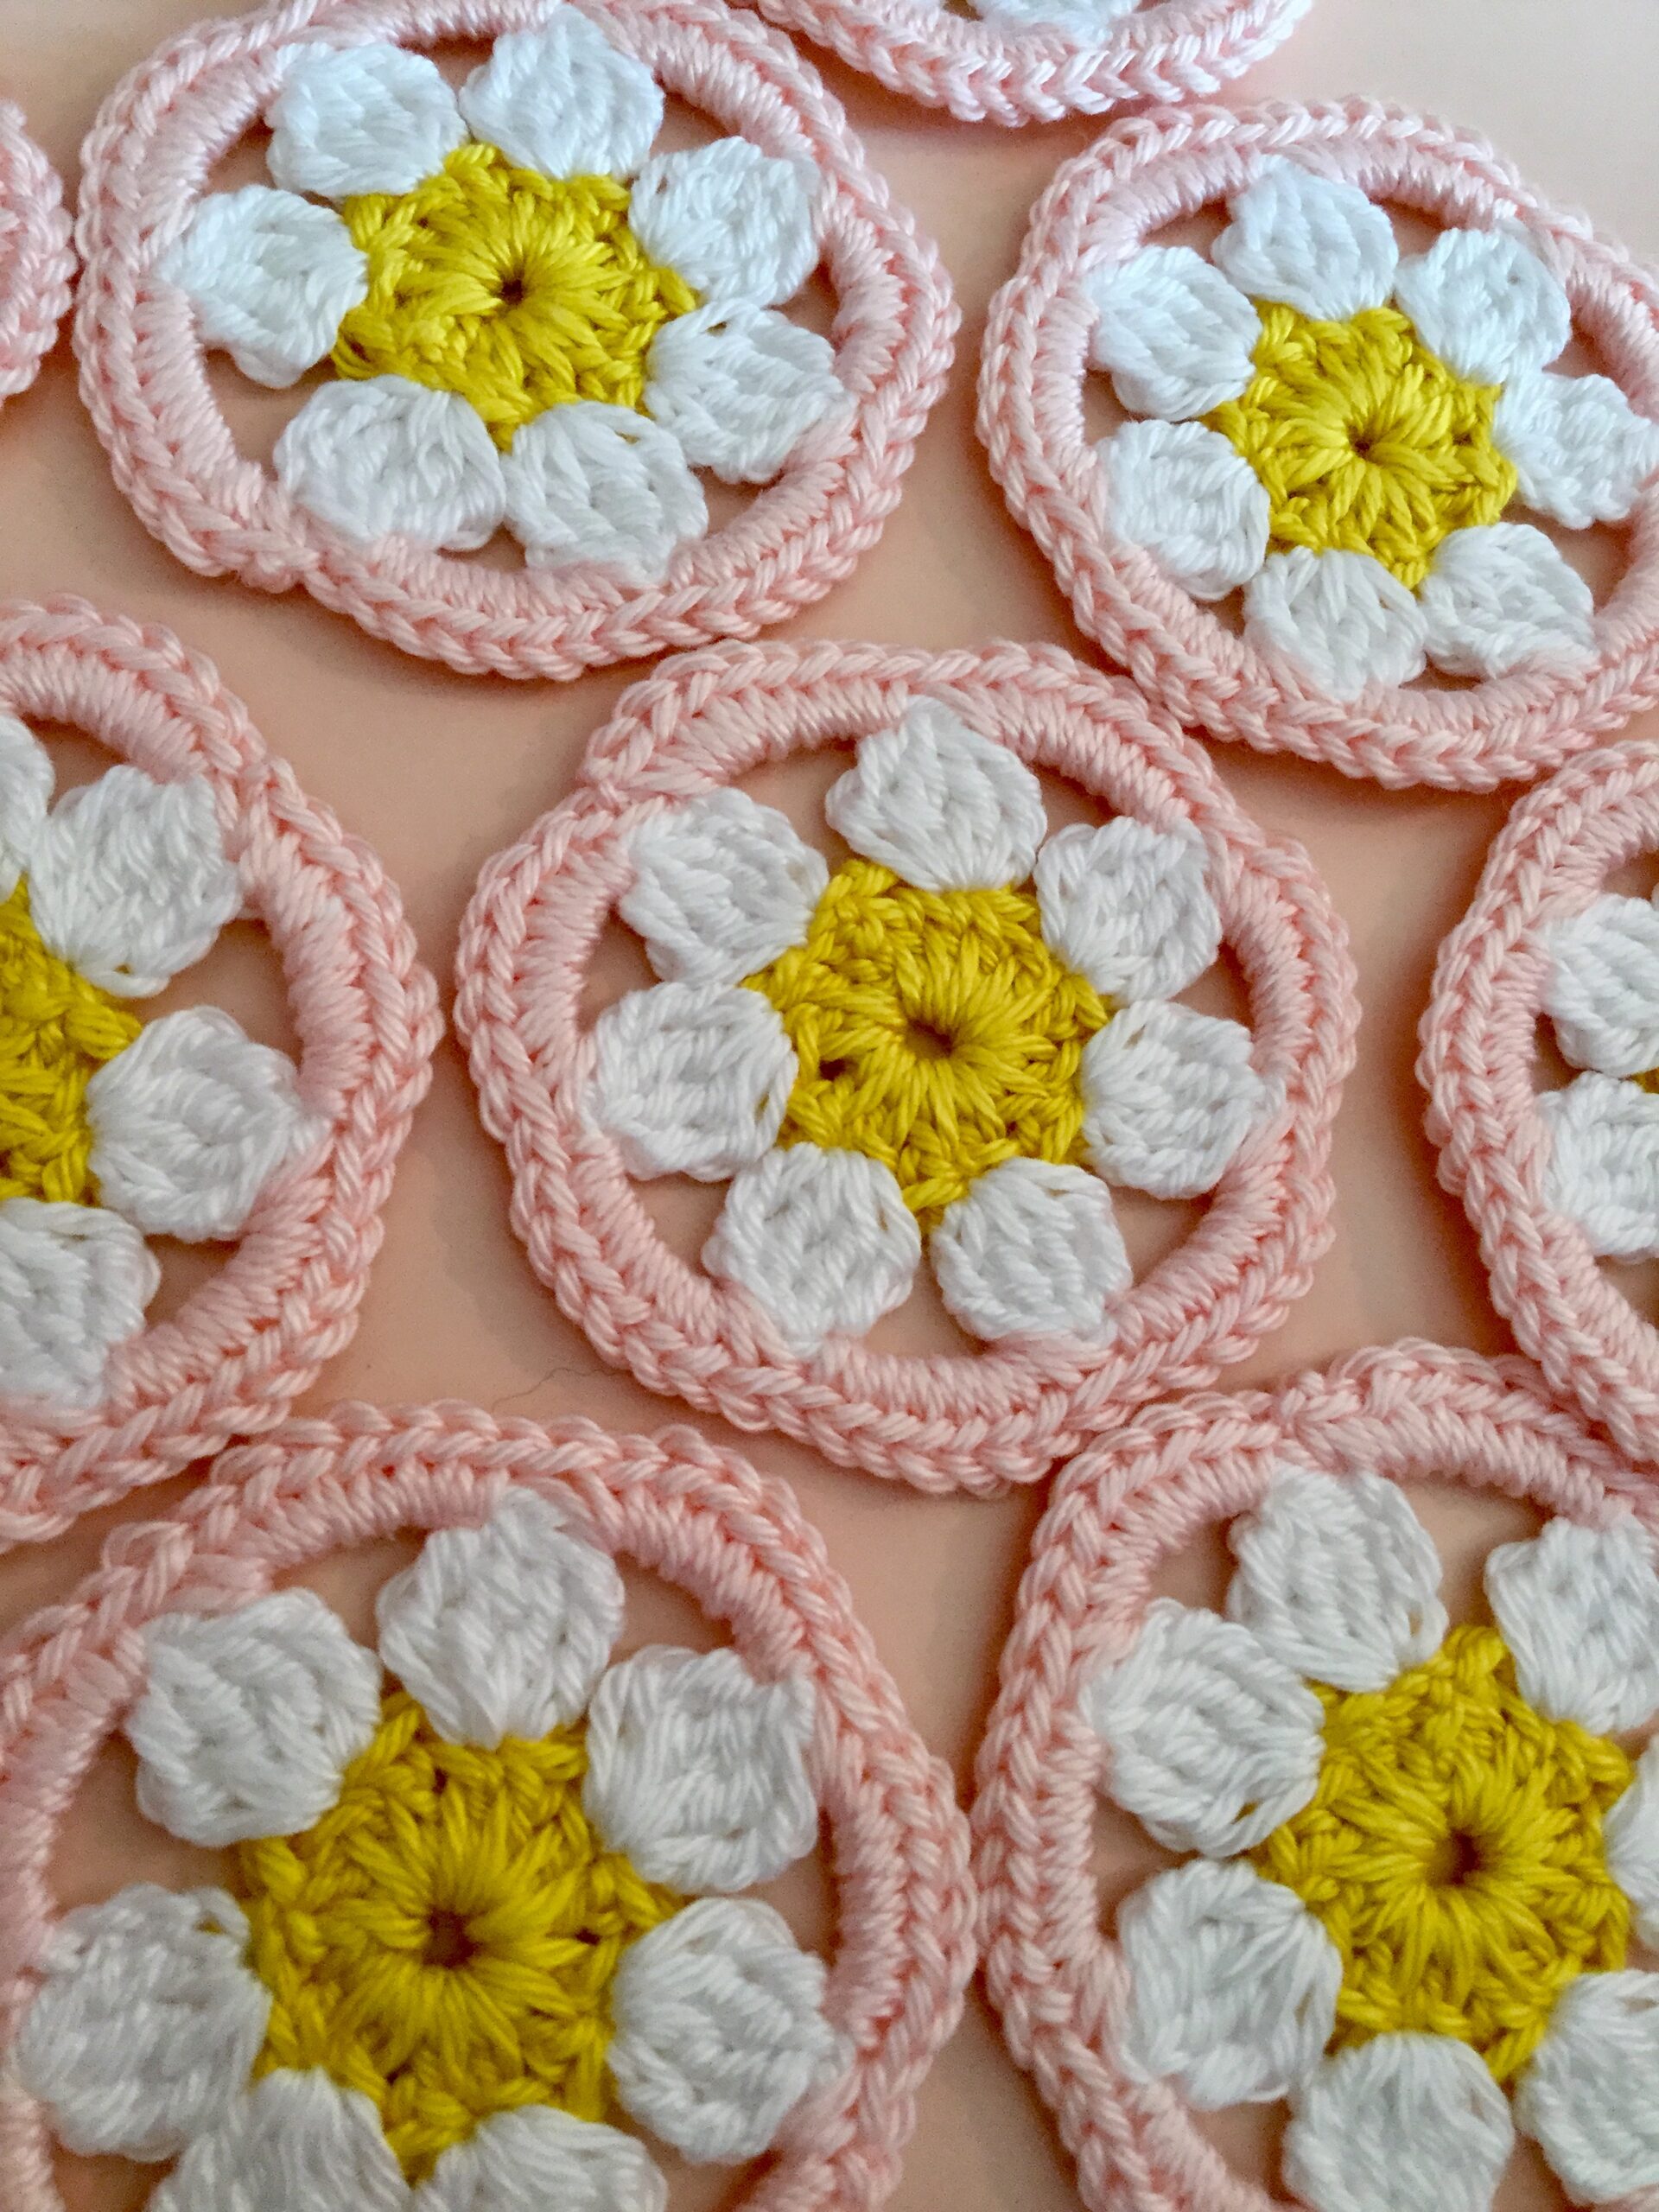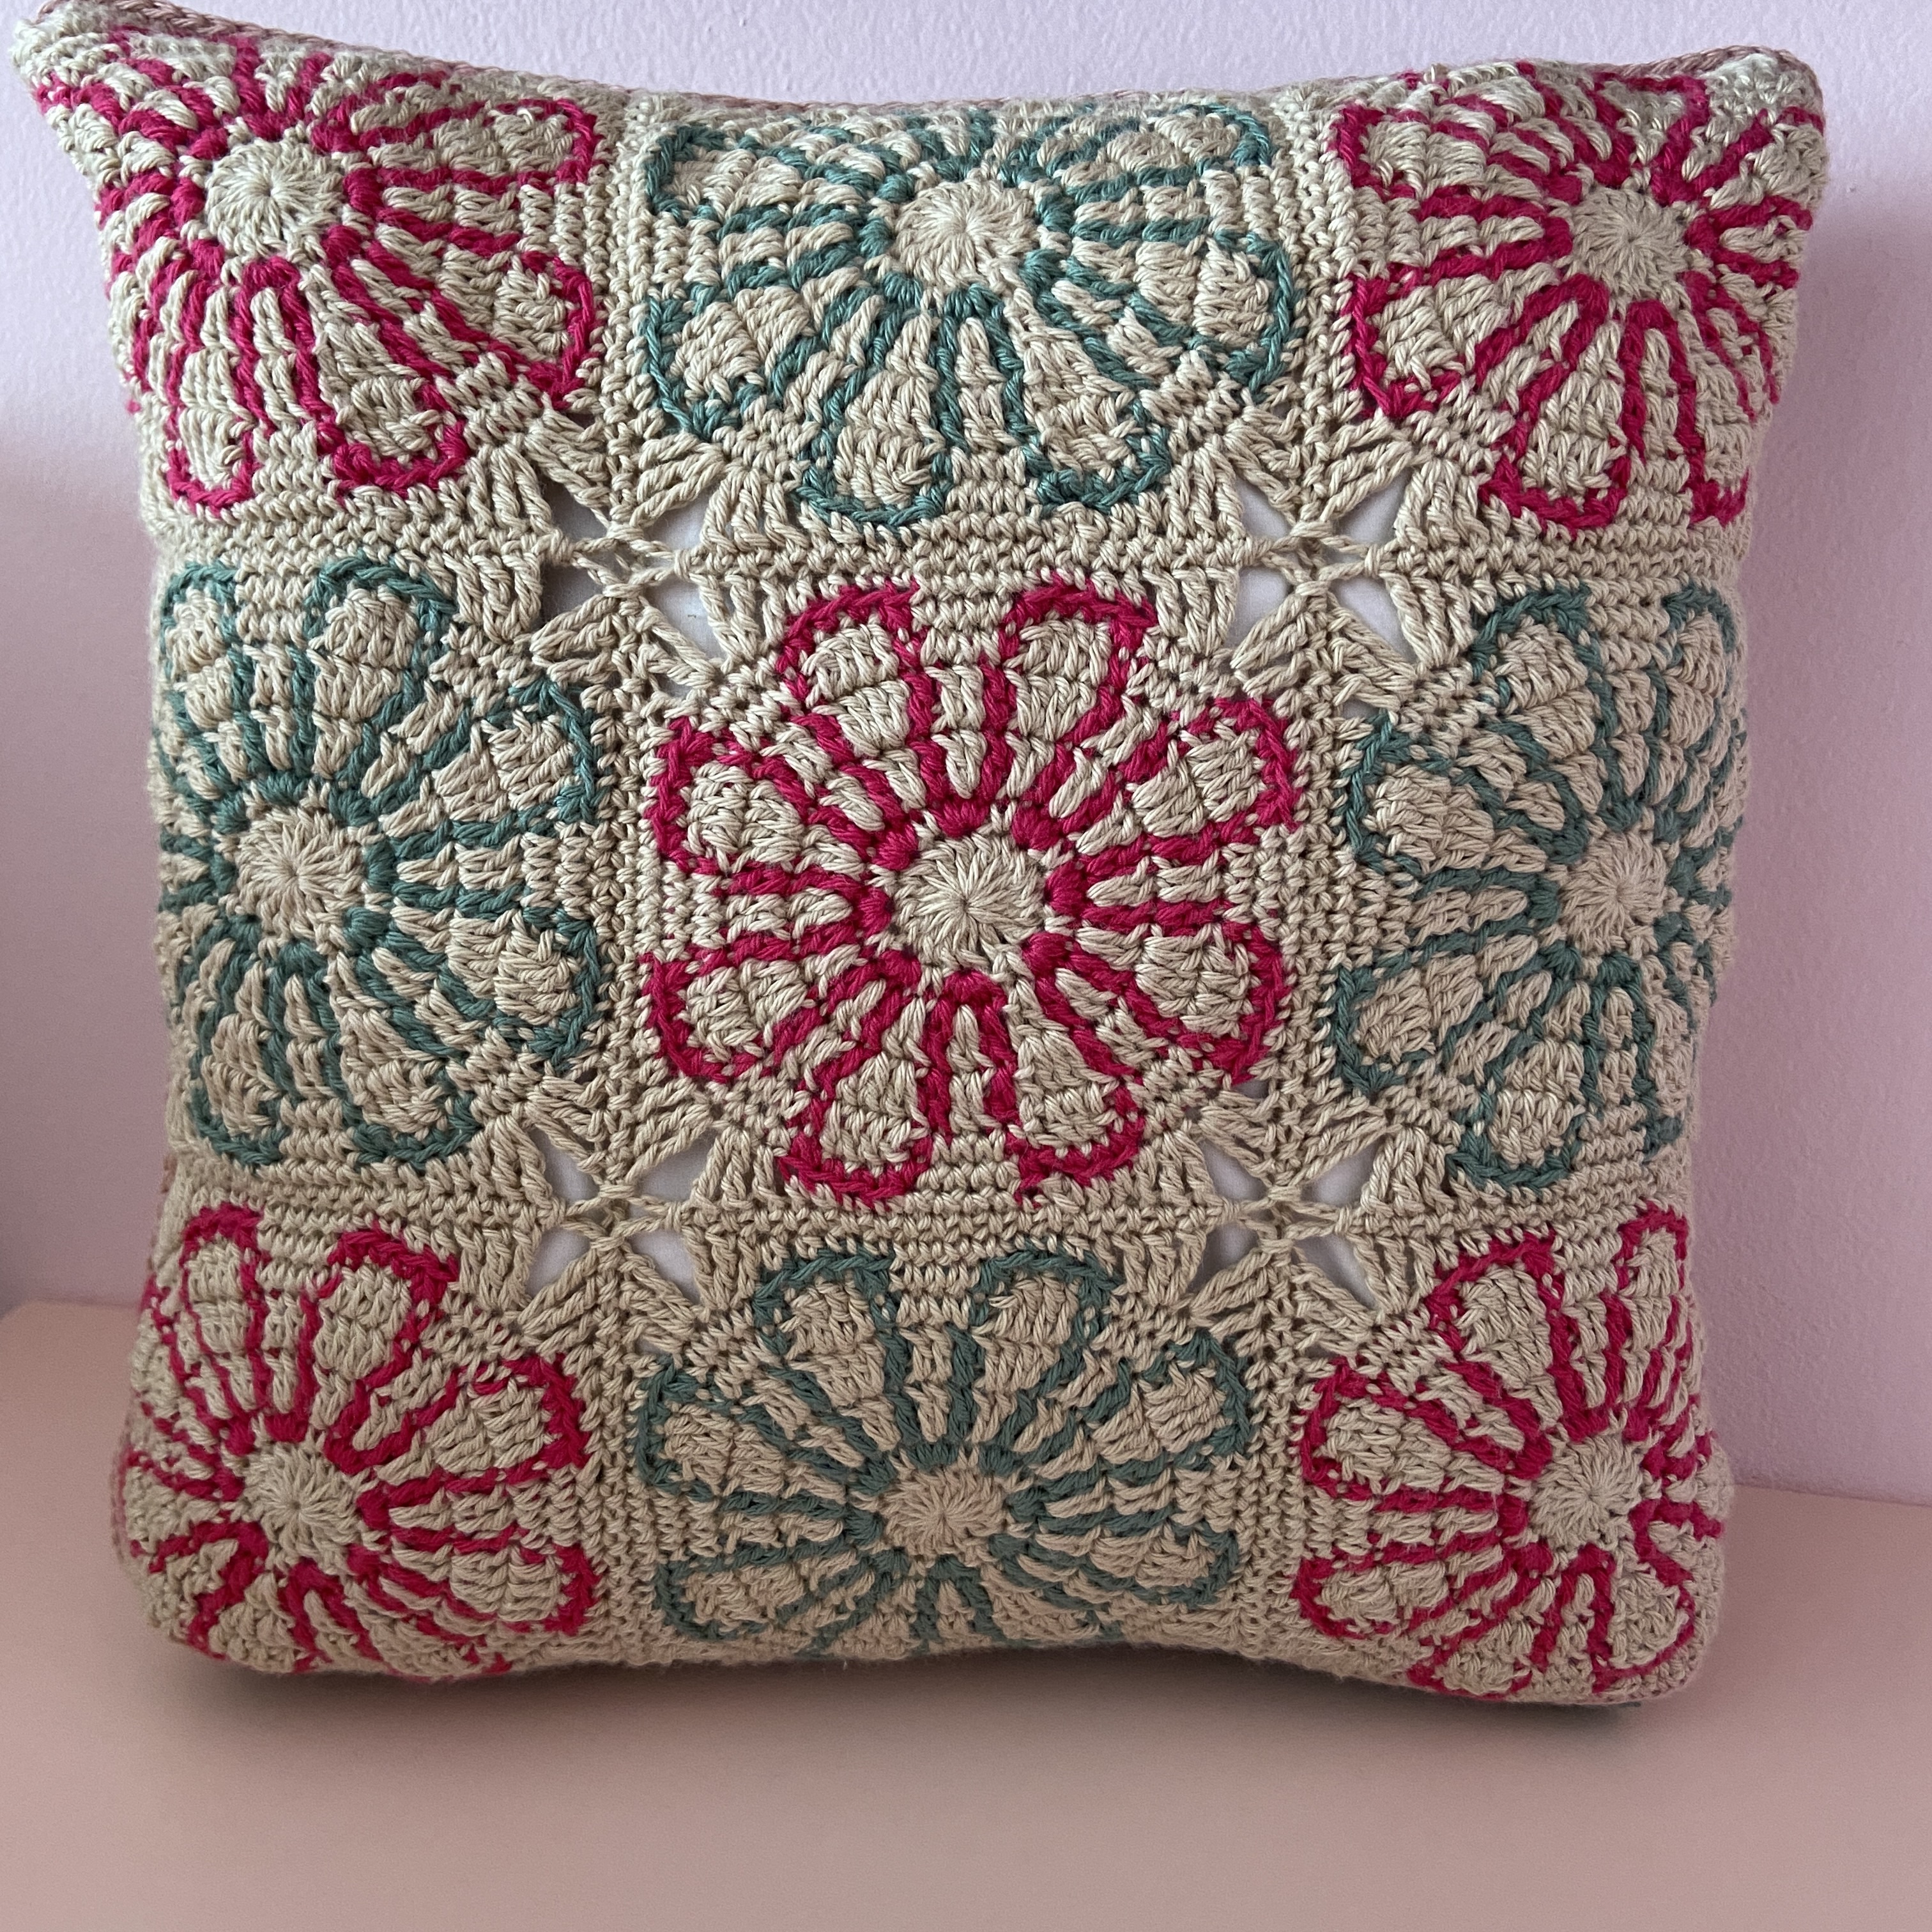

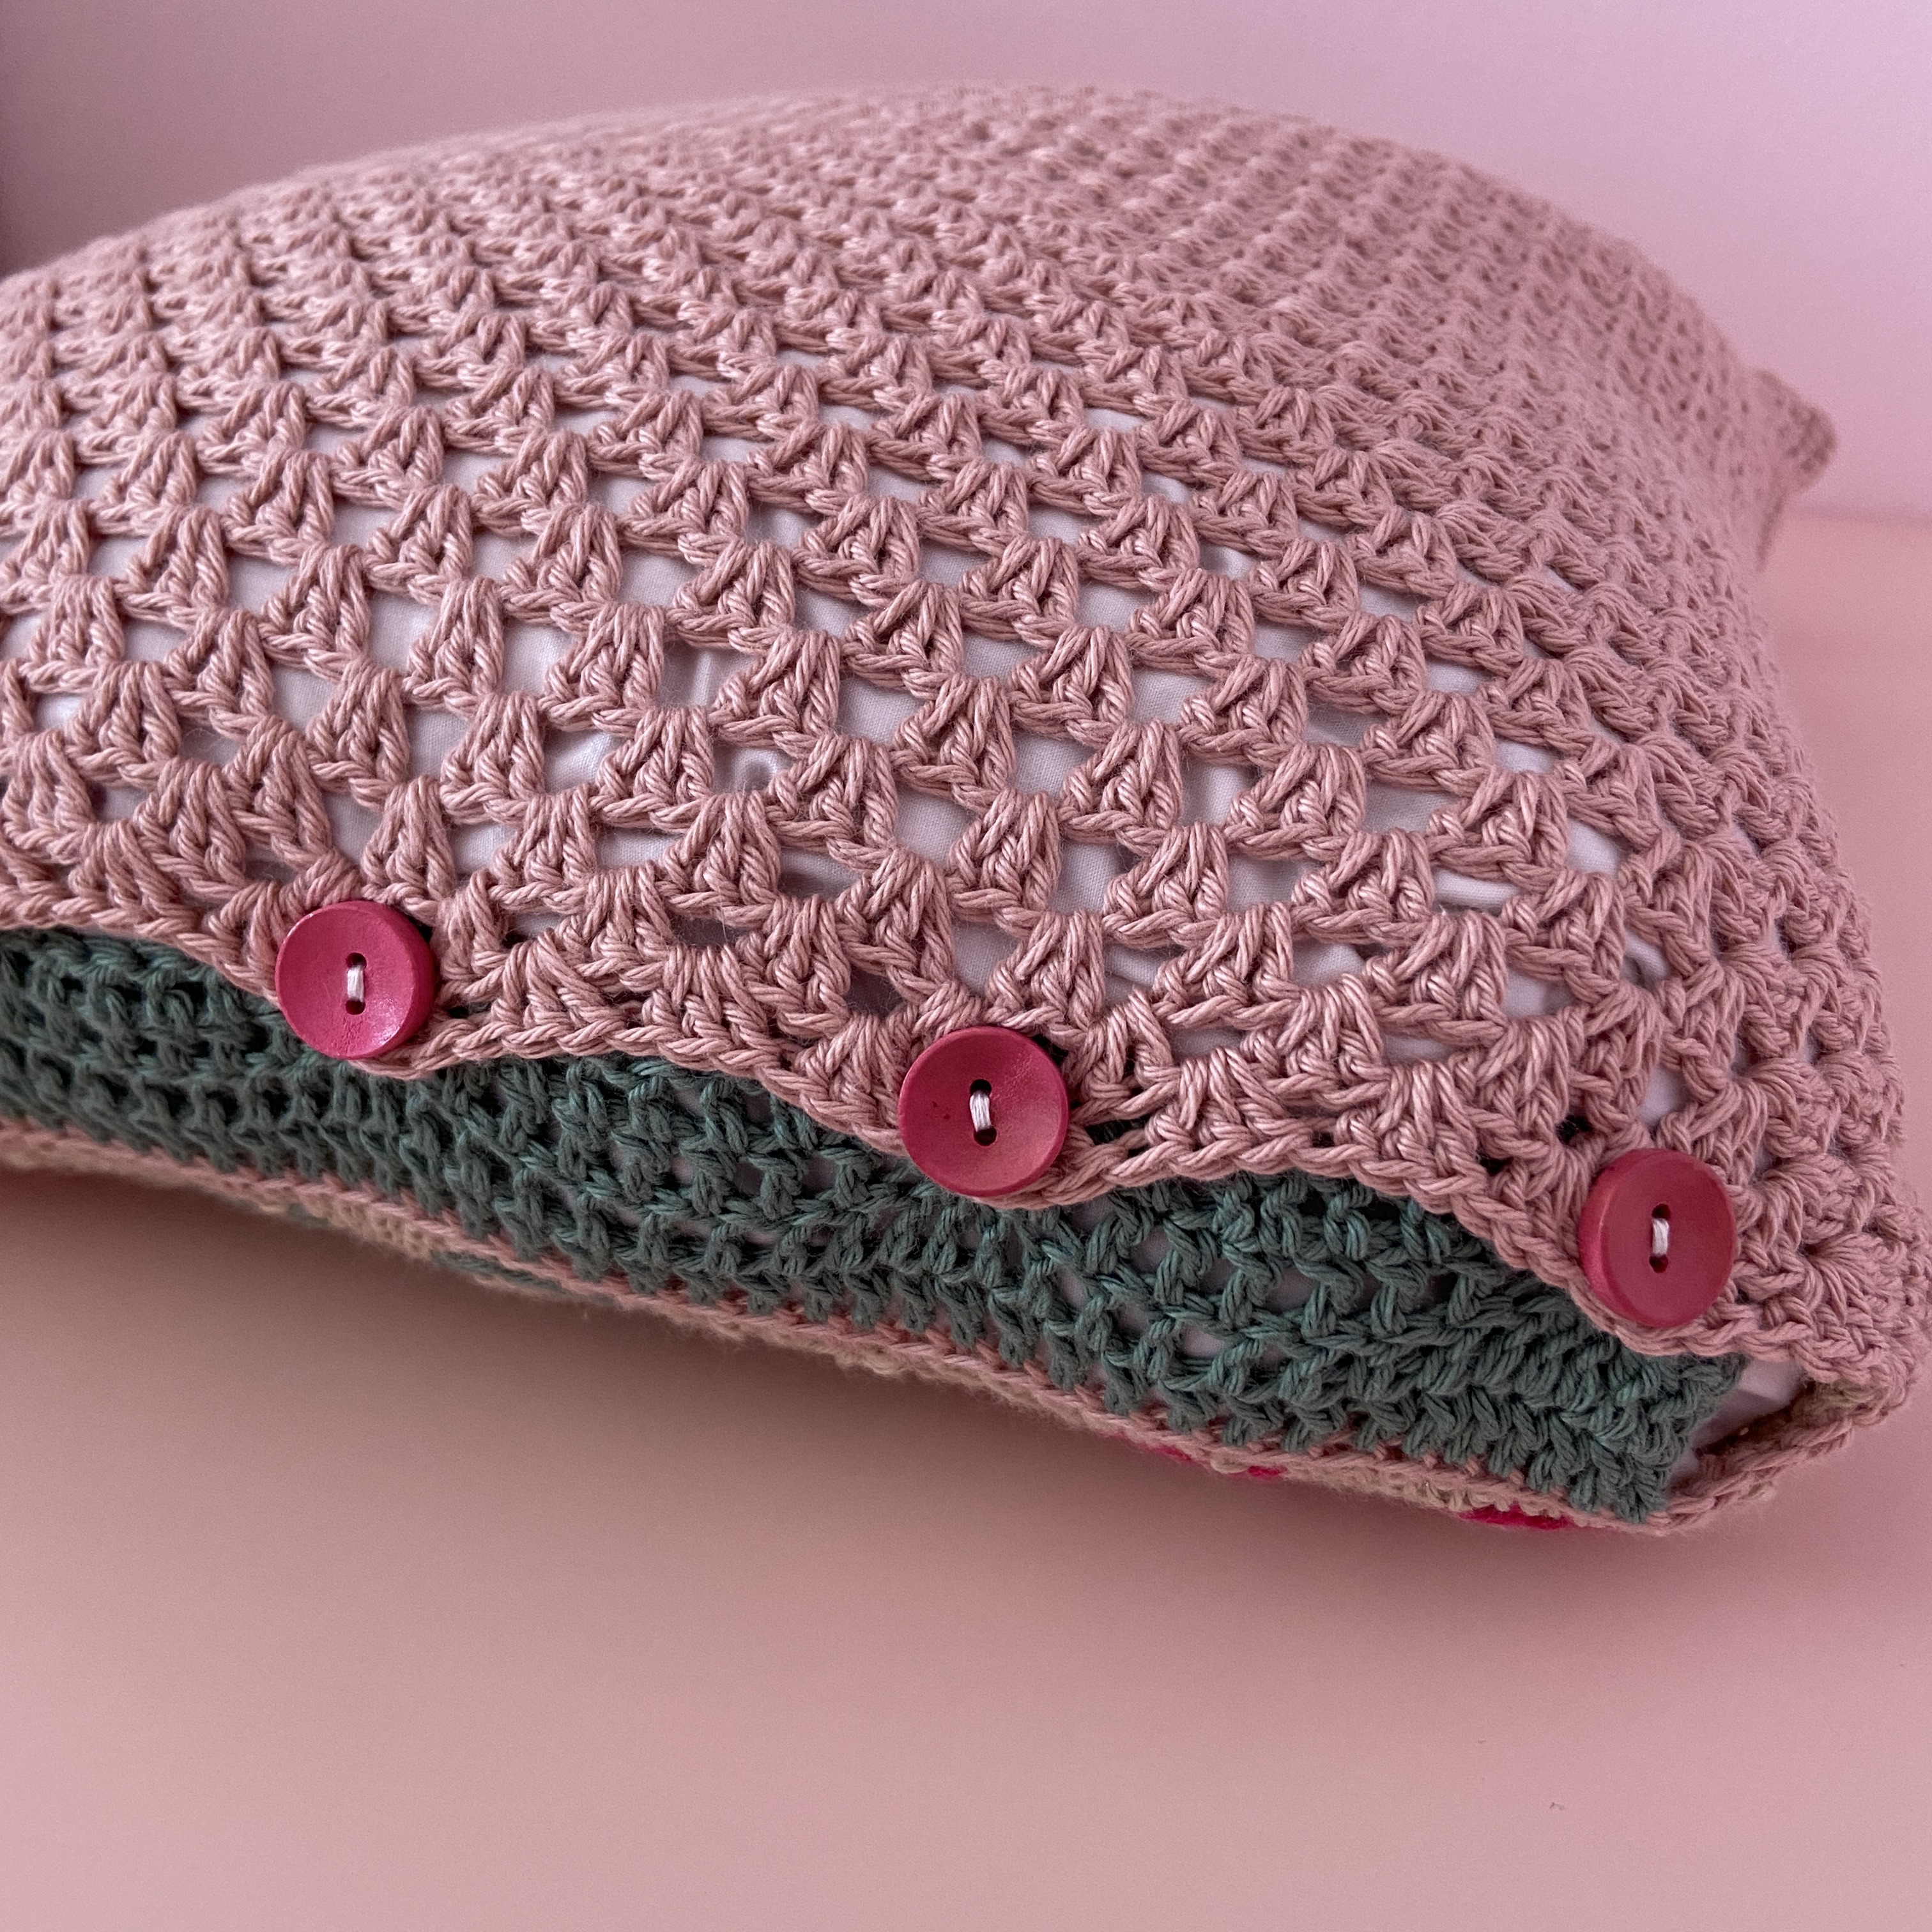

The crochet hook case that I have had since I first started crocheting has drawings of flowers on it, so I decided to try to crochet them! I began by making this pillow, and then I started making a blanket version. The pattern for the blanket is a little different as the squares are larger, but the process is similar. There are videos for both of the squares on my YouTube channel where we make the squares together, so I wanted to make sure that the written patterns were posted here to follow along with. The full patterns for the pillow and the blanket will be available as pdfs on Ravelry. I’ll add the links below. However, there are lots of projects that you could use these squares in! Enjoy the pattern and let me know if you have any questions (you can email me at maggietrunkhill@daisygirlcrochet.com). I would love to see the projects that you make with these squares, so if you share them on Instagram, please use the hashtag #crochetbydaisygirlcrochet and tag me!

The Pillow Pattern
The full pattern for the pillow is available as a print-friendly pdf pattern.
Getting Started
Materials
- 3.00 mm crochet hook
- Scissors and a tapestry needle- for weaving in ends
- Yarn
Yarn I Used
Hobbii Rainbow Cotton 8/4 Yarn (100% cotton; 160 m (175 yds) / 50 g (1.75 oz) skeins)
- 1 petunia pink (hot pink)
- 1 sage green (green)
- 2 beige (cream)
- 2 old rose (light pink)
Gauge and Size
24 sts and 11 rows = 4 inches (10 cm)
The gauge provided is measured with double crochet sts worked in rows.
The squares are about 4 by 4 in (10 by 10 cm). The size can be adapted by using a different yarn weight and hook size.
Abbreviations: In U.S. Terms (Translated to UK in parentheses)
st= stitch
sp= space
ch= chain (chain)
ss= slip stitch (slip stitch)
sc= single crochet (double crochet)
hdc= half double crochet (half treble crochet)
dc= double crochet (treble)
tr= treble (double treble)
sc2tog= decrease 2 single crochet sts together (decrease 2 double crochet sts together)
blo = back loop only
cc = change color
[ ] indicate that the sts are worked into the same space
{ } indicate that the the sts are repeated later in the pattern
Starting Stitches
At the beginning of a round/row, a ch 2 counts as the first hdc st, a ch 3 counts as the first dc st, and a ch 4 counts as the first tr st (unless stated otherwise).
A ch 1 at the beginning of a round usually does not count as a stitch, so I will note if it should be counted.
The Granny Square

Yarn A is the color of the background and yarn B is the color of the outline of the flower.
Note: Tapestry crochet is used to change color within the round. During the stitch before the pattern reads “cc”, use the new color to finish the final yarn over, pull through. Hold the previous color behind the back of the work, so you can switch back and forth between the two colors. If you are new to this technique, I hope the video will be helpful! There will also be a detailed photo tutorial in the pattern pdf to explain this process.
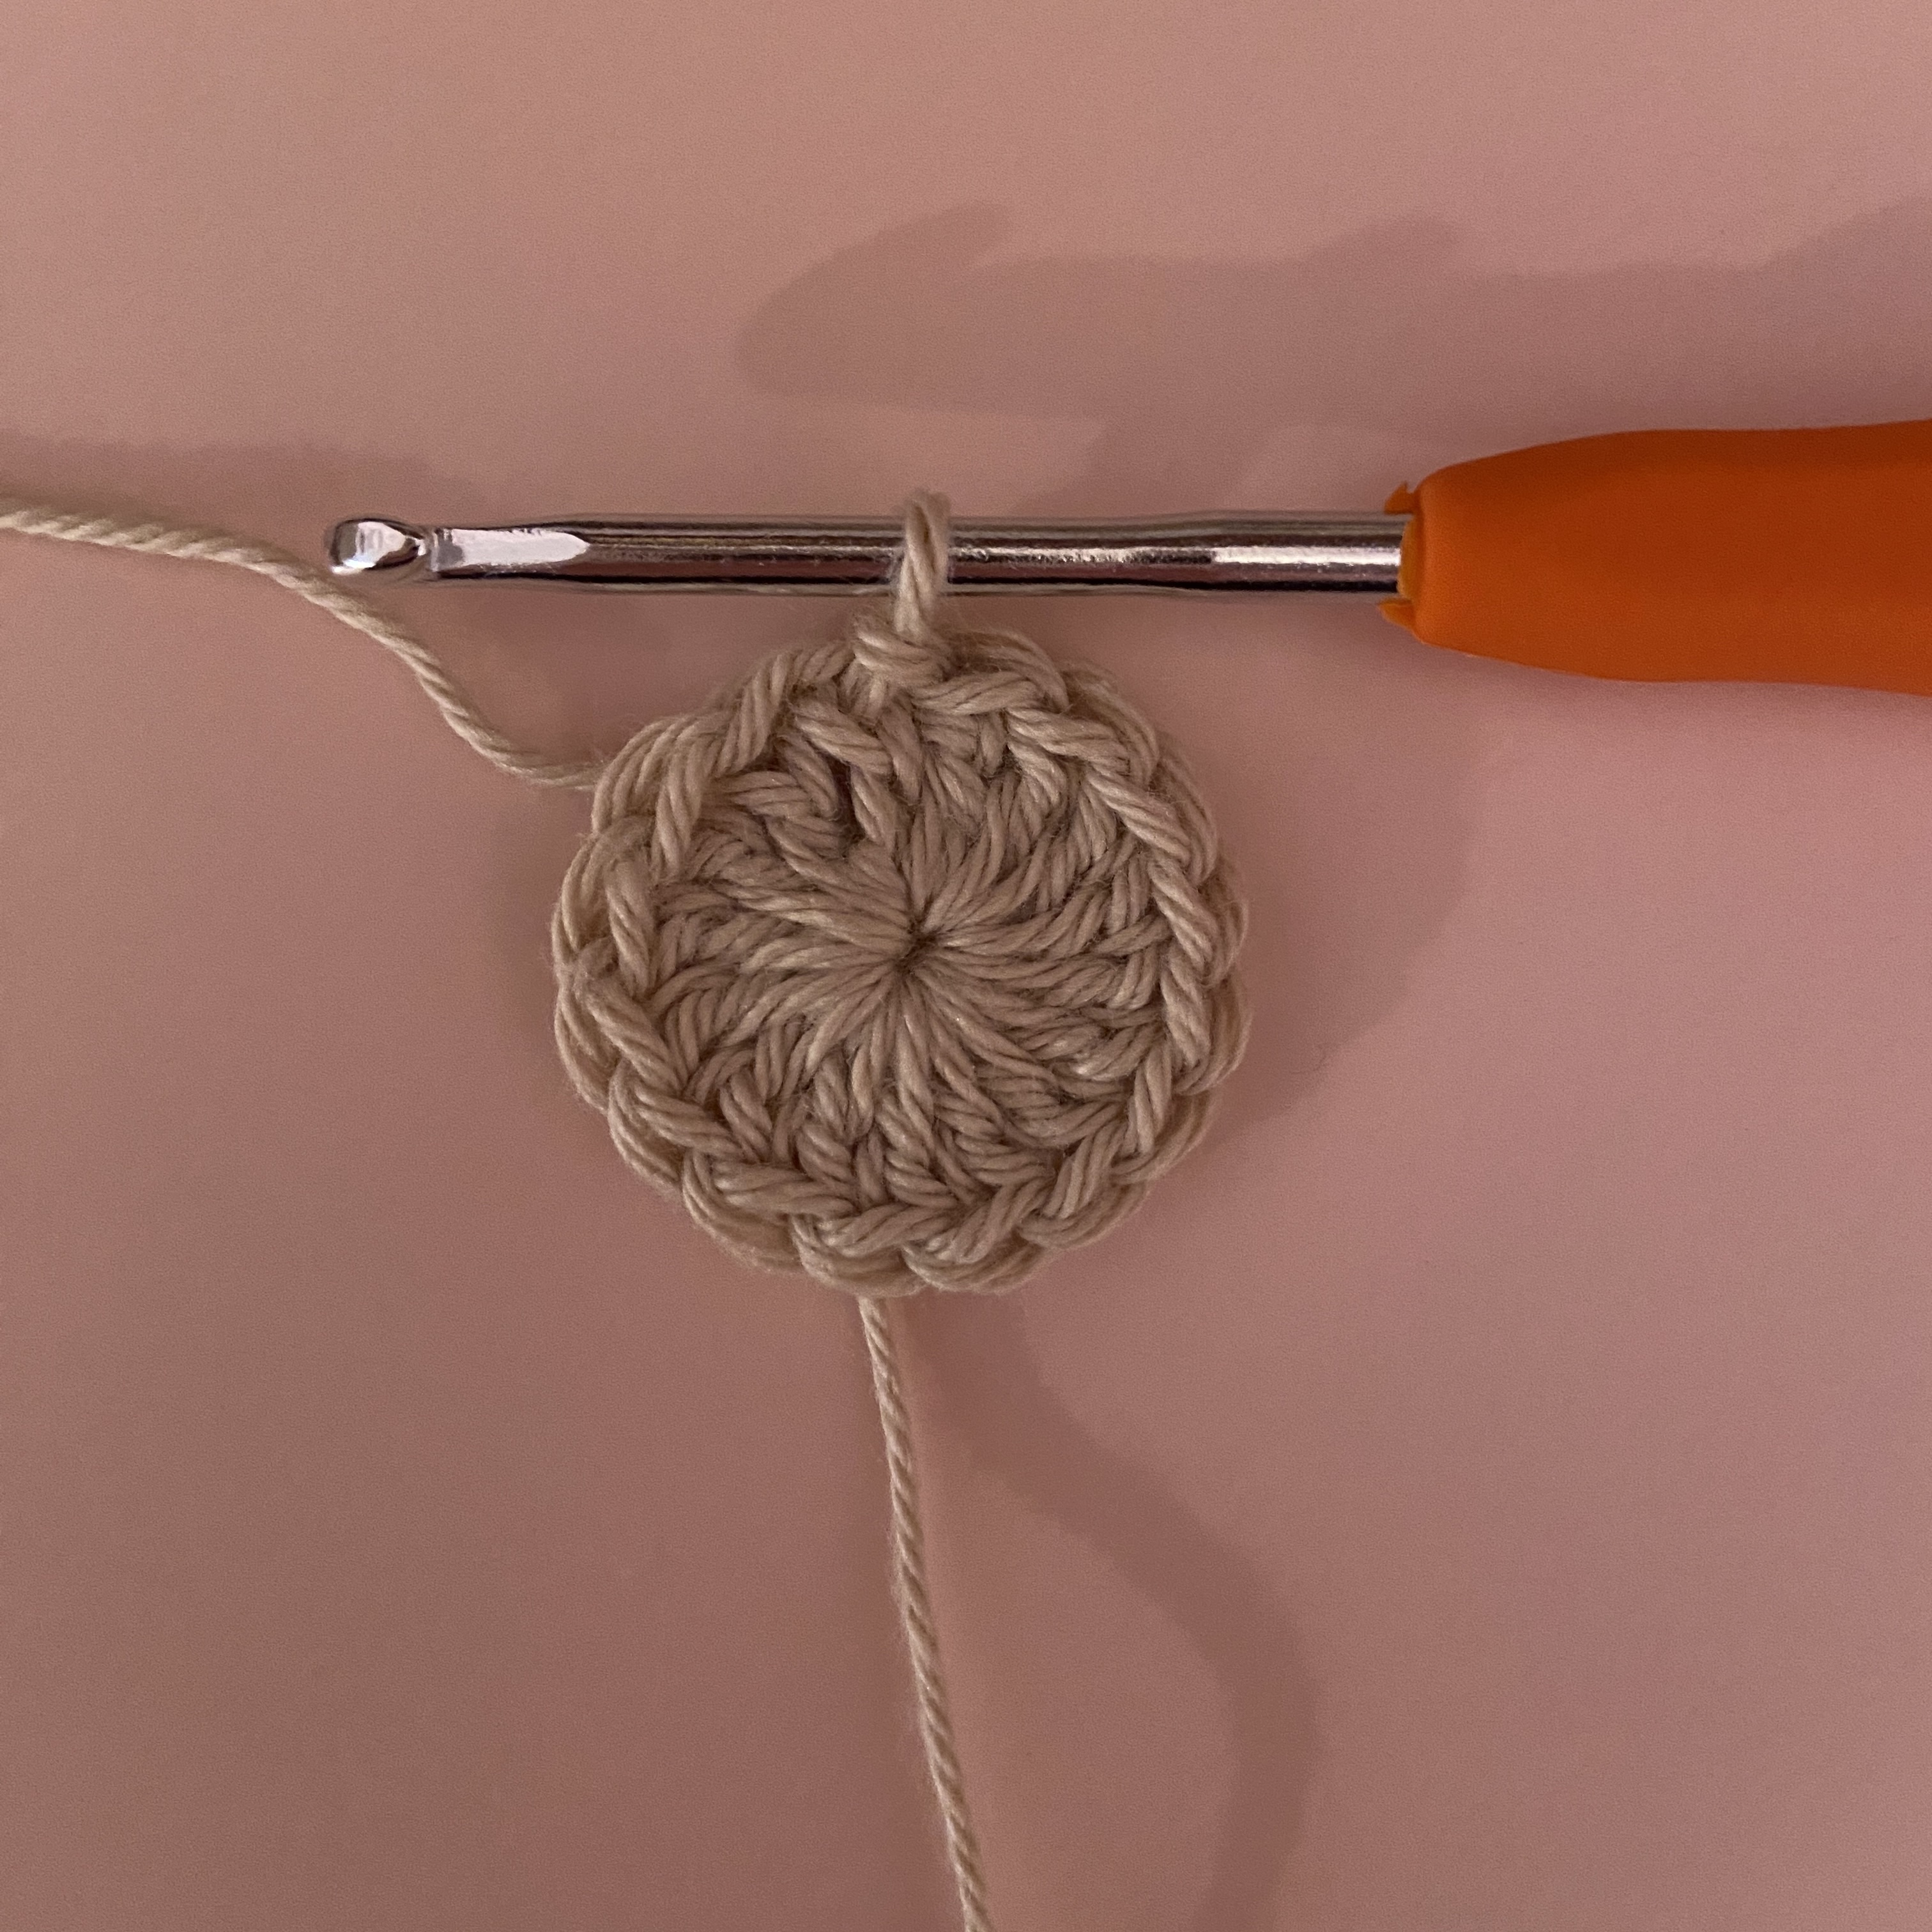
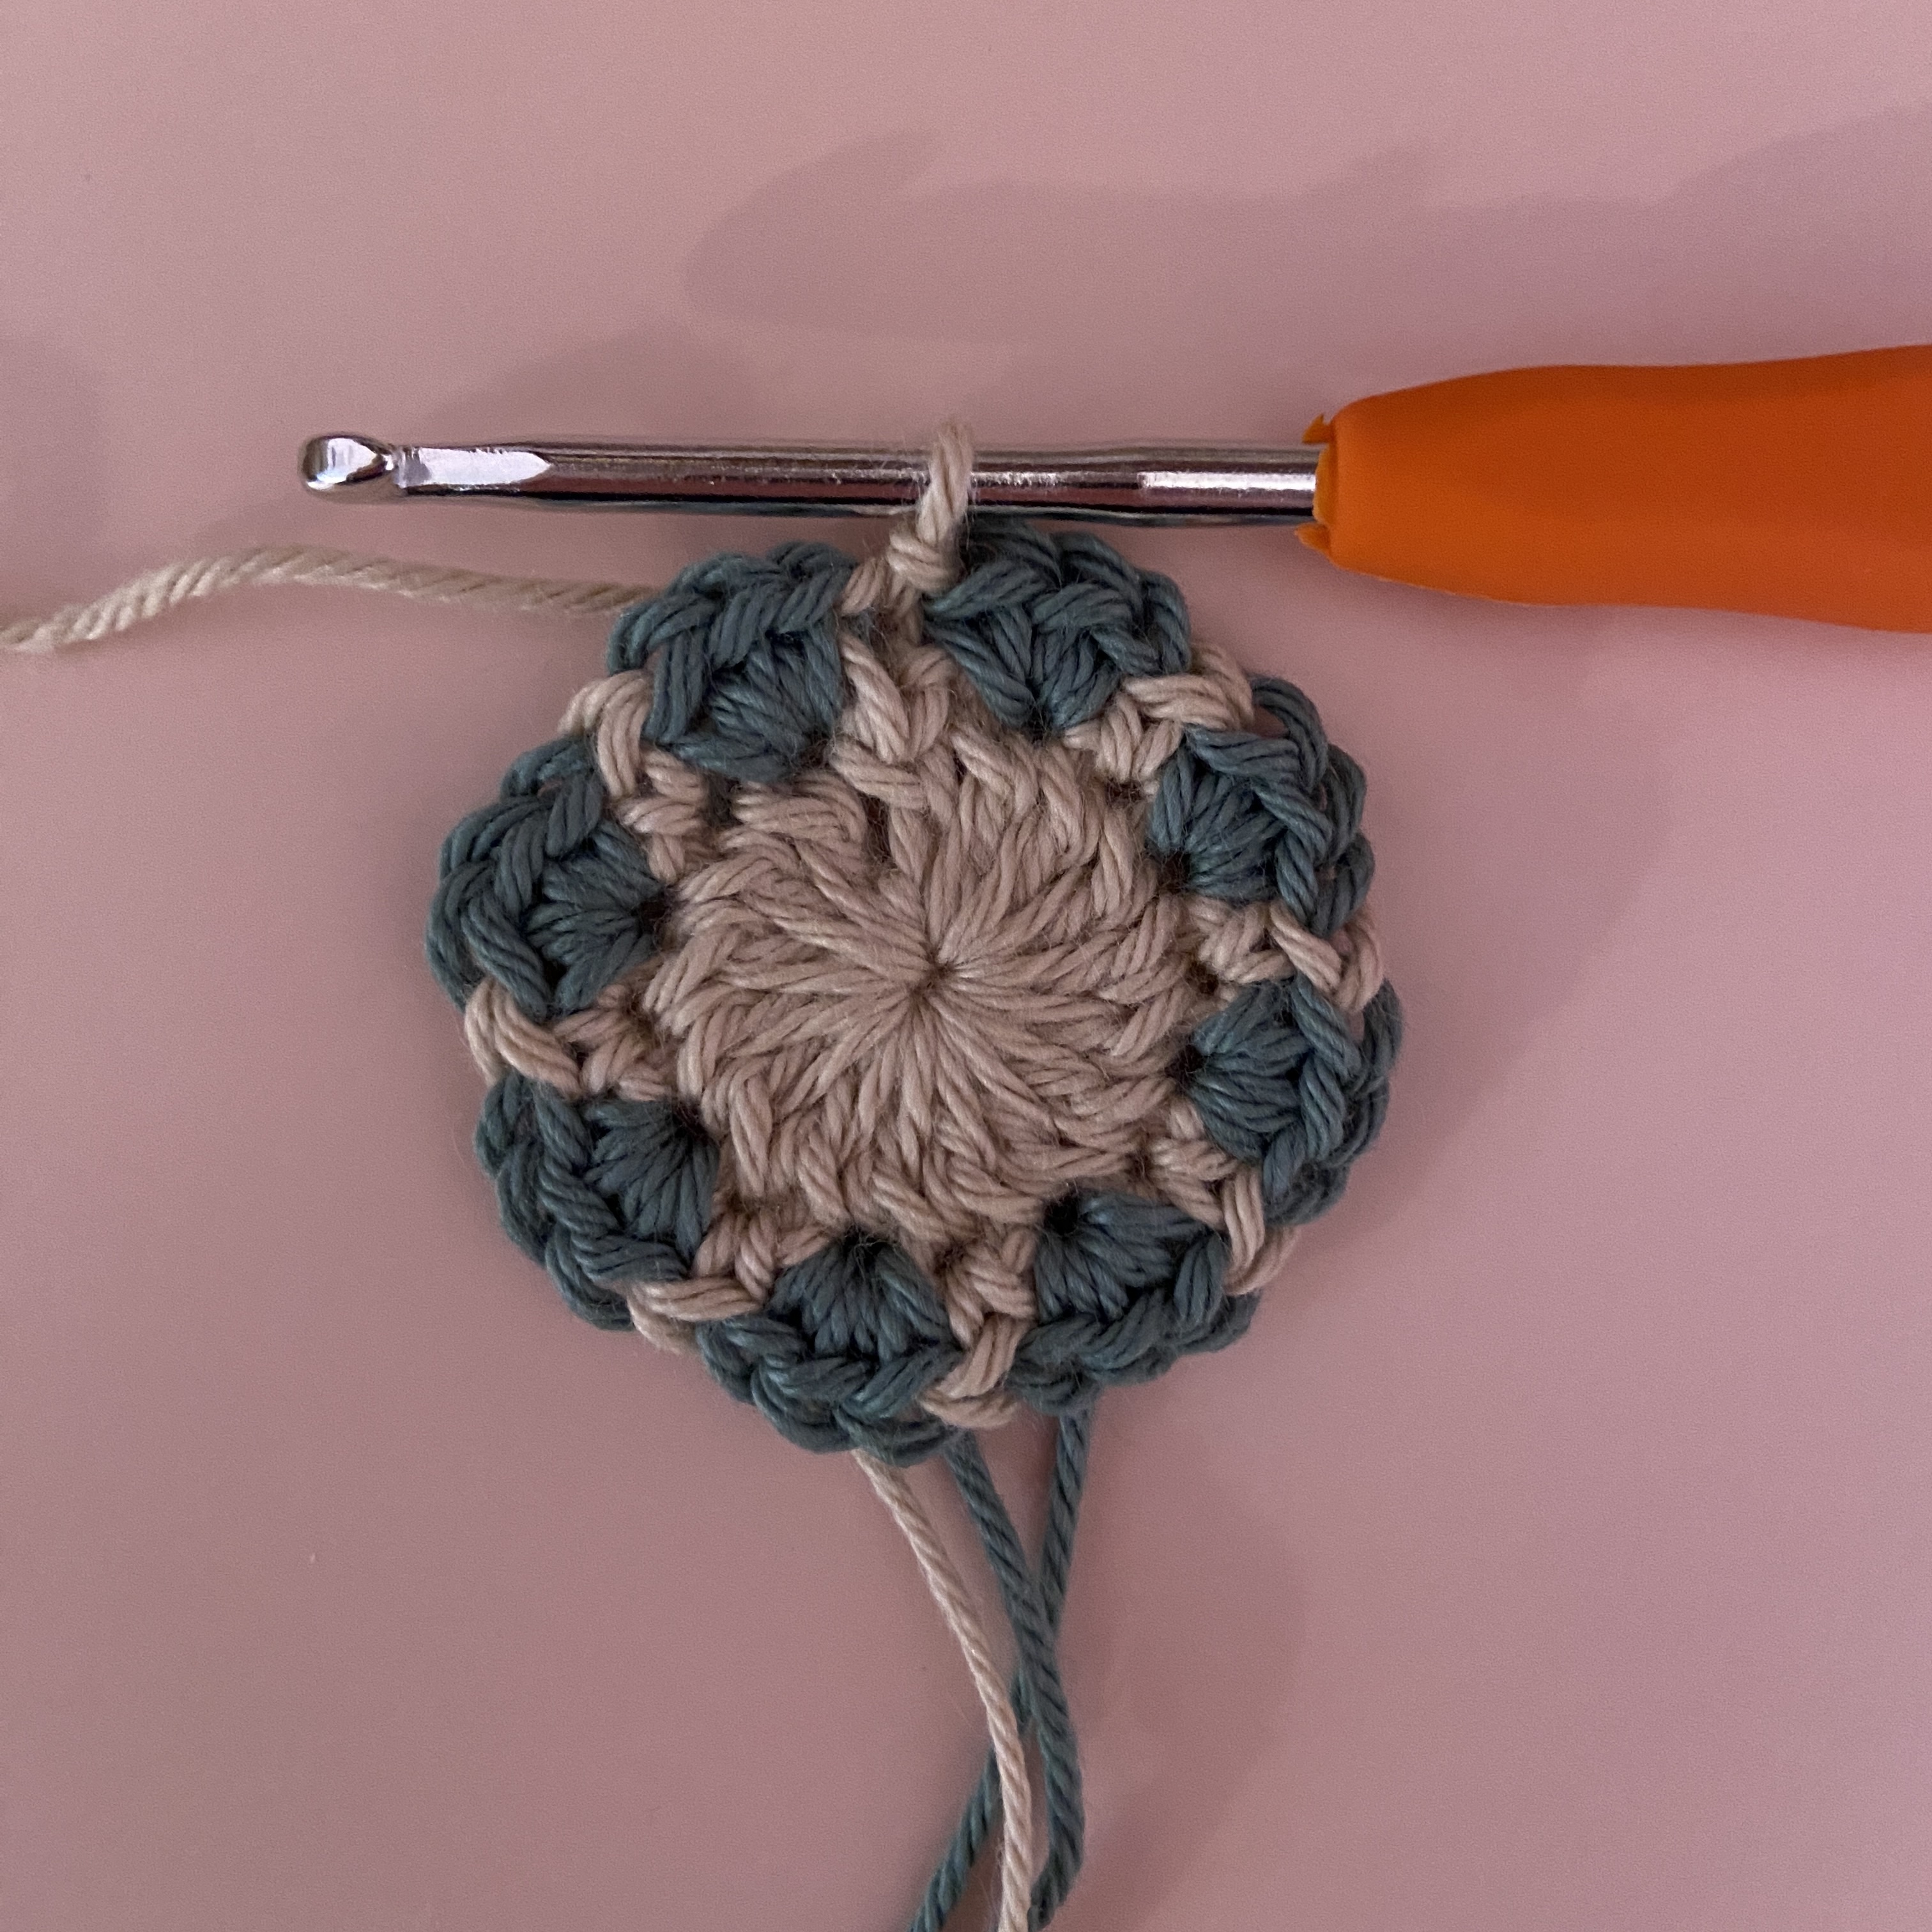
Foundation: With yarn A, begin with a magic circle.
Round 1: Ch 3 (counts as the first dc throughout), 15 dc into the magic circle. Close the magic circle. Ss into the top of the ch 3. (16).
Round 2: [Ch 1 (does NOT count as a st throughout), sc], cc to B, [3 sc], cc to A. {Sc, cc to B, [3 sc], cc to A}. Repeat {} til end (6 more times). Then, ss into the first sc st (with yarn A). (32).
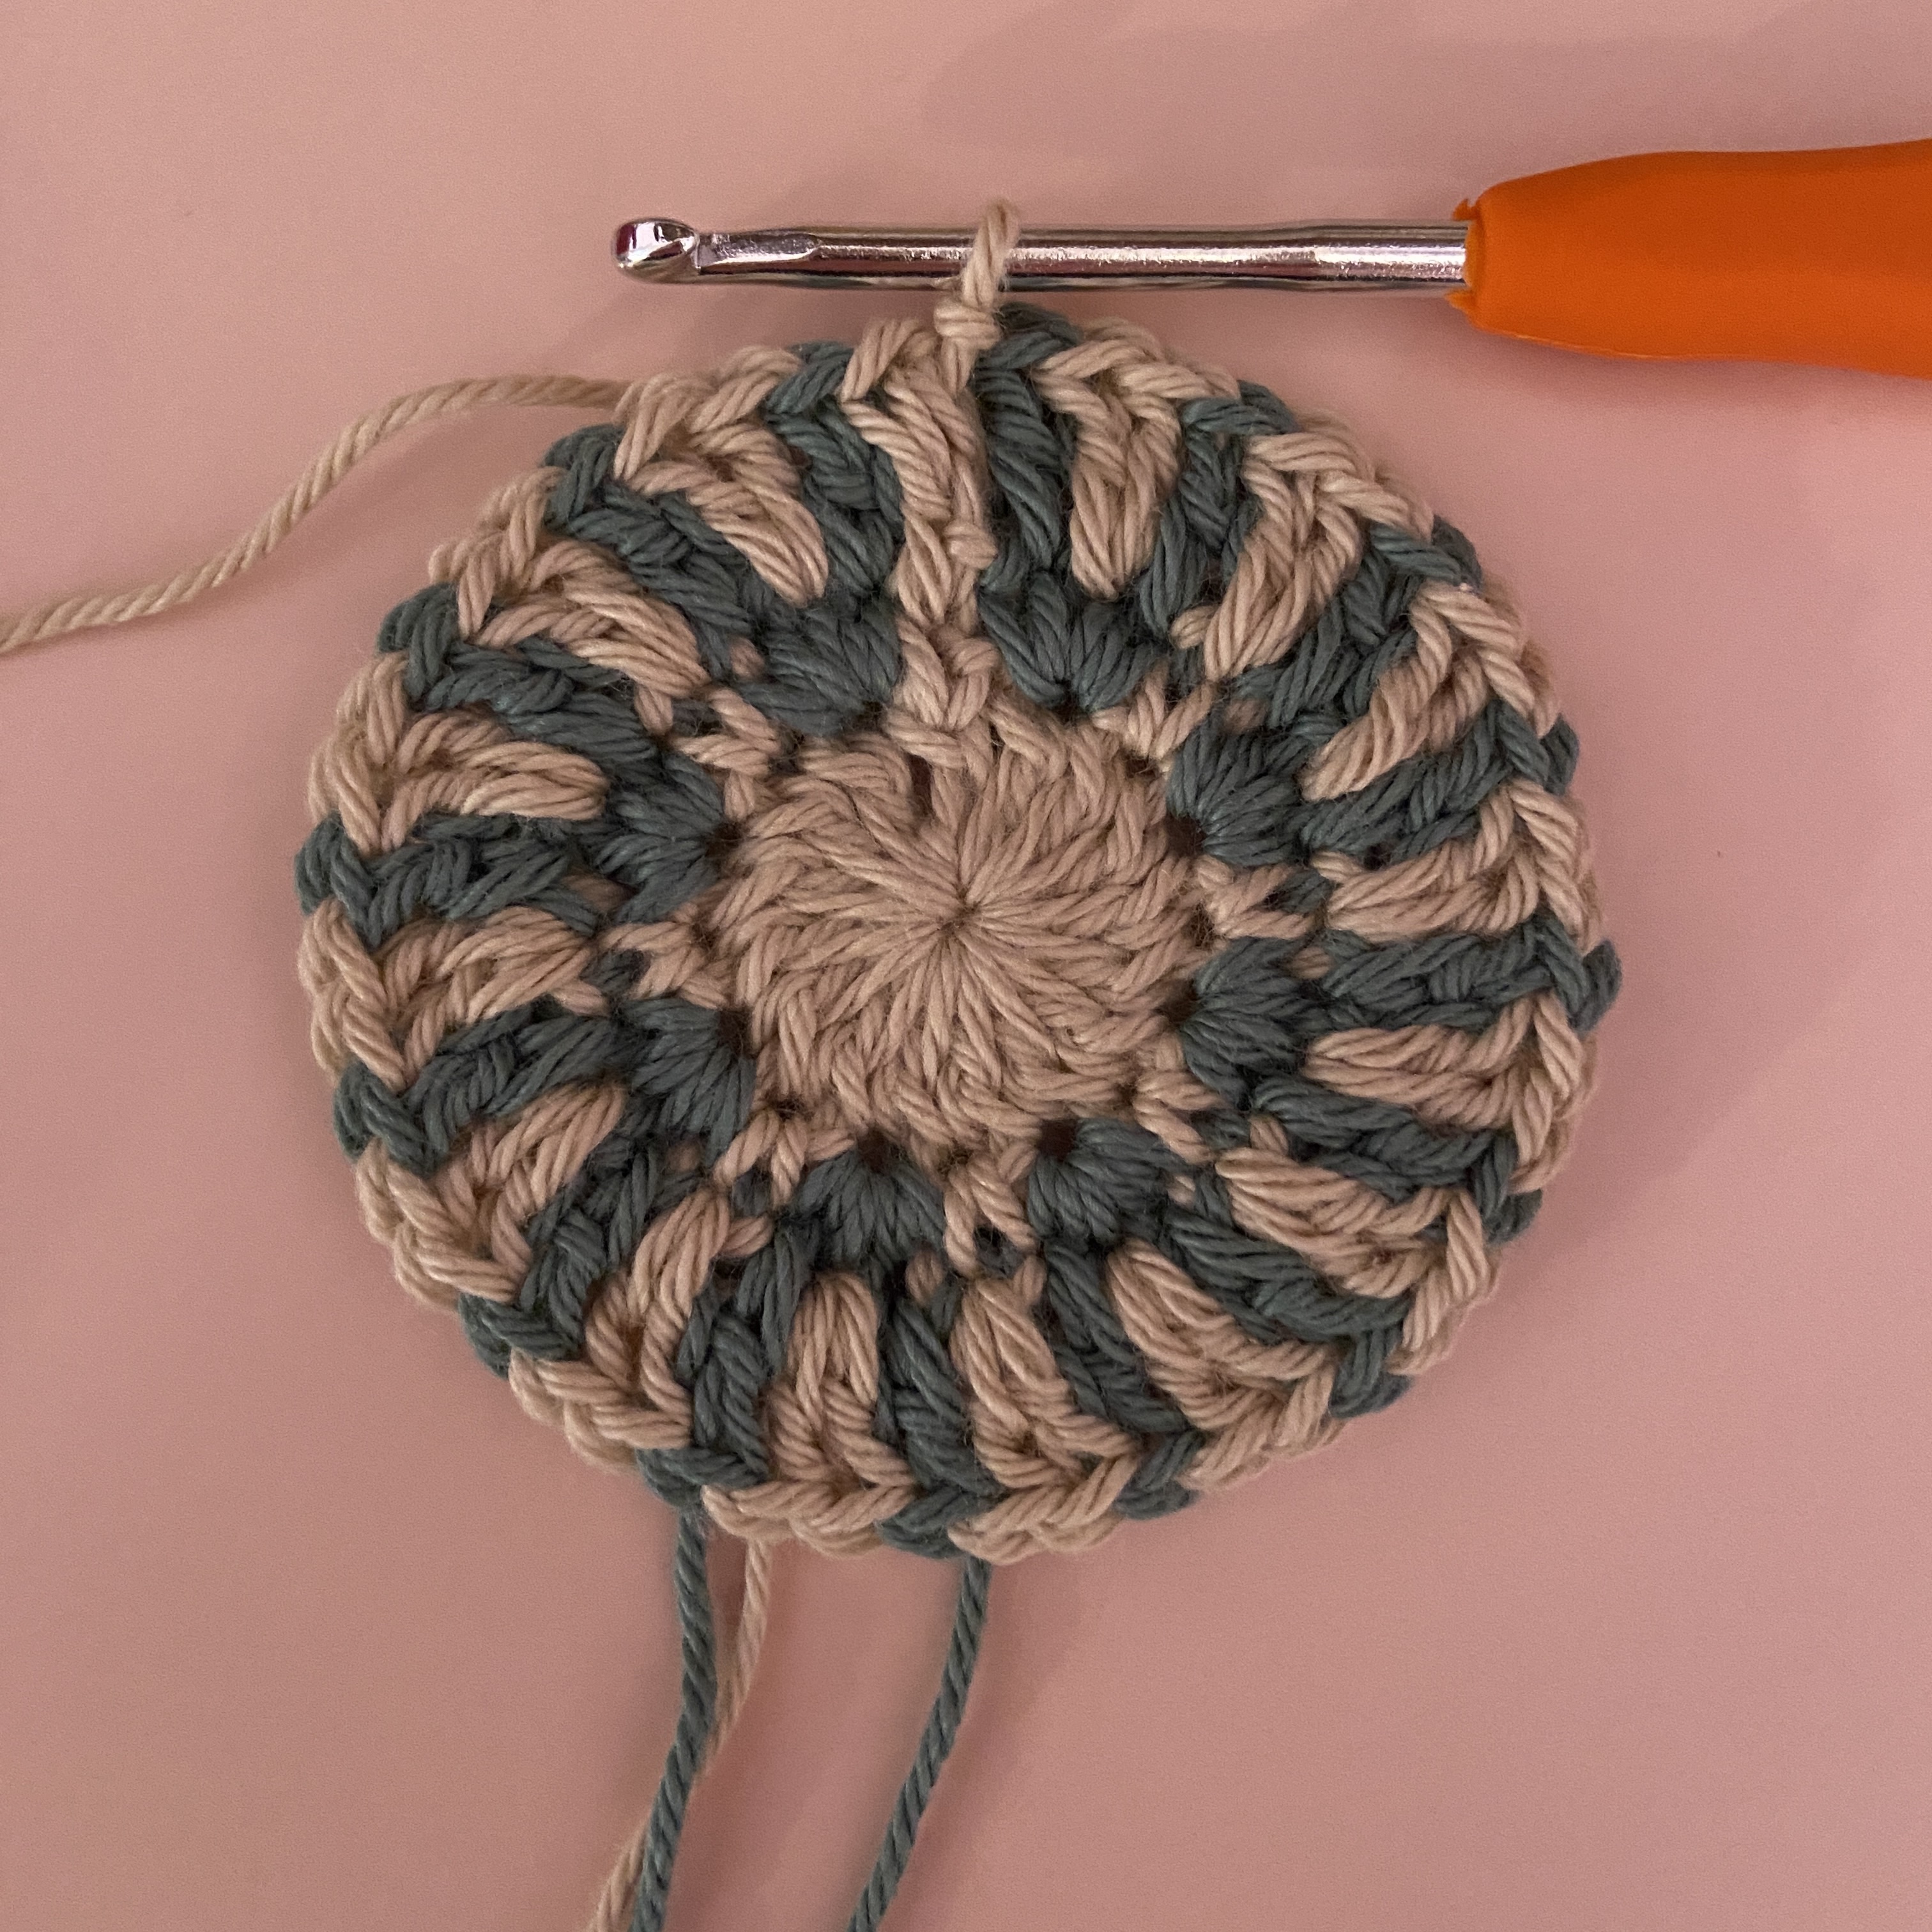
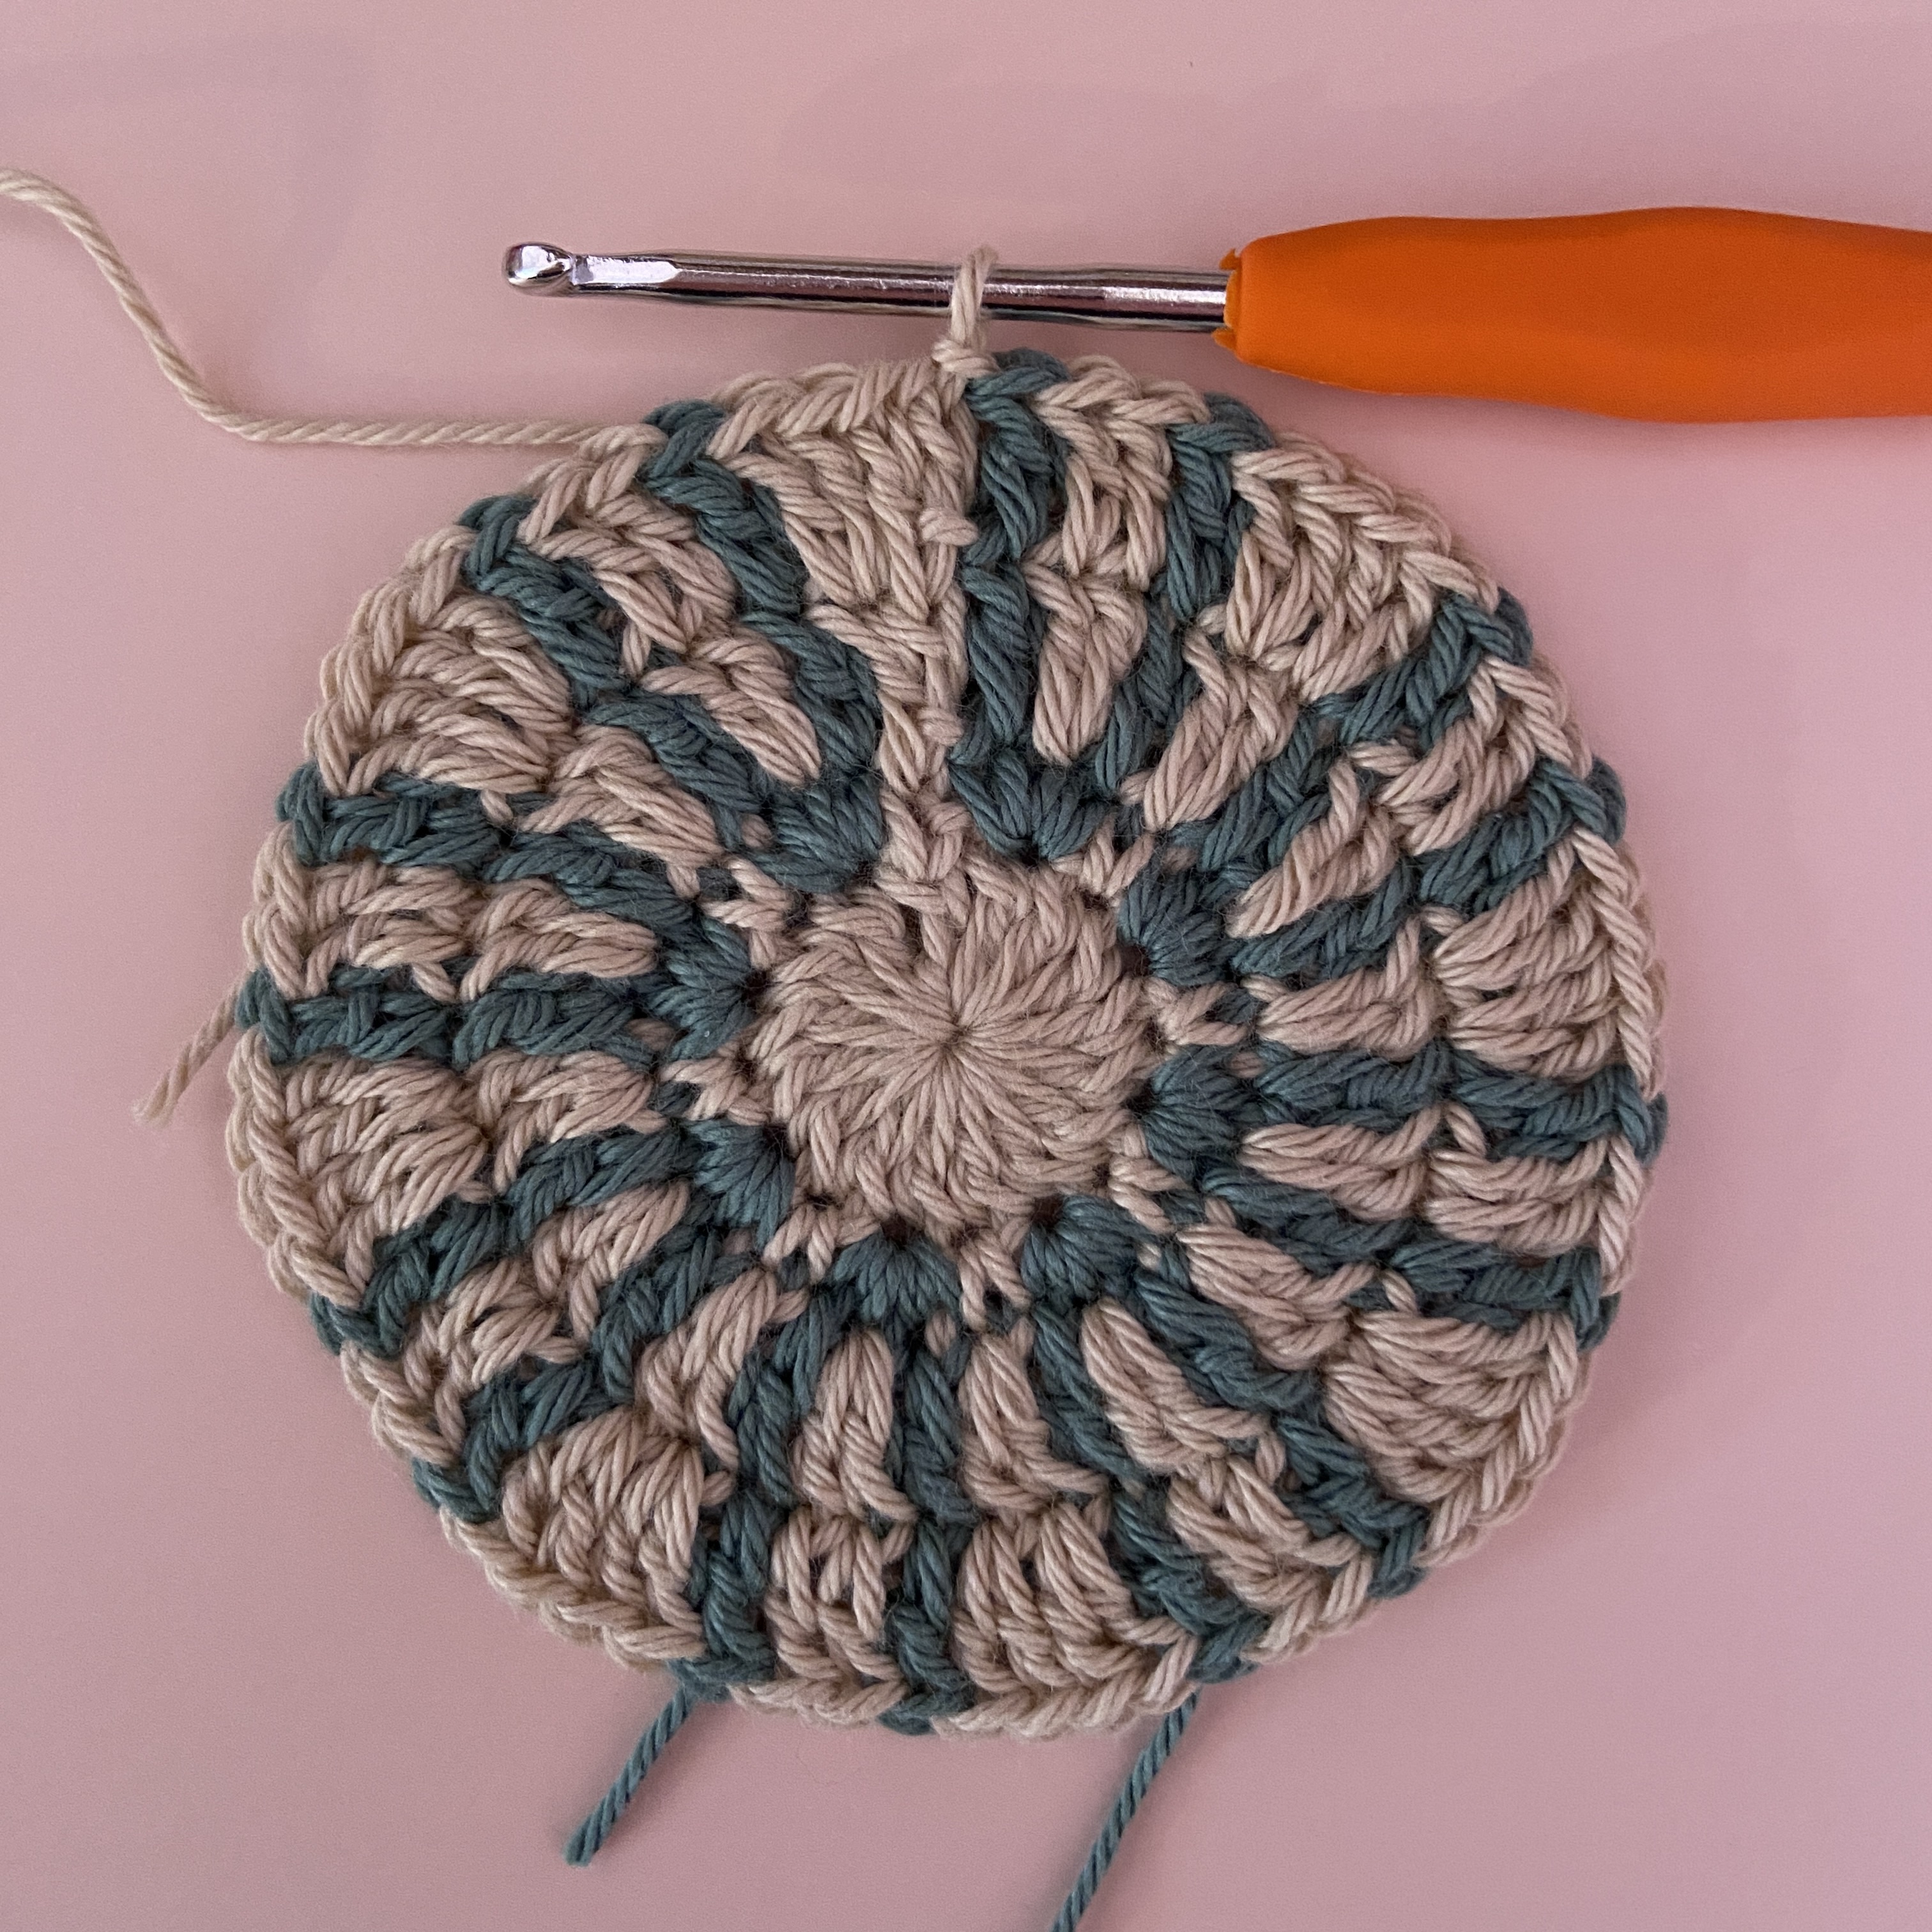
Round 3: [Ch 3, dc], cc to B, dc, cc to A. { [2 dc], cc to B, dc, cc to A}. Repeat {} til end (14 more times). Then, ss into the top of the ch 3 (with yarn A). (48).
Round 4: [Ch 3, dc], [2 dc], cc to B, dc, cc to A, 2 dc, cc to B, dc, cc to A. { [2 dc], [2 dc], cc to B, dc, cc to A, 2 dc, cc to B, dc, cc to A}. Repeat {} til end (6 more times). Then, ss into the top of the ch 3 (with yarn A). (64).
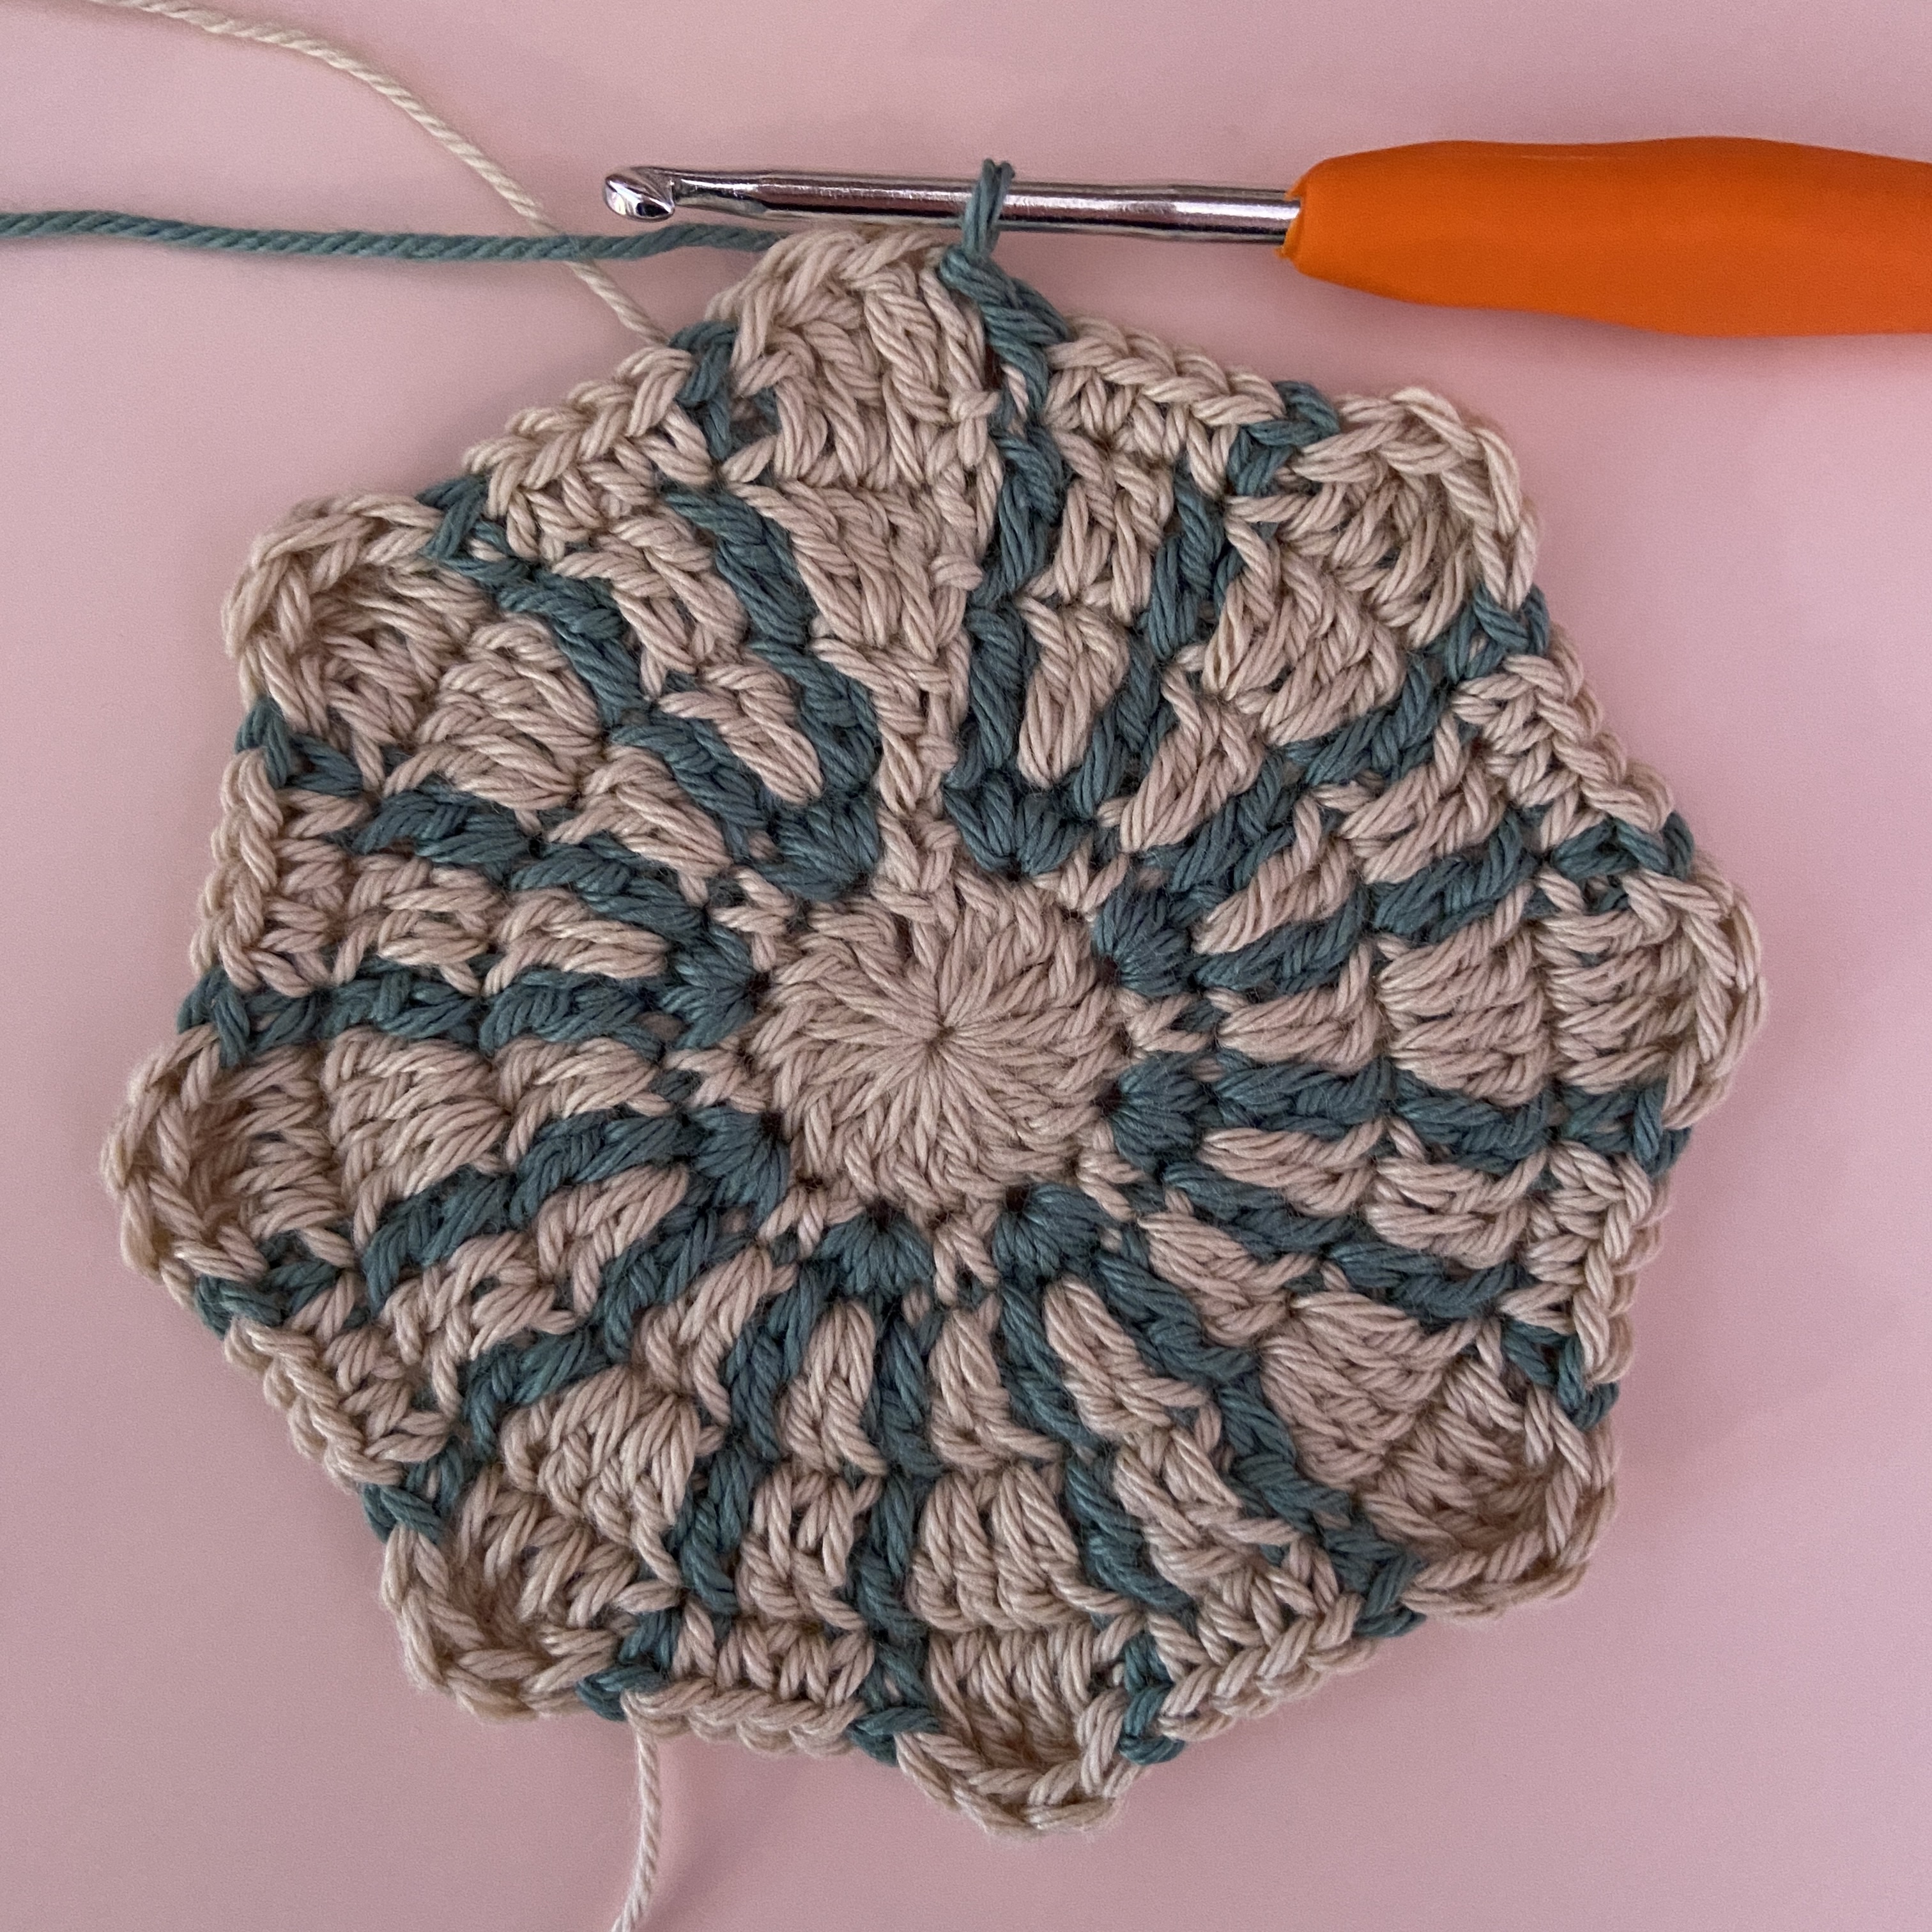
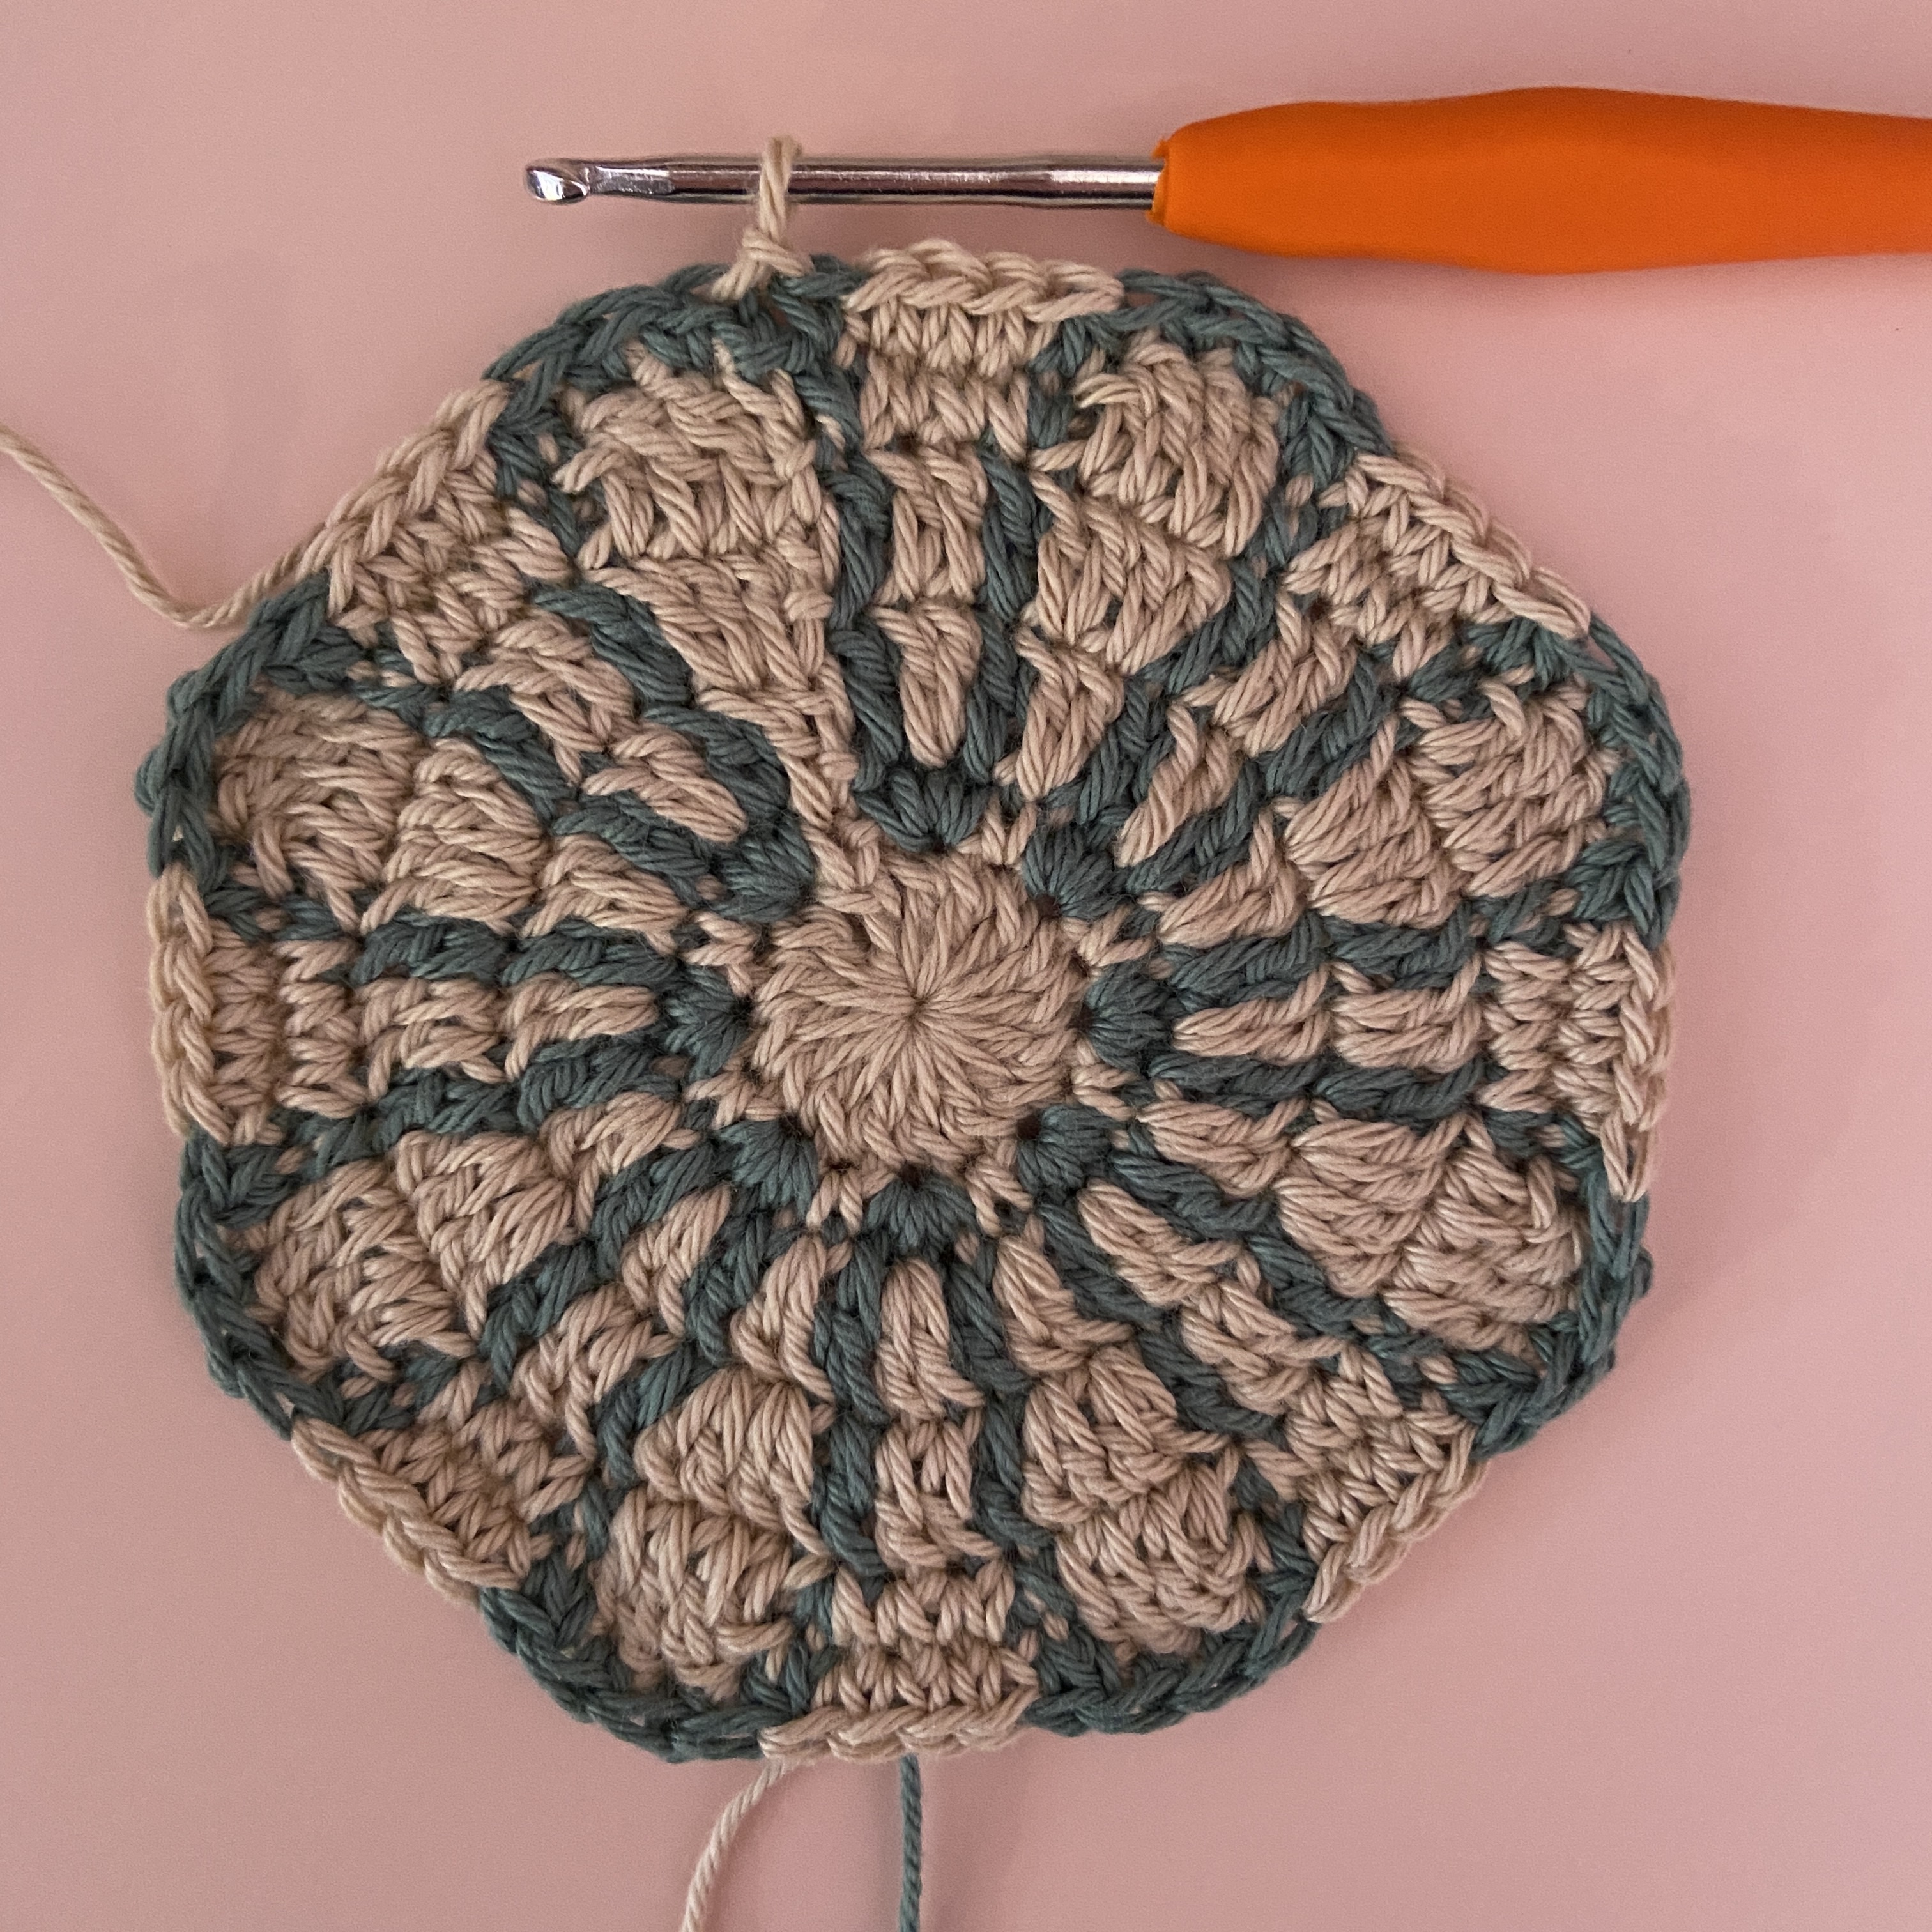
Round 5: Ch 3, 2 tr, dc, cc to B, [sc, cc to A, sc], 2 sc, [sc, cc to B, sc, cc to A]. {Dc, 2 tr, dc, cc to B, [sc, cc to A, sc], 2 sc, [sc, cc to B, sc, cc to A] }. Repeat {} til end (6 more times). During the last repeat, do not cc to A at the end. Ss into the top of the ch 3 with yarn B. (80).
Round 6: Ch 1 (this ch 1 + last sc of the round will count as a sc2tog). In the next st, sc. Sc, sc2tog, cc to A, 4 sc, cc to B. {Sc2tog, 2 sc, sc2tog, cc to A, 4 sc, cc to B}. Repeat {} 6 more times. Then, sc with B. Insert the hook into the blo of the first sc st of the round, and then use yarn A to complete the ss. (64).

Fasten off yarn B.
For the next round, when working into a st that is the color of the flower, work into the blo. This will make the flower petals look more distinct.
Round 7: [Ch 1, sc], 2 hdc, dc, [2 tr, ch 3], [2 tr]. {Dc, 2 hdc, 8 sc, 2 hdc, dc, [2 tr, ch 3], [2 tr] }. Repeat {} 2 more times. Dc, 2 hdc, 7 sc. Ss into the first sc and fasten off. (72 sts + 4 ch3-sps).
Then, the square is finished! I hope you enjoyed this pattern! If you make it and post it on Instagram, make sure you tag me, so I can see it! You can also email me a picture at maggietrunkhill@daisygirlcrochet.com.

The Pillow Pattern
The full pattern for the pillow is available as a print-friendly pdf pattern.
*If you would like to make the pillow and sell the pillow, please give me (Maggie Trunkhill) credit as the pattern designer. Do not reproduce this pattern in any form without my permission.
